We’ve roped the very agreeable Michael Bitaxi into putting together a guest post for us covering everything you need to get started with pushing and pulling film.
It’s a great read for those of you who are thinking about dipping your toes in but be warned, it’s a deep, dark rabbit hole you’re about to enter and the beginning of a long journey of experimentation, successes, failures and wonderful moments of realization.
Over to you, Michael.
Pushing and pulling film
Ah… Push, pull or shoot normally. Interesting to consider and difficult to put into practice.
Let us say that you have a film with you – Fuji Acros 100. But you have a problem; it is the only film you have with you and you are about to enter a building, or the light you were expecting has decided to fade away — you probably already looked at a weather report saying, “sunny and warm” but it turned out to be “cloudy and blech”.
Let’s face it, the weather rarely cooperates and weathermen are rarely right. So what to do? You could call it a day and go home, find a faster film in your local shop, use a tripod (oh wait, you left it at home)…
…or
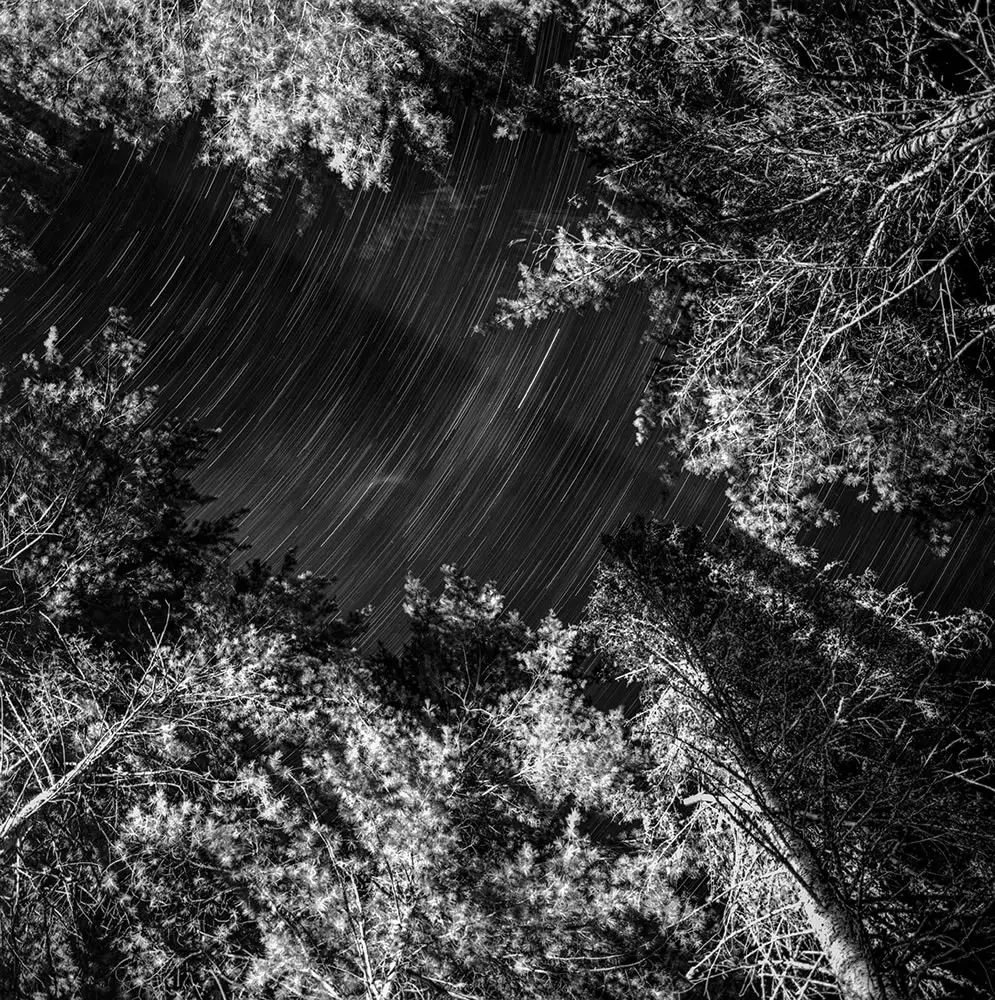
You could shoot the film at a different speed than it was intended for, perhaps taking that Across 100 to Exposure Index (EI) 400, as I did below.

This is known as underexposing the film but why? Why underexpose it? It’s simple…you only have that one film, and it’s native speed is unusable given your current conditions. Now, you can’t simply underexpose the film so much and expect to have a useable negative. For that, you’ll have to make a correction during the developing stage.
It means you have to push it.
PUSH? Like…with a stick…across the table??!
No, it’s a phrase that means to ‘push the exposure’ into the range used when it was shot. If you develop your underexposed film normally, you will have a very underexposed image. So, you have to fix this by giving it more time during development, in order to bring out the film’s mid-tones and highlights.
Now herein lies the problem: you will not gain any shadow detail.

You see, by underexposing the image you will lose shadow detail and no amount of developing will get that back. But you will get mid-tones and highlights, which can be enough. The contrast of the image will also increase greatly, which can help really flat scenes and if used correctly, will add more emotion in the image.
Pushing film is a method of shooting that many photographers employ and is a step into the “Zone System”, a method of exposure developed by Ansel Adams to expose a scene with ‘where you want shadows and highlights to fall’ , and developing it to match. It warrants further discussion but is far beyond the scope of this write-up.
It’s important to note that push developing ONLY works when you take a film and shoot it ABOVE its native (box) speed.

Doing the opposite
Now what about the other side of the spectrum? What about if you have a film that’s too fast for the scene at hand? Perhaps you’ve loaded 400ISO film and are outdoors in bright sunny weather? (The damned weatherman couldn’t get the weather prediction right again!)

You could easily shoot the film at its box speed and just stop down the lens as much as possible. But you have a fast shutter on your camera, couldn’t you use that? Sure, of course you could. But what if you wanted more out of focus blur? You’d need a wider aperture.
If you have a camera that has a 1/4000 second top shutter speed, great. But let us go down a different path. Perhaps your maximum shutter speed is only 1/250 sec because it is a much older, or perhaps a more simplistic camera like a Kodak Brownie Hawkeye.
In a situation like this, you have some limitations that do not allow you to properly shoot the film at full speed without blowing out the highlights. What do you do? Well that’s where PULL developing comes into play. Pulling a film is simple; you overexpose it by shooting it at a speed it wasn’t intended for.

Much like the push described above, there’s a price to pay and in the case of a pull, you’re bringing shadow detail up and losing highlights. Additionally, whilst pushing a film will lead to the loss of shadow detail and pulling will gain in shadow detail it is possible to also retain highlight detail through pull developing. Each method has its benefits and drawbacks. They are best discovered by the photographer him, or herself, as the results obtained may work for some and not for others.
Once more, with gusto
Let us quickly recap this quickly and as well as possible:
Pushing film allows you to enhance the usability of a film stock by shooting it at faster shutter speeds and smaller apertures than you normally would – very useful indoors, or when faced with low-light situations. Developing pushed film requires you to increase film development time inline with how much it was pushed, as the film will be under exposed.

Pulling film allows you to obtain slower shutter speeds, or wider apertures within the working range of your specific camera and lens without resorting to ND filters and the like. You will generally pull a film when the light, combined with the film speed results in you not being able to get a shutter speed / aperture combination you can shoot at, or want. For example, you may want to shoot at f/2 to isolate your subject but your camera can only give you f/5.6 with its highest possible shutter speed. Developing pulled film requires you to reduce development time in order to compensate for overexposure.
There’s also a third area to briefly explore; overexposing and overdeveloping.
If, for example, you take a film rated at ISO400 and overexpose it by shooting it at a slower Exposure Index (such as IE100), then develop it for longer than the time suggested by the vendor, this is known as overdeveloping. So you’d have a film that is both overexposed and overdeveloped.
Into the darkroom
As mentioned several times above, you’ll need to compensate for your pushed or pulled film (underexposed or over exposed respectively), when developing it.
Here’s how:
‘Pushing’ in a nutshell: we have a roll of Fuji Acros 100, which was rated at EI400 — underexposed by two stops — and we need to develop it. We know that developing a roll of Acros 100 shot at 100ISO takes 7 minutes and 30 seconds when using Kodak D-76 Stock. But as we’re compensating for the underexposure by two stops, we need to adjust the development time.
Usually we would adjust the time by approximately x1.25 to x1.5 for each extra stop. Using the ‘further’ side of this scale, that means going from 07:30 to 11:15 for a single stop push. We use the same multiplier for a second stop (another x1.5), which pushes us up to 16:50 but to err on the side of caution, we can just develop to 17:00 instead.

‘Pulling” in a nutshell: we have a roll of Kodak Tri-X 400, which was rated at EI100 — overexposed by two stops. The major difference in pull developing vs push developing is that the reduced time required for development is a bit… hit and miss.
You see, the major issue of pull developing is that there isn’t a real set method to do it! However, the common idea is that you reduce time by about 10% for every stop of over exposure. So, if a standard roll of Tri-X shot at 400ISO and developed in Kodak D-76 1:1 takes six minutes thirty seconds to develop, we’d take 10% off that time for one stop to give us 05:50…and then reduce by yet another 10% which brings us down to 5:15.
This isn’t exactly a direct science, but it’s pretty close to how to do it.
In conclusion
This is a starting point and not a definitive guide to push and pull. As a responsible photographer (aren’t we all?), what you need to remember is to take notes and find a method that works for you.
Always test your method first before committing it to an important roll of film.
Until next time.. Keep those shutters firing!
Thanks Michael and much appreciated.
As Michael rightly stated, this is a starting point and the rabbit hole mentioned at the top of the page really goes much, much deeper. To add a few additional points; getting started with pushing and pulling film is incredibly simple. Load your film, set the camera’s ISO (or that of your meter), to one stop above, or one stop below the film’s speed and shoot.
When you’re done with the roll, make a note of the speed you shot it at on the canister or roll, and if you send your film to a lab to be developed – just let them know if you want it pushed or pulled! They should be able to do the rest.
One thing to be aware of is that whilst you may push and pull color negative, black and white and slide film, you may encounter issues with getting pull processing for color negative and slide film at your preferred film lab. It’s safest to ask if they can do it before you start…but overexposing a film has it’s own rewards, so you can count that as a worthwhile experiment.
You’ll notice that Michael spoke about both ISO and EI (Exposure Index). The terms are used to describe different things (see here), but as far as your camera is concerned, if you set it to meter for ISO800, it’s metering for an Exposure Index of 800.
As far as the limits of pushing film are concerned, there’s a lot of room for manoeuvre. Just a few articles you can read here on EMULSIVE include:
- Kodak Tri-X 400 from EI800-12800
Showing Kodak Tri-X pushed up to five stops in single stop increments - Black and white high EI shootout part 1: EI12800
The top selling ISO400 black and white films at EI12800 (120 format) - Black and white high EI shootout part 2: EI25600
The top selling ISO400 black and white films at EI25600 (120 format) - Cross processing and push processing Kodak E100VS
ISO100 slide film from Kodak, cross processed and pushed two stops - Cross processing and push processing Fuji Provia 100F
ISO100 slide film from Fuji, cross processed and pushed two stops - Review of Fuji Velvia 100
ISO100 slide film from Kodak, cross processed and pushed two stops
Thanks again to Michael and please give him a shout on Twitter if you’re passing by. As ever, your thoughts and opinions are very welcome. Just drop them into the comments below and we’ll take it from there.
He said “Keep those shutters firing!”, I prefer to say keep shooting, folks!
Share your knowledge, story or project
The transfer of knowledge across the film photography community is the heart of EMULSIVE. You can add your support by contributing your thoughts, work, experiences and ideas to inspire the hundreds of thousands of people who read these pages each month. Check out the submission guide here.
If you like what you’re reading you can also help this passion project by heading over to the EMULSIVE Patreon page and contributing as little as a dollar a month. There’s also print and apparel over at Society 6, currently showcasing over two dozen t-shirt designs and over a dozen unique photographs available for purchase.


8 responses to “How to get started with pushing (and pulling) film”
Horrible………….. so disappointed
Gaaahhh, why can’t I get my star trails looking like that? Well done!
This is pretty cool
4.5
I never pushed or pulled film before but I really would like to give it a try.
4
a fine read! though I’d like to add that while pushing can give more contrast, pulling can do the opposite. something that might be of good use if you’re against a high contrast scene like stark daylight with details in both shine and shade and shooting street scenes at night where you want detail in the surroundings while not blowing out the areas closest to street lamps.
though I admit to not using this method myself, it’s a good thing to know as a tool in ones photographic toolbox 🙂
I’ll grab my holga and shoot a bit haphazard now 😉