I’ve been an avid film shooter for a couple of years now and I absolutely LOVE the recent revival of the whole industry. Virtually every couple of months a new film stock emerges and enables us to further explore our own photographic vision.
While I find that fascinating I still tend to stick to only a few films I know very well like Kodak Tri-X, ILFORD FP4 PLUS and ADOX Silvermax. A couple of months ago I saw some photographs online that were done on infrared film and said to myself that it was time to shake things up and explore what this kind of film had to offer.
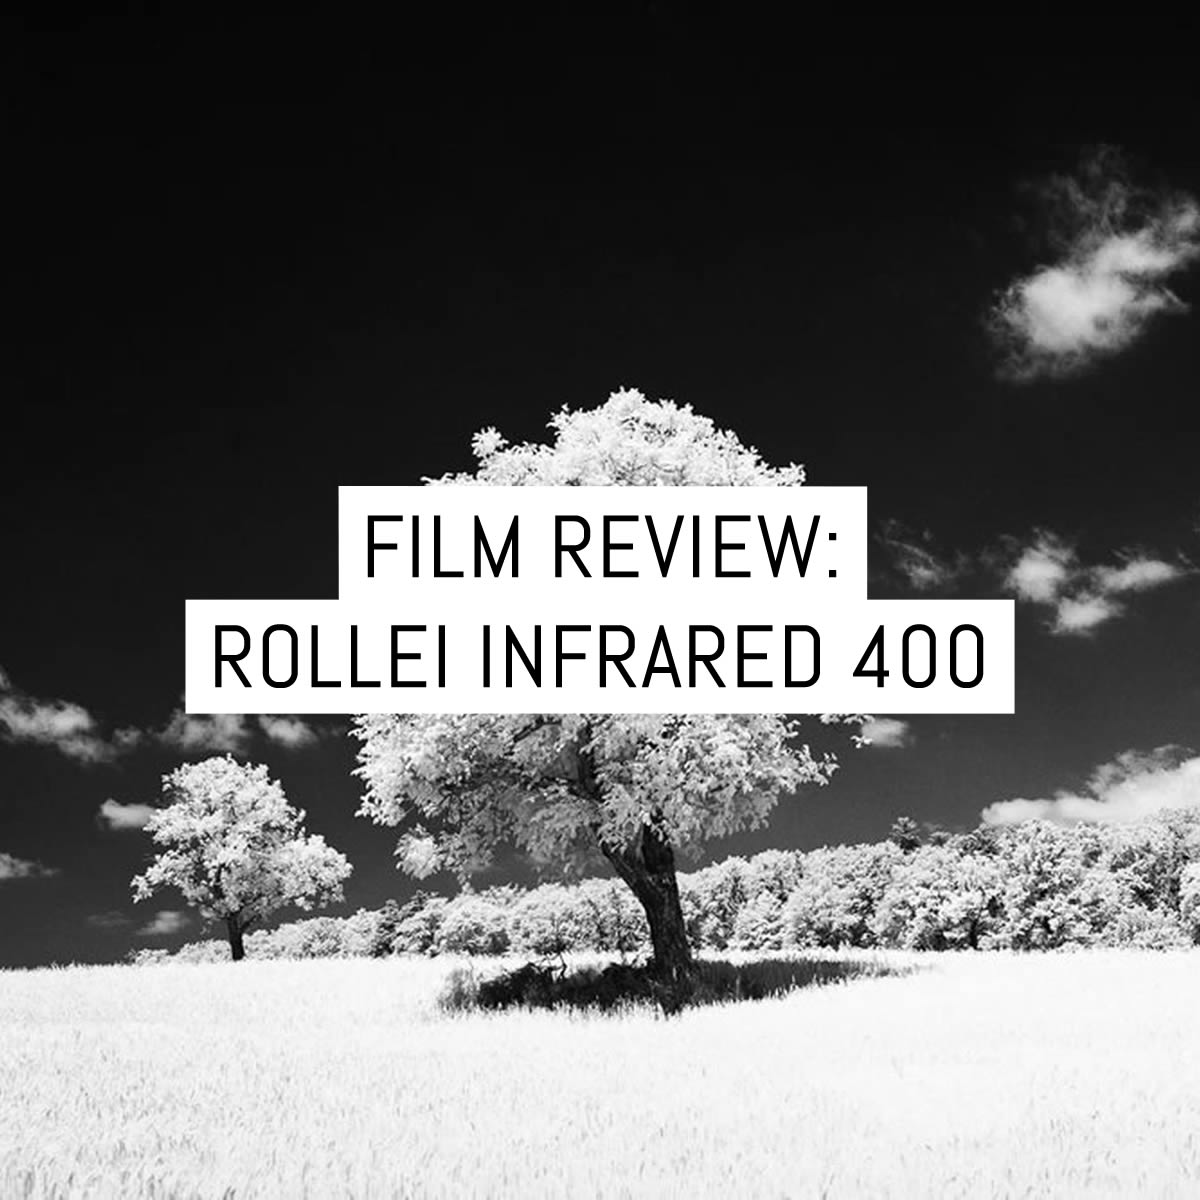
Here’s a quick taster…


There are only very few true infrared films out there and the Rollei INFRARED 400 is actually not a ‘true’ infrared film, but one with near-infrared sensitivity to about 820nm.
Here’s what I cover in this review:
What you need
Being a near-infrared film means that Rollei INFRARED 400 can be used as a regular black and white film with an ISO of 400. You won’t actually see any difference compared to other films if you are not using a proper IR filter.
In the photograph below, I used a standard red filter and as you can see, the film looks like any other black and white film out there.

Things get interesting however once you get an IR filter that blocks out the visible light and only lets the IR light through.
After doing a bit of research I got myself a cheap R72 (720nm) filter off eBay and have been using it ever since.

You can try and experiment with different filters to achieve various results and for me that is a big reason why I got into film photography in the first place. You can try out new things and you rarely know what you’re going to get beforehand. All photos here were shot on 120 film with my trusty Mamiya RB67.
As for additional equipment, you will also likely need a tripod since exposure times will be rather long.
[EM: The R72 filter will require you to reduce your exposure by around five stops. This means you will need to set your handheld light meter to ISO 6-12, or rely on your camera’s TTL meter (set at 400) to do the job for you. It’s worth doing a few tests to see the true filter factor of any IR filter you use, as they can vary between 4-6 stops depending on the brand and prevailing weather conditions. For more information on IR photography, you can read my Kodak AEROCHROME review or guest post on Japan Camera Hunter: shooting JCH Streetpan 400 using an IR filter.]
What you can expect
I’ve always been a fan of contrasty images with deep black skies so when I saw the first IR images I knew that this was something I just had to try.
I’m no scientist, but apparently, on clear, sunny days IR light is reflected by the chlorophyll within grass and leaves, which renders them white – the Wood effect. As the sky retains no IR light, it turns black.
I have completed some experiments and I got the most interesting results in late afternoon and early evening. However I have found that not all clear days are the same, and on some days the effect is more pronounced than on others.

As you can see in the image above, the trees almost seem to glow and I just love that look.
Since this is a 400-speed film there will be some grain but I don’t find it bothersome at all. I develop the film at home and I use Rodinal at a mixture of 1+25. I have to warn you though: the film is a real pain to develop because the base is very thin and apparently different than Kodak Tri-X for example.

The first time I took the exposed roll out of my camera it ‘unrolled’ itself and a couple frames were exposed, which happened again in the darkroom while I was trying to get the film off the spool. At first I thought I had gotten a bad roll of film, but apparently they are all this way.
Maybe this is typical of Rollei films, but this is their only film stock I have tried out so far, so share your experiences in the comments if you like (Or maybe I’m doing something wrong…wouldn’t be the first time!).
Conclusion
I am really glad I finally picked up this film and tried it out because before I was kind of in a slump and this IR film pushed me to go out and take pictures. I have yet to try Ilford’s IR (SFX 200), film and I can’t wait to find out how it differs from Rollei’s.

Apart from the curling troubles I mentioned above I have nothing but good things to say about this film. The exposure latitude is good and it prints really well!
So, I urge you to go out, get a few rolls and start experimenting with this awesome film stock!
~ Christopher
Share your knowledge, story or project
The transfer of knowledge across the film photography community is the heart of EMULSIVE. You can add your support by contributing your thoughts, work, experiences and ideas to inspire the hundreds of thousands of people who read these pages each month. Check out the submission guide here.
If you like what you’re reading you can also help this passion project by heading over to the EMULSIVE Patreon page and contributing as little as a dollar a month. There’s also print and apparel over at Society 6, currently showcasing over two dozen t-shirt designs and over a dozen unique photographs available for purchase.


11 responses to “Film stock review: Rollei Infrared 400”
Do you really mean reduce the exposure by six stops?
Thanks for this review. I have used Rollei IR400, but as normal film. I love the Rollei film base! It is flat polyester, not curly acetate. I find acetate difficult because it tries to curl back up as you struggle to load it onto the developing reel. Polyester, on the other hand, straightens out and make loading much easier. It’s just whatever you are used to I guess!
For closing the shutter you cover the lens and cock the shutter and that will close it. Unless there’s another way that’s how I do it with my RB67 which I had for 35 years. I’m also going to try and shoot some SFX200 but going to shoot with my Mamiya
330 Pro S. The 46mm filter a lot cheaper.
How funny I just shot some Rollei IR 400 on my TLR (Yashika D). I used a 750nm red filter. I am waiting for the development and scans (fingers crossed). I metered 6 stops below so ISO 6, but it was early morning so we’ll see how they come out. Thanks for your review it was encouraging to see the results!
A quick word on ilford sfx film stock. I love ilford films but SFX is a waste of money. With a red filter you will get black skies and contrast (so not a waste if that is what you are going for) But if you want greens and yellows that push toward white and that very iconic dreamy IR look SFX doesn’t deliver. In my humble opinion. 2 caveats being that I was using only a 520nm filter and shooting on the 35mm format. Here is a link to my ilford SFX 200 results:
https://flic.kr/s/aHsm2Z5JCF
Cheers!
These shots are fantastic and the write up is very informative. I started experimenting with IR (both Rollei and SFX) this past week and I have a question regarding long exposures with the RB67 (mostly related to IR photography)- I can’t for the life of me figure out how to do a long exposure with the RB67. Rather, I can’t figure out how to close the shutter in T mode with the MLU mode activated. I have the pigtail cable release, but I’m at a loss for why you would use the pigtail over the single if the only function of the shutter button is to activate the mirror. Online, it seems like folks simply activate the mirror, then open the shutter and either cover the lens with a cloth at the end of the exposure, or the lens cap. Both work OK if you’re above like 15 seconds, but I can’t believe there isn’t a clear way to close that shutter. Hopefully you have some advice and I apologies for making you read this massive novel on a post that’s only mostly related. Thanks again for the great write-up.
Hello how are you? I’ve been doing infrared also and I had to get a locking cable release. You set your camera to bulb mode & you set the cable release to lock mode and it will hold the shutter open after you press the cable release. to close the shutter after your long exposure you press the release switch on the cable release . so make sure you buy a cable release that has locking capability.
Hi again, I have a D90 that is converted to IR as already mentioned.
If I put an R72 filter on that do you know what sort if effects that would get?
I live shooting with my IR converted D99 – at 720nm – but I love these and am going to try some in my Hasselblad.
Thanks! Yea, go for it! It’s a lot of fun! 🙂
5
@RolleiGermany Great picture, stunning