I’ve been a street photographer and black and white darkroom worker since back when bulk film loaders boasted of “Penny a Frame” – that’s right, $.36 a roll of film. What I have here for you today is my addition to the darkroom tips and tricks articles you all have read in countless magazines (maybe online? Hahaha, it is the 21st Century!) in the hopes of pointing you to an efficient and comfortable darkroom experience.


Every new living environment means re-configuring a darkroom. Currently, mine is 7×8 feet with a film drying cabinet in the bathroom and my print drying racks in the bedroom. Perhaps 7×12-feet would fit it all but it doesn’t matter, I like small darkrooms for the zero wasted motion they offer between the enlarger and trays: expose the paper, turn, take a step and drop it in the developer…and between the paper box to the easel, from the wash to drying areas (this is close but no prize for my current arrangement).
To put that all in simpler terms: virtually everything is within arms reach.
Darkroom basics
My advice if you’re creating a new darkroom or considering a reconfiguration: leave your walls light in colour, with black paint/paper behind and above the enlarger if there are light leaks. Better yet, double up: block any enlarger leaks with insulating foam tape attached to the lamp housing at the negative carrier; black tape for other areas…this is after you’ve checked the whole enlarger is not out of square, of course.
Darkroom doors? Who needs ‘em? Two drapes darken my darkroom, one at the room entrance and one a yard down the hallway, creating a good enuff light-proof light trap. Not a NASA level of build-quality but the system works just fine.

Exhaust pipe 
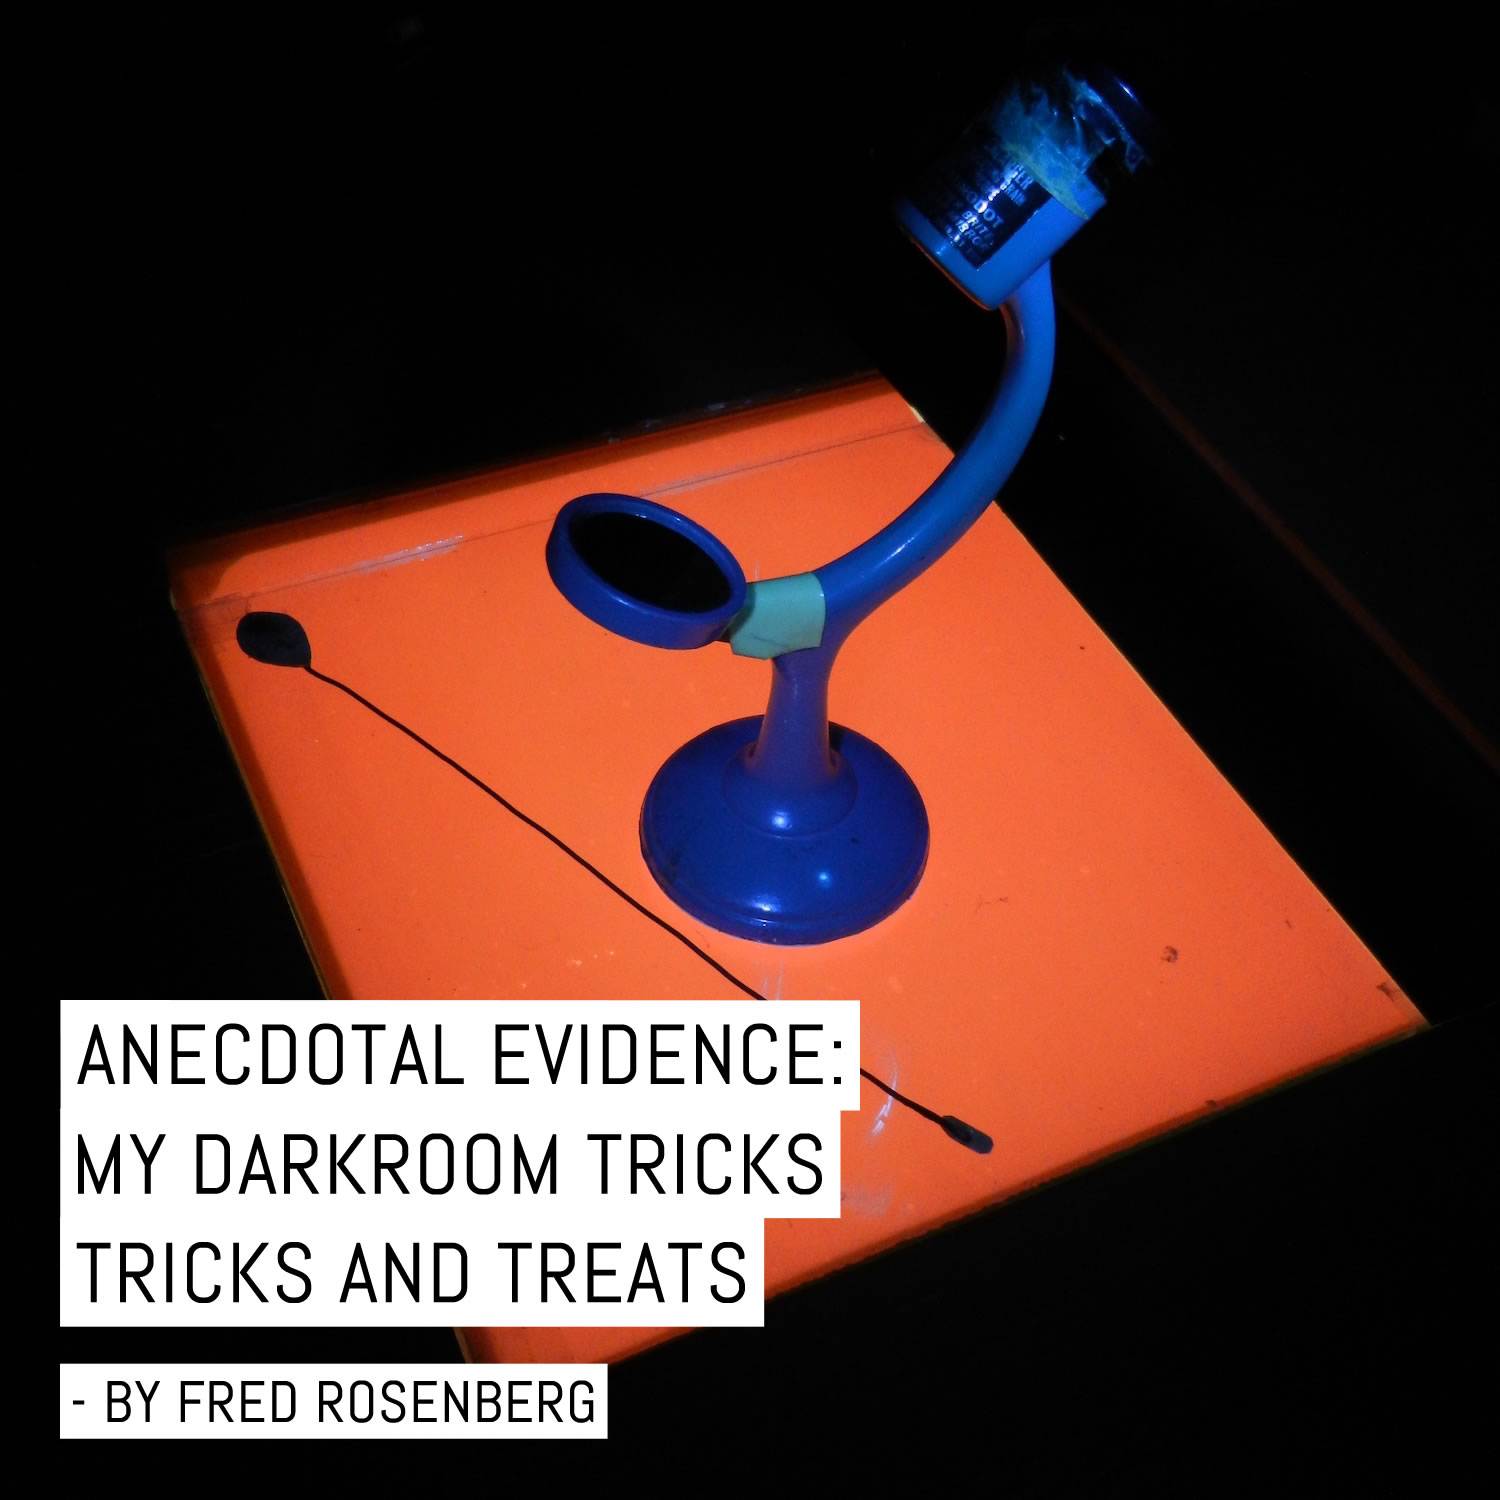
Wet side under safelight
For ventilation, I have a 4-inch diameter plastic drain pipe running the length of the sink, above and behind the trays. It’s connected to an exhaust fan to send the fumes into your neighbour’s yard. I have drilled/enlarged appropriate holes over the trays.
Enlarger and table

Dry side enlarger table 
Low shelf foot rest 
Just what it says
My enlarger table is at belly button height. The enlarger base and easel height adds to that but leaves me standing straight when working at the enlarger. For the sake of the rest of your life, don’t spend hours (and years) hunched over an easel or tray. Build every bit of darkroom furniture to suit your own height and comfort – you have the freedom to make it yours.

My sink bottom is 4-inches lower than the enlarger table height but with 6-inch splash sides. The splash comes up to my elbow height, providing a straight-backed resting position for my upper body, while a 4-inch high bottom shelf allows a complementary footrest.
How did I ever do darkroom work without foot switches? Hands-free and ready for dodging and burning in before the exposure begins or the paper goes in the developer. Both enlarger and developer timers have them (developer timer now has a hand switch).

Hand switch 
Enlarger and air compressor foot switches
Dodging tools: I use one, a 1” egg-shaped oval at one end of a thin piece of wire (no to coat hangers), a rice-sized piece at the other. Hands, fingers, pieces of board handle more complicated dodging.
Grain focuser: Of the half dozen I’ve used, the Bestwell Optical Microsight 3 is the keeper.
An all-weather darkroom
My darkroom is cool all year round and I use a temperature-controlled heating pad that, on the lowest setting, keeps the developer at 68F. An electric pad in a wet sink? Sounds stupid. Two things: all processing trays are on a sink-length rack, so are not constantly in water. I wrapped this heating pad in an ILFORD black plastic bag, taped it up at the cord, oh, I dunno, 25 or 30 years ago. But I’m a jaywalker so am used to danger.
Negative processing chemical bottles are in a tray of 68F water with the developing tank in its own manually regulated (dial thermometer, eyes and hands) temperature water bucket.

Cut an opening for a small lightbox, negative sheet size, in the enlarger table. An orange gel under the glass (to avoid scratches) for negative finding without blasting white light directly into your eyes in the midst of that soothing sodium vapour orange. Speaking of which, try a sodium vapour safelight.
If you don’t like it in the darkroom, put it out in the front yard and light up the neighbourhood. Wait a minute, this is the 21st Century…just lay an orange gel over your iPad.

Room light can be controlled through linking the light switch to a room-length, overhead piece of string with appropriate shorter string lengths attached, making on/off reachable from anywhere in the room.

Cleaning negatives: if you need to scrub debris off negatives, review your film drying technique. Blowing or light brushing ought to be enough. A competent final rinse and a minute checking/cleaning negatives before printing saves hours spotting those spots, hairs and scratches later, take it from me. Hang in a closed space (vented cabinet or shower), or don’t walk around in the room you have them hanging.
Note: 1000ml water, 25cc 99% alcohol, 2.5cc Photo-Flo for 2 minutes after washing, hung without wiping, will provide spotless fingerprint and scratch-free negatives.
Use nitrile gloves for chemical safety. They are strong and can be reused with a dusting of corn starch (not baby powder) to make them slippery enough to get damp hands into. You can dry your hands, too.

Vertical print washer and exhaust pipe, fan hidden by washer
Use a vertical print washer for fibre-based papers; they use less water and are 1/10th the work of tray washing. Save yourself from hovering over and tending to a wash tray for an hour or two (it’ll seem like four). Oh, and save your resin paper for work prints and proof sheets. Do you want to put your living, breathing photographic experiences on a stiff stern and solid plastic sheet?
Certainly it’s an aesthetic choice between the two but consider the equivalent of an anonymous, stiff-necked, anal-retentive plastic sheet presenting your emotionally complex and illuminated decisive moments, or, when holding a 16×20” flopping, soaking wet sheet of paper like a vulnerable pet fish (firmly but with kindness, gentleness and caring), depending on you for safely making it in one undamaged piece, all the way home, you can see you’re working with a living thing.
You become sensitized to the surface; there’s a grain to FB paper that when wet, gives a very real skin like sensuousness. Add that to the idea of receiving, not taking the photograph and it’s easy to see the whole photographic process as midwifery: anticipate the moment, catch the moment, care for the safety and vulnerability of the manifest experience, manage and refine its surface. This is part of living one’s life as poetry. Extra points for the first to guess the total number of mixed metaphors in this paragraph.

Viewing light ,realistically, is two feet from tray
The print viewing light should ideally match the intensity of the final display light. Good luck with that. At least try to have the viewing light at the same distance to the print for each appraisal, to do what all refinements do: remove variables. In ambient room light, if your prints are too dark, the viewing light is too close; too light, the viewing light is too far away.
Finally, don’t forget, paper dries down darker than when wet. Determine your dry down %’s: compare a wet print at a chosen print time with dry prints at 2, 4, 6, 8 and 10% less exposure. The dry to wet match will be what you reduce your exposure whenever you use that paper. Determine your dry down for each paper brand you use.
So, that’s a start. There could be a thousand more and if you’re interested in knowing what those could be, come by Nelson, British Columbia with your negatives, we’ll make some prints and find out what they are. I’m in the yellow house, fourth from the corner.
Thanks for reading.
~ Fred
Share your knowledge, story or project
The transfer of knowledge across the film photography community is the heart of EMULSIVE. You can add your support by contributing your thoughts, work, experiences and ideas to inspire the hundreds of thousands of people who read these pages each month. Check out the submission guide here.
If you like what you’re reading you can also help this passion project by heading over to the EMULSIVE Patreon page and contributing as little as a dollar a month. There’s also print and apparel over at Society 6, currently showcasing over two dozen t-shirt designs and over a dozen unique photographs available for purchase.


23 responses to “Anecdotal evidence: My darkroom tricks and treats”
A question about print washers – can a vertical print washer be used for resin coated paper or is only for fibre-based?
Amigo,
The short answer is yes. However, I use a tray siphon to wash rc papers: five minutes of shifting them around and it’s done. Loading and unloading the vertical washer isn’t worth the effort for me with rc. Hope that helps.
Fred
Done reading it now.
It helped a lot in visualizing my own darkroom. My projected space is a bathroom, maybe 8×6′. Planning to re-purpose the shower floor for the wet part and this has given some great ideas.
Very well put together piece of advice!! Thanks a million, Fred!
Thank you for your comments, Efrain. Have a look for The Darkroom Handbook by Dennis Curtin and Joe DeMaio. It’s a great book for layout, construction and hardware advice.
I’ve heard a lot about that book. The one I’m currently reading is “The Photographer’s Master Printing Course” by Tim Rudman. IT has a great insight at the beginnning where it shows you a couple of layouts for a dedicated and an improvised or semi-dedicated darkroom (the kind you’d setup in a bathroom).
Your vision seems a very doable, very affordable one, tho.
Again, thanks a lot for sharing!
Efrain,
I was just given a copy of Rudman’s book. It looks very detailed. David Vestal also has a couple books on darkroom work that are excellent: The Art of Black-and-White Enlarging and The Craft of Photography.
Fred
saving this one for a proper read. Thanks for sharing!
Thanks Fred. Sage advice for an efficient darkroom. Seems like you’re not fond of plastic, but you do like large pet fish. Enjoyed the humour.
Say, have we met? Hahaha.
Without humour there is only death. Perhaps.
I think we may have met in Nelson in 1981 or 82. You were giving a talk about photography. I remember thinking your approach to photographing was a form of “active receptivity.” As I recall, later that day, you were almost arrested for jaywalking. Someone at the time said this was the most dramatic thing that had happened in Nelson in quite a while.
Indeed, that’s precisely how I remember it. Were you the guy with the full head of hair?
Fantastic setup Fred – thank you for sharing. Wish I had the space. Or gumption. Or wherewithal.
Thanks, Rob. I wish I was a jazz guitarist, but I had other things to do.
Great article, I really enjoyed this. I’ve not worked in a printing darkroom for 30 years, but this all sounds so familiar. Thanks.
Peter, I’m happy to have reminded you.
EM. Sooo, you printing yet, or still living vicariously?
Is this addressed to me? It went right over my head, if it is.
That was to me, Fred 😀
Read twice, ask once. I’ll do that next time.
Some great advice 🙂
Thank you.
Great piece. Bookmarking for the time when I have to set up a new darkroom.
Monika, I love the challenge of setting up the darkroom in a new place, in available space, in making the situation efficient.