I left an essential item off of the shopping list for my sub-$500 darkroom article: the print washer.
As much as I am very proud of my less-than-$500 basement darkroom, it is a dry darkroom. I’m lucky, the water pipes are visible in the exposed ceiling, and plumbing parts are relatively inexpensive. I could run some plumbing and install a sink with running water and a drain. Still, I would rather spend money on film, chemistry, and paper, so I carry water for my processing into the darkroom in closed gallon containers.

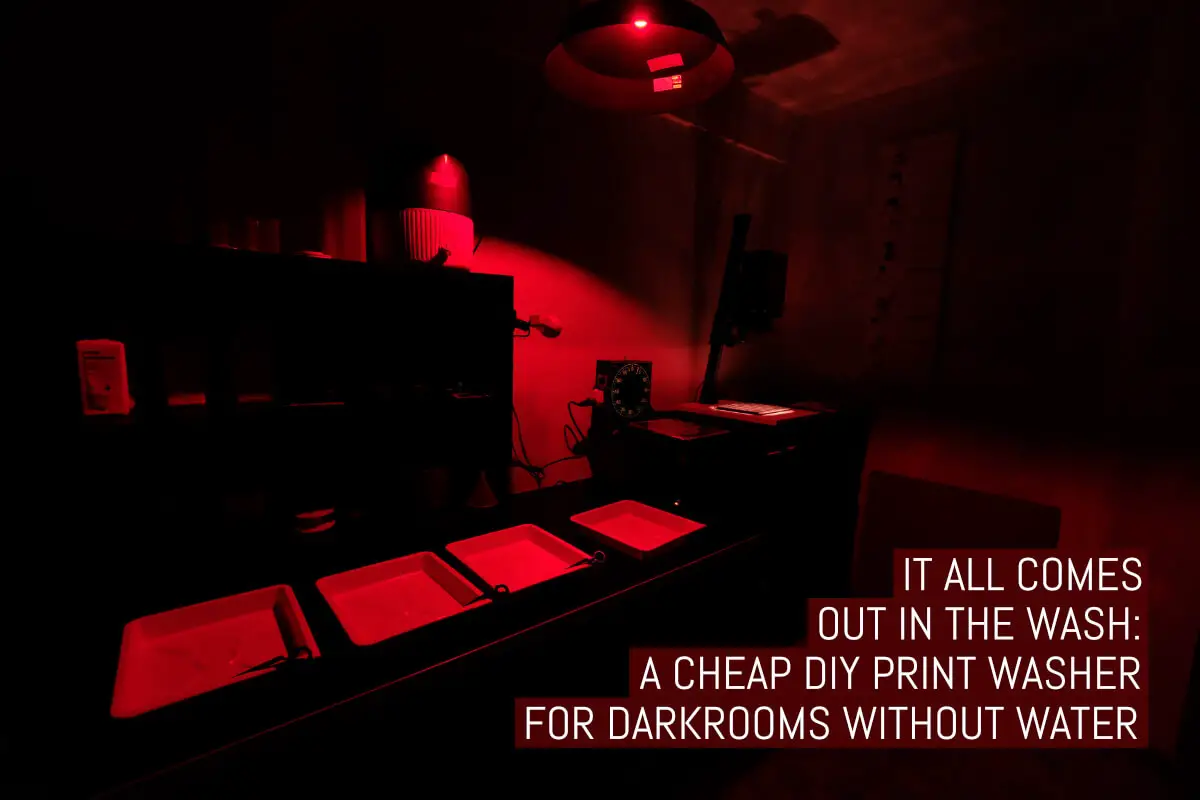
My waterless darkroom’s water/rinse tray (gray) in context
My basement does have a bathroom with both a bathtub and a sink. My initial idea for a print washer was something that could use the tub or sink faucet for clean water and dump water straight down the drain.
For inspiration, I shopped around online. A typical entry-level print washer is the Yankee. The Yankee design is a rectangle pan with holes in the ends for overflow and two hoses: one to drain and one to fill. This allows the wash tray to sit next to the sink on the counter space. Genius.
After seeing a couple of Yankee Print Washers on eBay and at various photo superstores, I almost purchased one, primarily for the easy-to-attach fitting from the sink faucet, but instead…
Warning: lousy pun/dad joke ahead: it’s time to let the cat out of the bag.
…I made my own print washer using $4 cat litter pans purchased at the local discount store.

The finished budget print washer
That’s it. That’s the entire article. However, if you want more context, and how this cunning purchase fits for me, let’s talk a bit about the mechanics of my wash process.
My basement bathroom is in another part of the finished basement, and away from my darkroom. To get there, I cross over a carpeted hallway. I’m not a clumsy person by nature, but life happens; carrying a tray full of chemicals or chemical-tainted wash water would sooner or later lead to spills and stains. So I modified a two-tray wash system: I have one water-filled tray in the darkroom and a second water-filled tray in the bathroom.

My waterless darkroom’s water:rinse tray 
Budget print washer – in situ
I kept the cat litter box-turned-wash-tray in the darkroom as-purchased.
The second litter box in the bathroom has been modified. I drilled 4 holes: a small drain hole on the narrow end in the middle near the bottom, and then 3 larger overflow drain holes near the top rim — just in case I left the tap running and got distracted.
There is nothing fancy, calculated, or planned about the holes. I just grabbed a screw-size drill bit for the drain and the biggest bit in the toolbox for the overflows. So let’s call it 3/16” (5mm) for the drain and 1/2” (12mm) for the overflows.

Budget print washer – drainage 
Budget print washer – set in place
The style of bathroom sink in my basement is flush mounted and has no rim around the bowl. The cat litter pan without the hoses fits under the sink faucet and importantly, rests flat.
The water can run into the “washer” from the faucet overhead, and the pan can drain out into the drain directly through the holes I added in the pan. If you are doing something similar, the size and shape of your sink may or may not be ideal, in which case your bathtub may be a better option. Think of your bathtub as an oversized darkroom sink.
In the darkroom, prints come out of the fixer and into this first wash tray filled halfway with 68° / 20º water. In the bathroom, the second, modified tray rests on the counter (over the sink and under the faucet) with the drain holes over the basin. This provides flowing water during the final rinse.
And to move the prints from one room to the next, I use an empty developing tray. It easily lets me move prints without fear of drips on the carpet from the wet prints.

Transfer tray
My idea works for me and perhaps offers inspiration to other DIY-minded readers. What I love about film photography is while there is science, your method is your art, and your “perfect” wash is your blend of water conservation, temperature control, source, and timing.
RC paper is fairly simple to wash; as I move to larger prints or fiber or cotton papers, I may need to change this cat-pan process. For comparison, ILFORD’s datasheet for RC papers suggests washing for 120 seconds and no more than 15 minutes immersion.
For their fiber-based and cotton rag papers, they suggest a first wash of 5 minutes, a wash aid for 10 minutes, and a final wash of 5 minutes. For toned images on cotton, the wash times are even longer.
But for now, in a simple darkroom, the catbox makes managing the wash simple and controlled.
Thanks for reading,
~ Fritz
Share your knowledge, story or project
The transfer of knowledge across the film photography community is the heart of EMULSIVE. You can add your support by contributing your thoughts, work, experiences and ideas to inspire the hundreds of thousands of people who read these pages each month. Check out the submission guide here.
If you like what you’re reading you can also help this passion project by heading over to the EMULSIVE Patreon page and contributing as little as a dollar a month. There’s also print and apparel over at Society 6, currently showcasing over two dozen t-shirt designs and over a dozen unique photographs available for purchase.


One response to “It all comes out in the wash: a cheap DIY print washer for darkrooms without water”
It would be better to have the water coming into the tray at the far end from the drain, this will help ensure the water flows across the prints before it exits the tray. For my home made washer I used a short length of hose across the non-drain end of the tray with some 90 degree micro spray heads (garden irrigation) to give a nice broad water source and multiple drain holes to try to stop any “dirty water” collecting in the corners.