One of the things that I love about film photography is how the decisions you make have an impact on the final image — choice of camera, lens, film stock, and developer as well as how you decide to apply these elements give us creative control over the final outcome.
The same logic applies to digital photography of course, although in that case, your creative decisions are often taken after the shoot and involve fannying about with sliders in Lightroom or PhotoShop — anyway, enough of such blasphemy! 😉 What I really wanted to share was my experience using a developer which is new (to me) and one I think you should try out if you haven’t already.
It’s called 510 Pyro, but I call it ‘Magic Juice’! I first encountered it via the UK Film and Darkroom Photography Facebook group which is run by James Lane — who also happens to run Zone Imaging which makes 510 Pyro. I saw loads of people sharing these rich, contrasty, and smooth BW images in the group, and all generally banging on about Pyro to the extent that I had to try it for myself. Suffice it to say that I am a convert!
I’ve tried the developer out on a range of film stocks from 35mm to 4×5 formats and have printed in the Darkroom with some of the resulting negatives too – I absolutely love it! Having this developer in my repertoire allows me to expand those creative choices I mentioned before – if I want to go for super sharp and pretty much grain-free images then 510 Pyro is my go-to.
It comes as a gloopy concentrate which is mixed 1:100 to make your working solution — there’s a growing list of films available on the Zone Imaging Data Sheet for 510 Pyro and if you get stuck James is forthcoming with suggesting timings based on his extensive experience with the developer too.
For processing you use water as a stop bath and apparently, you’re supposed to use an alkaline fixer but I’ve been using Adox Adofix without any issues so your mileage may vary.
I wanted to share a range of images in different situations and film formats as well as under studio lighting and making darkroom prints so that you get a feel for what is possible with this developer.

Danni Fomapan 100 at box speed 4X5 sheet film
A portrait shoot using my Speed Graphic and Kodak Aero Ektar lens – this was my first go with this camera set up as well as my first attempte with Pyro, I love how smooth and dreamy the image is rendered which is of course part of the signature style of the Kodak AE lens but enhanced by the contrast and smoothness that the developer has brought to the party.

Fomapan 100 at box speed 120 film

Fomapan 100 at box speed 120 film

Fomapan 100 at box speed 120 film

Fomapan 100 at box speed 120 film
I took my Pentax 67 for a walk around the village where I live and took a few ‘nothing’ shots of whatever caught my attention, it’s recommended to rate Fomapan 100 at 80 in the data sheet, I forgot this and shot it at 100 so I compensated the development time and left in a little longer.


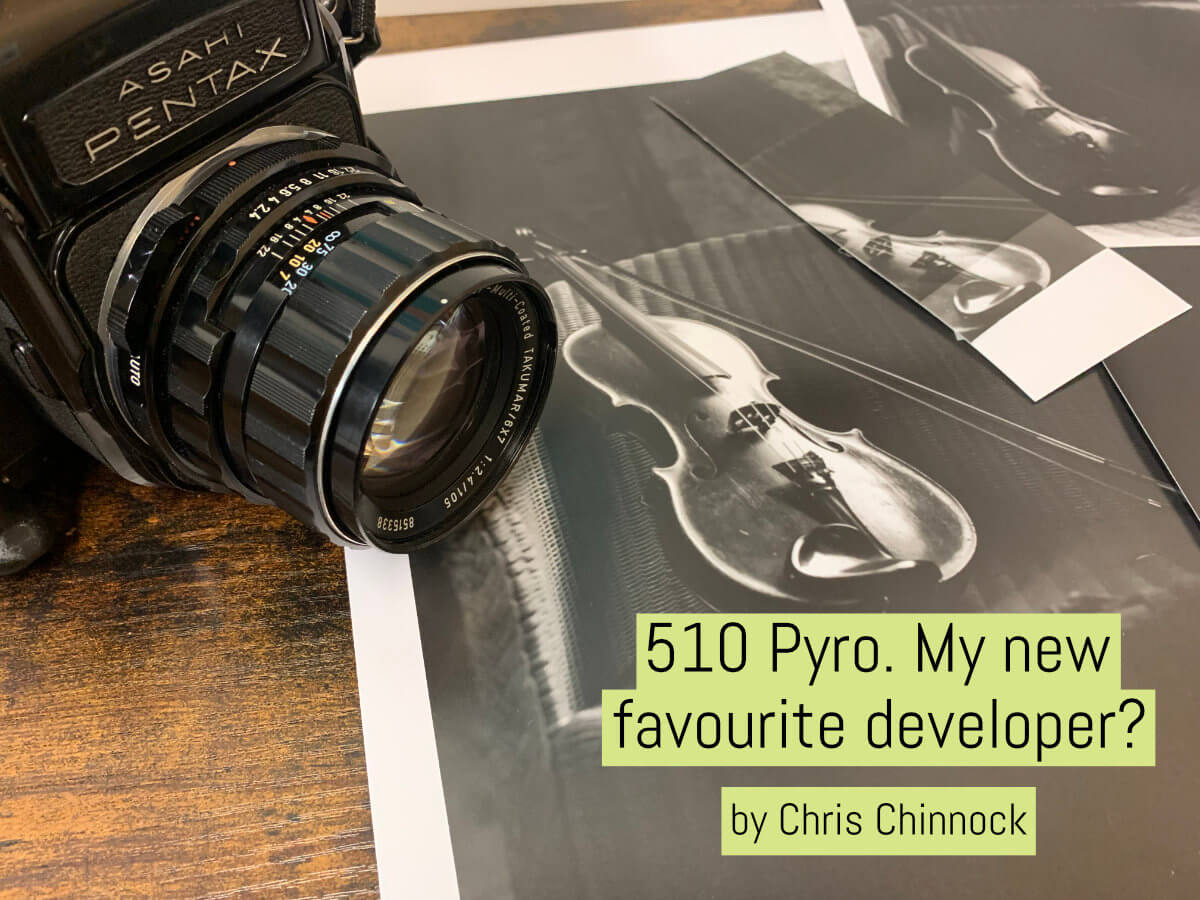
I wanted to show you a print I made from a negative developed in 510 Pyro. I shot this photo of a friend’s vintage violin with my Pentax 67 on Fomapan 100 Classic which I rated as 400 as it was indoors and anyone who knows Fomapan will know that it’s not the best at hanging on to shadow details. I still have a little work to do on the final print so this is a bit of a work in progress but I am LOVING the results so far.
In the interest of completeness, I wanted to share some 35mm shots too – these are from another portrait shoot with my friend Danni, this time under studio strobes and just in case you thought all I shoot with is Fomapan these were take on ORWO N74 which I rated at 400.


Having control of the light with the studio strobes allows you to affect the final outcome – from brightly lit, clean images through to more crunchy, grainy images when the lighting is turned down a little. I think the grainy shots are my faves from this shoot and just go to show that perhaps 510 isn’t a one trick pony — yes, it can do smooth and almost grain-free images, especially in good light and larger formats but clearly, it’s got something for those who love film grain (which I do)!
If you have the opportunity, I highly recommend giving 510 Pyro a whirl!
Thanks for reading! I write a blog all about film photography – shooting, developing and printing. It’s called Adventures on Film.
~ Chris
Share your knowledge, story or project
The transfer of knowledge across the film photography community is the heart of EMULSIVE. You can add your support by contributing your thoughts, work, experiences and ideas to inspire the hundreds of thousands of people who read these pages each month. Check out the submission guide here.
If you like what you’re reading you can also help this passion project by heading over to the EMULSIVE Patreon page and contributing as little as a dollar a month. There’s also print and apparel over at Society 6, currently showcasing over two dozen t-shirt designs and over a dozen unique photographs available for purchase.


5 responses to “510 Pyro. My new favourite developer? – by Chris Chinnock ”
If you’re going to use it as your main developer it may be cheaper (and more satisfying!) to buy the ingredients and mix it yourself:
http://www.pictorialplanet.com/advanced_photography/510_pyro.html
The film format used, the film itself, how it was shot, and how it was developed definitely determine the final look of an image. However, the use of photoshop or lightroom and manipulation of those sliders can also play a major role in how the final film image looks once scanned. Unless you’re printing all these in a darkroom, where it’s also possible to manipulate the final image, I would say post processing is almost as important to your images as the initial steps taken to shoot and develop them. The act of scanning the film in the first place, whether with a flatbed, DSLR, or Drum scanner, is a form of editing anyway. Are you not a fan of any kind of post-processing to make your images appear as you envisioned?
Hello, many thanks for your comment and yes absolutely I agree! Scanning and LR/PS or whatever post processing is just as important to the final look – I was just making a joke in the blog about digital editing 🙂 I think people should do whatever they feel is right to get the look that they want, it’s their image and I’m not one of these ‘purists’
Don’t you think the grain difference between these pics is more due to film format ?
Hi there, it’s a combination of factors – lighting ISO rating and yes absolutely film format makes a difference too 🙂