Welcome to the final (?) part of this three-part series exploring the use of motion picture film in still photography. In part one I spoke about VISION3 motion picture stock and how I use it as a creative tool for my personal photography and in a professional aspect as a filmmaker. I spoke about the rise of digital film making and the need for the use of a native developing process in order to get the most out of motion picture film.
In part two I introduced the concept of motion picture film color balance, color grading and correcting colors in camera. I also touched on the differences between motion picture film and color print (negative) film; and the importance of native development vs cross processing.
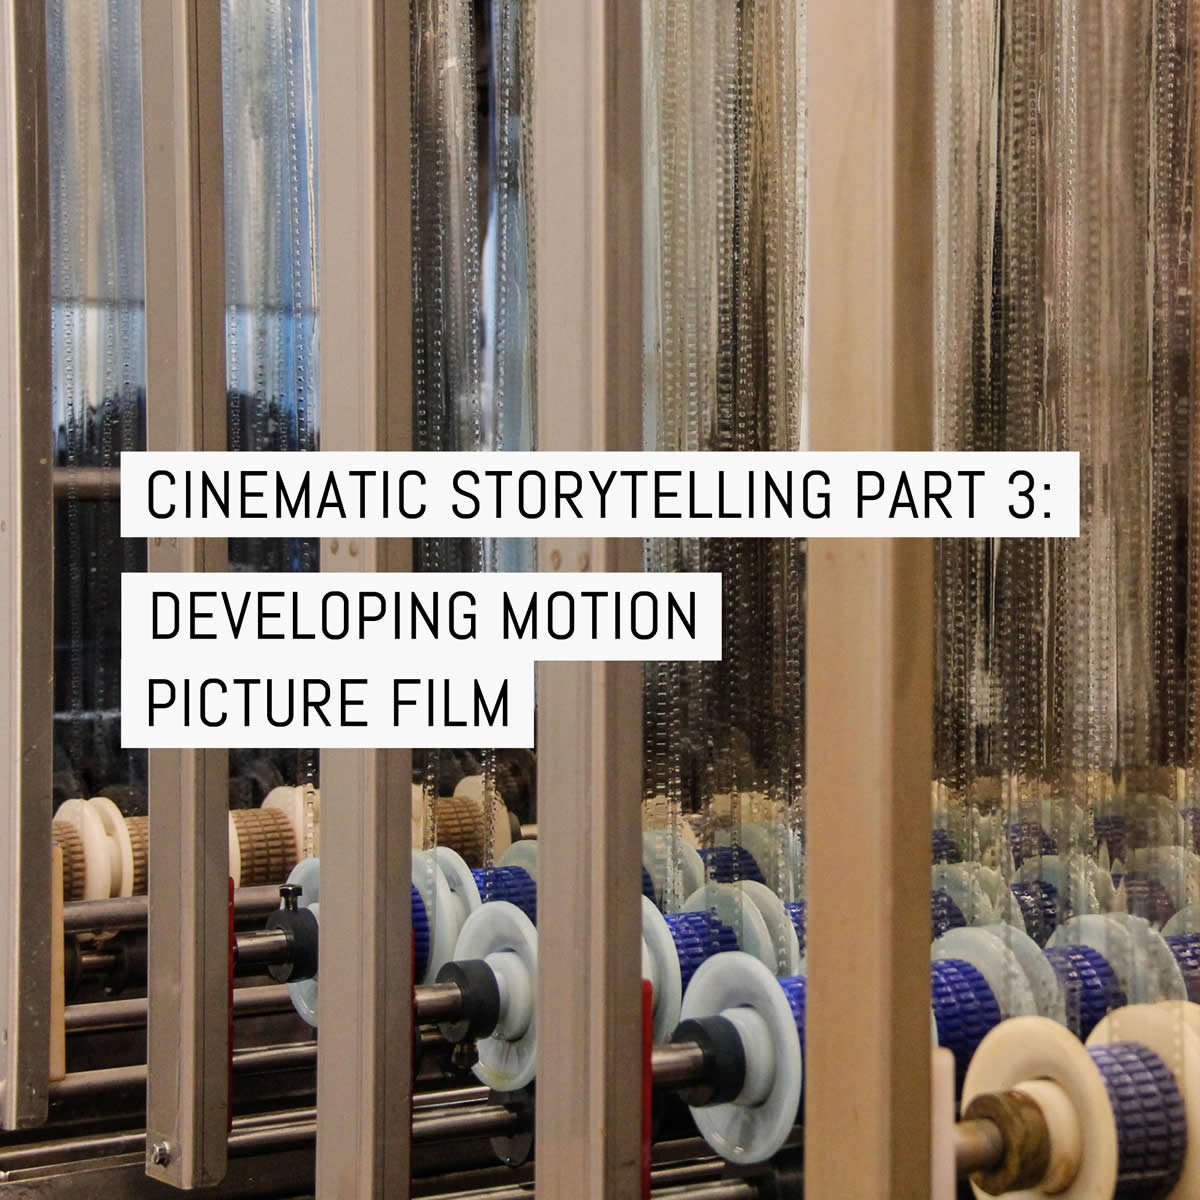
In part three, I’ll be talking about developing and scanning motion picture film.
Specifically, I’ll be talking about high volume motion picture processing, how we downsize this for just one or two rolls of film and then walking you through mixing and then using your own ECN-2 chemistry.
Here are the individual topics I cover:
Motion film processing at large scales
")
")
")
When motion picture film stock is processed for the use in a film production, anywhere from hundreds to thousands of feet of film are being processed for a client or project. Because of this, film is run continuously through a machine with a linear process consisting of rollers and baths. The process has a controlled speed that allows the film to be in each bath for the required amount of time.
A roll of film would be loaded and run through a pre-bath, then once the Rem-jet is chemically ready to be removed, it goes through a series of water jets or buffers to remove any remaining material. The film is then processed through a developer, bleach and fix with wash steps in between, then a final rinse at which point the film is dried and finished.
Motion film processing at smaller scales

While the high-volume method above by far yields the most consistency – you can with the proper temperature control and agitation schedule – process ECN-2 in a small tank by hand.
The formula which follows below is to Kodak specifications with the exception of the stop bath which is substituted with white vinegar (acetic acid) in place of sulfuric acid, and final wash which is a surfactant will use Photoflo.
There are two things that need to be addressed before going any further.
First, the ECN-2 process is much less forgiving when processing by hand than other processes. The tolerance for temperature variances is smaller than most other processes and therefore so is the margin for error. Because of this, the use of, a Jobo or sous vide device is highly recommended to keep this chemistry at its intended temperature.
Second is the number of dry chemicals required to mix this by hand. To mix ECN-2 yourself, approximately 20+ raw chemicals will have to be acquired. While some of these are low reactivity and not a health hazard, other chemicals in this formula are.
If you have not previously acquired chemicals and mixed them using safe handling procedures with proper PPE and good mixing practices in the correct environment, then I would not advise jumping right into as it could lead to injury.
Mixing ECN-2 chemistry
Required PPE, tools, containers, etc.
The following items are required in order for you to measure and mix the chemistry. It goes without saying that PPE should be checked for suitability and wear before use, and that containers, vessels and other items listed below be clean and free of potential contaminants.
While there are some small substitutions either to cut down on hazardous materials like sulphuric acid or hard to source chemicals like AF-2000 or Kodak Stabilizer Additive in this process which is a surfactant like photoflo, it is the closest you can get to processing ECN-2 on a small scale at home.
You will need:
- Protective PPE (protective eyewear, chemical resistant gloves, facemask)
- A weighing scale capable of measuring 0.01g
- 1000ml graduated glass flask
- Glass stir rods
- One gallon of distilled water
- A digital thermometer
- Sous vide/Jobo-type film processor
- 5x 1000ml bottles and suitable labels
Required chemistry and formulas
Here we are going to mix up the following five components required for the ECN-2 process:
- Pre-bath
- Developer
- Stop bath
- Bleach
- Fixer
You will need at least the following chemicals and weights:
- 185ml Ammonium Thiosulfate Solution (58%)
- 20.0g Borax (decahydrated)
- 4g KODAK Color Developing Agent CD-3
- 40g Potassium Ferricyanide (anhydrous)
- 2.7g Sodium Bicarbonate
- 26.2g Sodium Bromide (anhydrous)
- 25.6g Sodium Carbonate (anhydrous)
- 102.7g Sodium Sulfate (anhydrous)
- 10g Sodium Sulfite (anhydrous)
- 8.40g Sodium Metabisulfite (anhydrous)
- 235ml White vinegar (substituted for 50ml of sulfuric acid)
Materials and raw chemicals ready, prepare the 5x1000ml bottles by ensuring them they are clean and dry, with each label to the components we’ll be mixing up below.
Mixing the pre-bath:
- 800ml distilled water at 27-38°C (80-100°F)
- 100g Sodium Sulfate (anhydrous)
- 20.0g Borax (decahydrated)
- 1g Sodium Hydroxide
- Distilled water to make 1 liter (1000ml)
Mixing the developer:
- 850ml distilled water at 21-38°C (70-100°F)
- 2.7g Sodium Sulfite (anhydrous)
- 1.2g Sodium Bromide (anhydrous)
- 25.6g Sodium Carbonate (anhydrous)
- 2.7g Sodium Bicarbonate
- 4g KODAK Color Developing Agent CD-3
- Distilled Water to make 1 liter (1000ml)
Mixing the stop bath
- 235ml white vinegar (substituted for 50ml of sulfuric acid)
- Distilled Water to make 1 liter (1000ml)
Mixing the bleach
- 900ml distilled water at 32-43°C (90-110°F)
- 40g Potassium Ferricyanide (anhydrous)
- 25g Sodium Bromide (anhydrous)
- Distilled Water to make 1 liter (1000ml)
Mixing the fixer
- 700ml Distilled Water 21 to 38°C (70 to 100°F)
- 185ml Ammonium Thiosulfate Solution (58%)
- 10g Sodium Sulfite (anhydrous)
- 8.4g Sodium Metabisulfite (anhydrous)
- Distilled Water to make 1 liter (1000ml)
The ECN-2 process

Outline process and other considerations (temps, total time required, etc.)
- Pre-Bath at 20°C (80°F) for 10 seconds
- Wash tank with water at 41°C (106°F) x3
- Developer at 41°C (106°F) for 3:00 mins
- Stop bath at 26.7-37.8°C (80-100°F) for 30 seconds
- Wash tank with water at 26.7-37.8°C (80-100°F) x3
- Bleach at 37.8°C (80°F) for 3:00 mins
- Wash tank with water at 26.7-37.8°C (80-100°F) x3
- Fix at 37.8°C (100°F) for 2:00 min
- Wash at 26.7-37.8°C (80-100°F) for 2:00 min
- Photoflo
A little over ten minutes processing time excluding those washes. Around 15 minutes in total if you factor them in.
That being said workflow is most important with this process, specifically finding your own and what works best for you. Even with these instructions, there is still a great deal of learning through trial and error and there are things that you will have to find solutions for on your own with your own setup.
Step 1: Pre-Bath at 20°C (80°F) for 10 seconds
Pour pre-bath into your developing tank and let sit for 10 seconds. Do not agitate. Pour back into bottle for re-use.
Step 2: Wash tank with water at 41°C (106°F) x3
Agitate with rinse water for 30 seconds and dump. Rem-jet will come out. You may see coloration in the water. This is normal. Wash thoroughly three times after Rem-jet removal.
Step 3: Developer at 41°C (106°F) for 3:00 mins
Pour your developer into the tank. Agitate for the first 30 seconds continuously and two inversions every 15 seconds after until you reach 3 minutes. Return to the bottle.
Step 4: Stop bath at 26.7-37.8°C (80-100°F) for 30 seconds
Quickly pour stop bath into tank and agitate for 30 seconds continuously. Dump stop bath. You may see coloration in water.
Step 5: Wash tank with water at 26.7-37.8°C (80-100°F) x3
Wash tank 3 times with wash water to remove stop bath.
Step 6: Bleach at 37.8°C (80°F) for 3:00 mins
Pour Bleach into tank. Agitate for the first 30 seconds continuously and two inversions every 15 seconds after until you reach 3 minutes. Return to the bottle.
Step 7: Wash tank with water at 26.7-37.8°C (80-100°F) x3
Agitate with rinse water for 30 seconds and dump. Continue process until water is clear and no longer is yellow from bleach. Approximately 3-4 washes.
Step 8: Fix at 37.8°C (100°F) for 2:00 min
Pour Fix into tank. Agitate for the first 30 seconds continuously and two inversions every 15 seconds after until you reach 2 minutes. Return to the bottle.
Step 9: Final rinse at 26.7-37.8°C (80-100°F) for 2:00 min
After dumping fix back into the bottle, add fresh rinse water and agitate for 30 seconds and dump. Continue to rinse film under continuous water for several minutes to remove residual fixer.
Step 10: Photoflo
Use Photoflo per instructions before hanging to dry. There still may be a very thin coating of remjet on the film. Use something like cotton gloves or Pec Pads to make sure there is no residual remjet.
Final thoughts
That’s a wrap!
At the end of the day, processing motion picture film stock in the correct chemistry is a personal choice that depends on what you are trying to get from your image. If you sourced some rolls or even to have gone as far as to bulk load your own from larger reels, then why stop before the finish line? Why go 75% of the way there and stop?
I am the first person to be experimental with film and push the limits of it. I really do think cross processing does have a place in film in regards to aesthetic and conveying a message. There are also many times where I need to be exactly on point with what I am doing and can not settle for less. In that case, there isn’t room for experimentation or improvisation. Those cases call for the same result time after time. When shooting a roll, you know the exact colors you will get and rely on that.
If that is the case then look into a lab that specializes in ECN-2 such as Quiet We’re Dreaming. Developing is only half the battle, as you also need to understand color grading and how to scan Vision3. While the format is the same for still photography, there really is a big difference as this is movie stock. It comes out on the flat side, it usually needs a grade and while scanning, you have to be attentive to that fact and not treat it like Portra or Ektar.
You need to scan it like a movie. It needs to be understood on its own. Honestly, it is a mindset.
If you have a good deal of color experience and are very comfortable working with raw chemicals that are in a pure form then this might a project for you. Don’t get discouraged! Whether this is color or black and white development, you still have to do something over and over and over with the same exact process to not only perfect it but be able to understand it when something goes wrong. It will go wrong at some point. Keep pushing, take notes, be attentive and be meticulous. That is the only way to learn.
Speaking on a personal level, this has been one of the most rewarding and the most challenging things I have undertaken. It has kept me up late into the night and well into the early hours of the day. I felt like I crammed for an exam every day for a year or two and still there is more to learn. I felt like a mad scientist as my friends wondered why I was excited to get non-descript boxes of chemicals. I was that detective that was obsessed with an unsolved case with a wall full of photos and red string connecting the dots. There was a week where I thought I broke my brain. I would go back and do it all over again.
When I was growing up, film seemed like it was magic. Up until a few years ago I still thought it was magic. It still might be magic. You didn’t really know how it worked but it just did. While a lot of that magic was replaced by knowledge for me, I still will forever be impressed that layers of dye in gelatin create something that can not be emulated and forever will be the most beautiful aesthetic I have ever seen.
~ Jeremy
Share your knowledge, story or project
The transfer of knowledge across the film photography community is the heart of EMULSIVE. You can add your support by contributing your thoughts, work, experiences and ideas to inspire the hundreds of thousands of people who read these pages each month. Check out the submission guide here.
If you like what you’re reading you can also help this passion project by heading over to the EMULSIVE Patreon page and contributing as little as a dollar a month. There’s also print and apparel over at Society 6, currently showcasing over two dozen t-shirt designs and over a dozen unique photographs available for purchase.


8 responses to “Cinematic storytelling part 3: developing motion picture film”
Great series but I hope this quote is a typo or at least sarcasm lol: ” I am the first person to be experimental with film and push the limits of it.”….if it’s neither then perhaps you should remember the film photography days(still and motion) weren’t that long ago and there are still many people around…myself included…that were doing this sort of thing 20 years ago.
Awesome series! I can’t wait to try this myself!
I do have a couple of questions/comments though. Firstly, I see that sodium hydroxide was not included in the main ingredients list, but is listed as part of the pre-bath formula. I’m unsure if this is a typo or if it was overlooked on the main ingredients list.
Secondly, any idea of the shelf life of the solutions after mixing?
Yes! I do this. The differences in my process are that I use EcoPro fixer instead of mixing my own, and I usually run the film through a wet microfiber cloth after the final rinse to remove the remnants of remjet. I do this for 16mm as well, for short films.
trying this today with Jeremy’s kit from Qwdlab, wish me luck
Good luck!
Aaaaah – the headline has been changed as I was writing my comment 😉
I missed the part about scanning the film – as the headline suggested.
Excellent series! Very informative. These have greatly increased my knowledge about these films and how to handle them. Thanks for the formulae as well! If I were shooting very large quantities of this film I would certainly be mixing my own. Smaller numbers would have me buying you kits instead, but since I only have a few rolls, your lab is my best option. You allude to another part to the series and mention that scanning these films are different when scanning than other stocks. Don’t stop now! I’m sure I’m not tge only one waiting expectantly for part four!