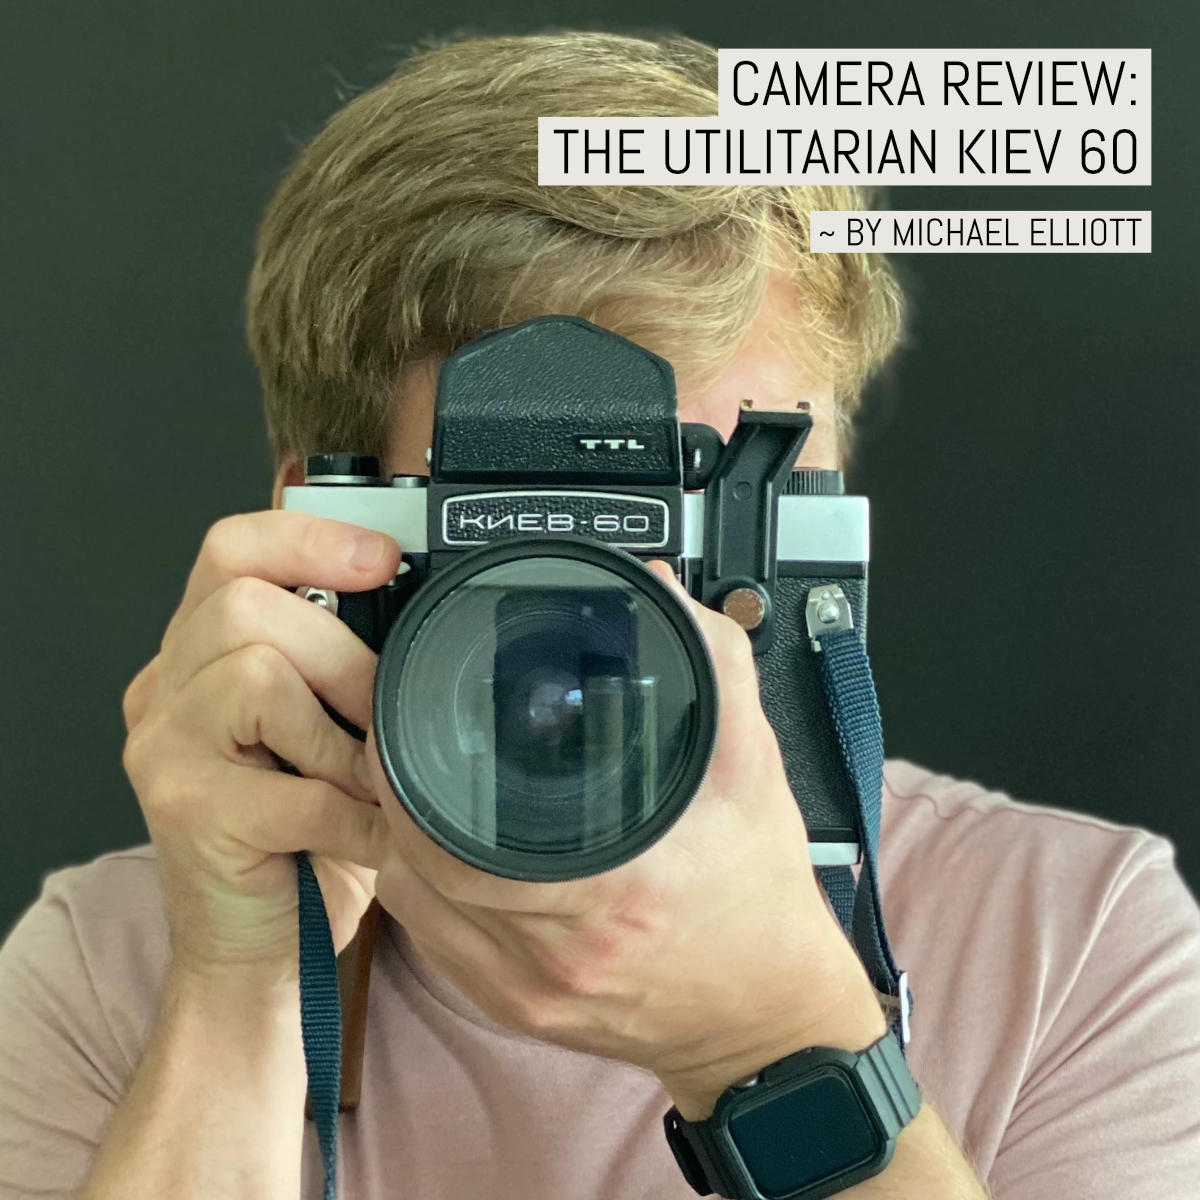
The Kiev 60. It was the camera that got me into medium format film photography, and for better or worse, the one that I love, and the one that frustrates me the most. A Soviet tank of a camera — the T-34 if you will — it’s not one that you want to lug up and down mountainsides, for sure.
For those that are not intimately knowledgeable about Soviet cameras, they typically take a western format and mercilessly copy it in a cheaper, slightly more functional design. The Fed series of rangefinders take after the Leicas; the Kiev line of rangefinders after Contax, and so on and so forth.
The Kiev 60 is the evolution of a copy of — and in a rare turn of events — an improvement on an East German camera, the Praktisix/Pentacon Six, via the Kiev 6S (6C in Cyrillic). As a T-shaped, rather than box-shaped, medium format camera, the Praktisix, and its derivatives, were thought to appeal better to those photographers more familiar with the 35mm SLR format, as the action and shape is identical, except on a much larger scale. Taking standard 120 roll film, the camera should give 12 6×6 square frames per roll.
Here’s what I cover:
The Kiev 60 basics

The camera itself is not universally aesthetically loved. Personally, I find its utilitarian, functional form very pleasing; it announces loud and proud its Soviet origins — with a big badge across which КИЕВ-60 is writ loud and clear, and a СССР badge on the bottom corner of the grip. It is tank-like in its heft, constructed from a lot of metal, and covered for the most part in a textured leatherette. Without a lens mounted, it weighs in at (least) approximately 1.5kg, so it’s not a light machine.
Mounting of lenses is via its Pentacon 6-type breech-lock bayonet mount:
- Line up the lug on the correct tab on the lens with the notch at the top of the bayonet.
- Insert
- Screw the breech lock down.
Pretty simple.
The mount comprises an auto-aperture mechanism so that you can focus, compose and meter in any order, without needing to open up and then stop down again. What’s also cool is that you can get macro tubes that include repeaters so that you don’t need to worry about stopping down when doing macro work.

In terms of viewfinders, there are two options that typically come packaged with the camera — the waist level finder and a pentaprism finder. The waist-level finder is a simple hood with a loupe and sports finder built-in that clips over the focusing screen. It’s interchangeable, though I haven’t tried, as the one I have with the split image focus spot is perfect for my needs.
As a traditional T-shaped SLR, I find myself very rarely reaching for the waist-level finder, and it feels almost odd to use one on such a camera. I know people do, and I regularly see people taking digital photos of the images on the focusing screen through the waist-level finder. I guess another Instagram fad.
The huge mirror pivots back in a swoosh and slap that would make giants cry, and the shutter curtain zips across with a noise somewhere approximating the sound of a small jet engine.
The pentaprism also clips onto the same finder mount pretty easily, and comes with a battery compartment and uncoupled meter. Predictably, for an old meter, and a Soviet one, it’s either badly calibrated, or the CdS cell has started wearing out, as the metering is rather inconsistently (i.e. non-linearly) out. Oh well, the app on my iPhone will have to do I suppose!

The Kiev 60’s focusing screen is clear and bright. While it’s not as bright as the one on the Rolleiflex is, I find is adequately bright for all the lenses I have (down to the 50mm Flektogon f/4). If you have a 2000mm Astro Telestan with a max aperture of f/10 mounted to it, it possibly wouldn’t be too bright, but then again, you’re probably not thinking about the brightness of the focus screen with that particular lens!

Film is loaded is via a traditional hinged back, opening with pressure plate and flush, sprung spool catches. Loading is simple:
- Move the empty spool to the right-hand compartment.
- Load the new roll in the left.
- Pull the leader across, feed into the takeup spool.
- Wind until you line up the start marker on the leader and the camera.
- Close the back, wind, and fire three times, and…
…you’re ready… or so you would think (more on that later).

The camera’s film wind-on action is long, heavy, and unforgiving. You must wind in one complete action, otherwise, the shutter will not cock, the mirror will not drop and the camera won’t “remember” where the film advanced to in the frame. This means you’ll get a large space between frames, and likely lose a frame off the end of the roll. I learned this the hard way when my finger slipped off the winder one day and I went to complete the wind and found that it did a complete wind instead of completing my previous wind.
Lots of sites also mention to wind slowly, smoothly and not (in large, bold type) to let the winder return automatically but to guide it back with your thumb. I haven’t tested that particular theory yet, as I find it pretty difficult to not guide the winder back.
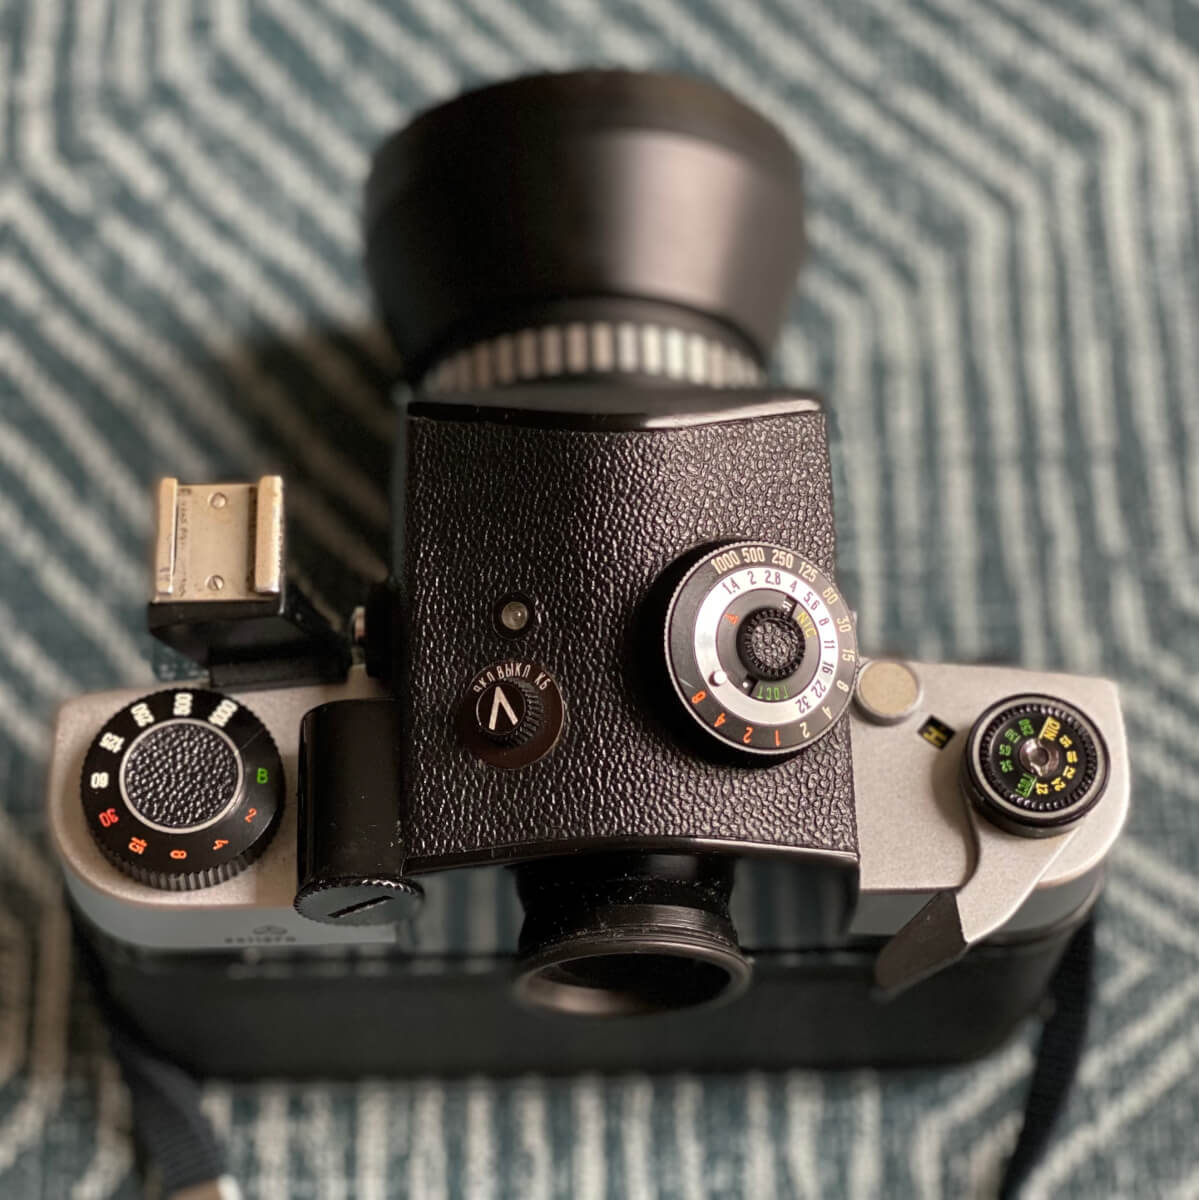
The shutter release is — Like the Pentacon 6 — front-mounted rather than top-mounted. A wise choice, and in the Kiev 60, on the right-hand side of the camera, rather than the rather oddly chosen left-hand location on its predecessor, the Kiev 6C. Why wise, you ask? Because the size of the camera makes it difficult to steadily hold it, and reach your finger to the top plate to depress a shutter. With it on the front, your index finger naturally falls to the shutter release comfortably.


I couldn’t do a review of the Kiev 60 without a mention of the absolute, stonking, noisy mirror slap that it makes when releasing the shutter. The huge mirror pivots back in a swoosh and slap that would make giants cry, and the shutter curtain zips across with a noise somewhere approximating the sound of a small jet engine. I may be over-egging this part, but it is loud.
This is in no way – in size, shape, or sound, a discreet, stealth camera. And because the mirror is heavy, and – on original, unmodified versions (like the one I have) – there’s no mirror lock-up feature (aftermarket refurbs tend to come with MLU retrofitted), shutter speeds slower than 1/30 tend to be off-limits for creating super sharp images — if you don’t mind a little softness, if you mount on a very steady tripod so as to eliminate any other sources of movement, you may just get away with slower speeds. Otherwise, don’t think about trying slower speeds.
The Kiev 60 in use
In use, the camera is actually pretty fun, especially with the shoulder strap attached so you don’t need to hold onto it in your hands all the time (RSI is a real problem!). All this in spite of having to sound an alert when you swing it from shoulder to eye like those HGVs that announce which way they’re turning; especially so if you have a longer lens mounted like the Sonnar 180mm f/2.8 with its hood attached!
As mentioned, as a T-shaped SLR, it feels almost second nature to use the camera like any 35mm SLR. The eyecup on the prism is comfortable, and, depending on the lens you mount, the focus throw will be smooth and long allowing precision focusing.

The split image finder allows precise focusing even in busy backgrounds, and where there is less light and the split image blacks out, there is also a focusing ring around it that allows you to (more roughly) estimate the focus.
I find the action of swinging the camera to my eye, focusing, and shooting pretty natural with this camera. Most of the time I will have set the aperture and shutter speed once, and rely on light conditions being relatively stable, though if I notice the conditions have changed I might re-meter. One thing I have noticed, especially on the Sonnar 180mm, is that the aperture ring can get very “loose” so that you might set it to f/4, and actually end up on f/2.8 or f/5.6 very easily. So it’s always worth double-checking what aperture is set as you swing the camera around.
Again, winding on film is unforgiving and heavy; you won’t be rapid firing this camera but then, if you want a rapid-fire a film SLR, go get an Olympus, Canon or a Nikon 35mm (or a Hasselblad or Bronica cube style medium format SLR) with a motor drive! But there have been moments where I’ve been trying to fire two shots relatively close together, and missed because it’s just so heavy of a wind. The lesson being, use this camera to its advantages and don’t try to use it as a quickfire machine.
Peculiarities, or the curious case of kissing frames
Read any review or article on the Kiev 60 and you will find, predictably, the following curiosities listed time and time again:
- FIlm advance is unpredictable, by the end of the roll, frames overlap by a milimeter or two.
- The camera’s unflocked mirror box causes ridiculous flare
So let’s tackle these, one by one:
1. Film advance is unpredictable: true.
Reputedly because the backing paper on Soviet roll film was thicker than modern-day western counterparts, and because the frame advance mechanism relies not on the current frame just shot, but the thickness of the takeup spool to determine how far to advance for the next shot, this causes the film wind-on to “over-advance” towards the end of the roll.
You’ll read various stories about how to combat this, from a full CLA, to:
- Opening the top up yourself (I tried this and all the instructions I found led me to a dead end as I couldn’t for the life of me remove the film advance lever!), or…
- Winding to a certain point beyond (or before) the start marker on the camera and then firing 2 (or 4) blank shots and winding.
Fortunately, I botched removing a roll of ILFORD HP5 PLUS one day and so had a roll I could use to test how best to attack this. First, I removed the lens, then set the camera to Bulb mode, loaded the film and advanced to the start marker, and shot 3 blanks. Then I started marking in the edges of the frame and the number of the frame in pen on the film as it went past. Lo and behold, by the end, the frames were noticeably overlapping.
So I ran it through again, this time, advancing further than the start marker, and firing off 3 blank shots and “shooting” the whole roll. Again, frames kissed. Sigh…
After much, much trial and error, I found that:
- A piece of extra paper leader around 10cm long added to the front of the roll, and…
- Winding the start marker on the leader to the left edge of the silver ridge just past the start marker on the camera, and…
- Shooting 2 blank frames rather than 3, and then counting the next frame as a “real” frame.
…yielded 13 well-spaced (albeit, very closely by the end of the roll) frames, with no overlap. Not only did I solve the problem, but I found a way of squeezing an extra frame out of the roll.
Now YMMV and so on and so forth, but I do find every so often I’ll get a roll where the first frame I shoot ends up partly on the tape attaching it to the leader, or the last frame ends up off the roll. It depends how I attach the extra leader, and if I hit the right marker bang on as I load the film. But, most of the time I get 13 usable frames, 12 of which will be full frames (or sometimes, 14 frames, with 12 full frames, and two half- to third-frame bits and bobs, one off either end of the film).
My advice? Try this out, count the “first” frame (technically the last “blank” shot you should be firing) as a bonus, shoot the other 12 as normal, and try firing one off at the end (past the 12th frame) and seeing what you get. It can’t hurt to try, right?
2. Unflocked Mirror Box causes ridiculous flare: somewhat true.
If you shoot into direct light then you will get flare — both from the unflocked mirror box, and from the likely single-coated lens that you’ve mounted on the camera without a hood (there are MC versions of lenses but all mine are classic Zebra single coated Zeiss Jena lenses). Unrebuilt examples of this camera come with a mirror box painted in semi-matte paint. Yep, that’s semi-matte. Not full matte. So expect some reflectivity.
Your guess is as good as mine as to why, and I’m not going to venture down that road. There’s absolutely no reason not to do a DIY job and flock the mirror box yourself. You can either get some ultramatte enamel paint and repaint it yourself, or alternatively, ARAX do a good, easy to fit kit on eBay for a few dollars plus postage that takes about 10 minutes to fit the pieces in.
They’re a bit fiddly, so if you have fat fingers like me, you might want to get a pair of tweezers to do the job. Remember to remove the lens, open the back, set the camera to bulb mode, and — if you have it — screw in your cable release. Then fire and lock the shutter open, and do the necessary sticking (you will need to place the two side pieces from behind since trying to do it from the front is close to impossible).
…and get lens hoods for all your lenses if you’re shooting outdoors in strong sunlight.
Lens availability
There’s not much point to a camera system if, when you buy into it, there’s no decent glass to be had for it. And while I’m not going to do a review of the glass I have for this camera in this article – that will come in a later blog post – I will likely wax lyrical about the lenses I do own, unscientifically, and without any proof.

Suffice to say, the Kiev 60 has to be one of the most affordable ways into medium format film photography because of the use of the Pentacon 6 lens mount. There is such a vast range of glass, ranging (in order of expense/desirability, from East to West) from the lenses coming out of the old Arsenal factory in Kiev itself on the budget end, through the Zeiss lenses coming out of Jena, to the Schneider glass on the western side of the Wall that was designed for the Exakta / Norita 66 using the same mount, on the upper end of the price scale.
There’s really something out there for all budgets and requirements.
Arsenal have a reputedly brilliant fisheye (30mm focal length) lens that you can pick up on eBay for a couple of hundred pounds. A fisheye on a medium format camera for a couple of hundred quid? That’s pretty decent value if you ask me. (EM: I have one and had it converted to Hasselblad’s V-Mount when I sold my P6 kit.)
Then you have the aforementioned 2000mm Astro Telestan on the other end of the scale. Sure, that’ll set you back a cool $2700 – if you can find one, that is. This page claims to have one for that price, but the more I read about this lens, the more I think it’s a myth rather than reality.
In between the two, there’s pretty much every focal length you could ever need. A vast range of super-wides, wides, normals, teles and super-teles.

The Zeiss Jena Sonnar 180mm is so heavy, it has its own tripod mount…
If you’re looking for a versatile piece of kit, with access to some of the nicest glass you could get your hands on, for a reasonable price, then you can’t go wrong with the setup I have:
My current Zeiss Jena lenses
- Flektogon 50mm f/4
- Biometar 80mm f/2.8 (the “kit” lens)
- Sonnar 180mm f/2.8

My current Arsenal lens
- Mir-38B 65mm f/3.5
You cover a good range from wide through to portrait. The Sonnar 180mm is a legendary piece of glass and the example I purchased, since it had some fungus on the edge of one of the middle elements, came in at a jaw-dropping £125. In fact, the cost of the camera + lenses above was sub-£500 (that’s not including all the other extras I bought that I didn’t really need, like the strap, filters, and so on).
£475 for a medium format camera, and (pretty decently fast) lenses to cover most needs, three of which come from one of the most renowned lens manufacturers in the world?
I’d call that a steal.
Conclusion
In conclusion, there’s a few things to be noted. This definitely isn’t a camera for someone who isn’t willing to get down and dirty with the ins-and-outs of how mechanical cameras work. You will buy sight unseen off eBay, like me, and you will find that, while functional, it will have a variety of quirks ranging from the minor ones mentioned above, to more concerning ones like the shutter not firing properly, the pressure plate not correctly holding the film flat against the film plane, the winder not working correctly. Be very, very mindful of that when you fork out your cash.
If you get a body that works well and you can get over the mechanical quirks, invest in the flocking kit. You will save yourself a lot of heartache looking at beautiful photos, except for that damn streak of light down the middle!


Burn a cheap roll through it to determine whether you have the frame kissing problem. And by that, I mean before you do any serious photography and send rolls out to get developed. The £5 or £6 you spend on a roll of ILFORD HP5 PLUS to burn will be worth it in the long run. Run it through with the lens taken off, on bulb mode, and mark where the frame edges are. Then, if they do overlap, run some experiments to see what works for your particular body – whether it’s additional leader, advancing the roll to just past/just before the start marker on the body when loading, holding the shutter down while winding the film on… whatever works for you.
Do I think it’s worth spending £125 on a CLA (that’s what I was quoted) just to fix this? No. You can find a practical way to get around it without sending it off to get work done on it unnecessarily. Obviously if it has more serious defects and needs a CLA, then yes, send it off by all means and get them to calibrate the winder at the same time as they calibrate the meter and so on. But just for this? Nah.


Invest in lens hoods if you get single- or uncoated lenses. Like with the flocking of the mirror-box, there’s really no reason not to; you don’t need to be like me and get original hoods for stupid prices just for completeness’ sake, but just get them.
And finally – lift some weights. Especially if you plan on getting a long lens. The longest lens I’d say you can comfortably shoot handheld is probably the 120mm Biometar. I shoot the 180mm handheld but it’s not the most comfortable of setups. It’s heavy, it’s clumsy, it’s going to make you pull a muscle in your shoulder at some point for sure. But it’s worth it, for the pictures you can take with it are glorious in their resolution, clarity and richness of colour.

It also makes for good anti-paparazzi camouflage…
~ Michael
Share your knowledge, story or project
The transfer of knowledge across the film photography community is the heart of EMULSIVE. You can add your support by contributing your thoughts, work, experiences and ideas to inspire the hundreds of thousands of people who read these pages each month. Check out the submission guide here.
If you like what you’re reading you can also help this passion project by heading over to the EMULSIVE Patreon page and contributing as little as a dollar a month. There’s also print and apparel over at Society 6, currently showcasing over two dozen t-shirt designs and over a dozen unique photographs available for purchase.


7 responses to “Camera review: The utilitarian Kiev 60”
… this old russian camera was used to take former east-block 120 films with thicker paper than modern 120 films … if you enlarge the metal toothring with some rubber coat or glue there will be no overlapping
The Kiev 60 was what got me into the Russian Camera Rabbit Hole!!! I do have the fisheye and a 65mm lens in addition to the regular 80.
I try again to leave a comment.Camera review: The utilitarian Kiev 60
https://emulsive.org/reviews/camera-reviews/kiev-film-camera-reviews/camera-review-the-utilitarian-kiev-60#comment-15033
One of the best useful and intelligent review I have seen!
BRAVO!
Simply perfect.
All the best advices to enjoy a medium format at a decent price.
Russians are nice people, they have produced nice gears, and when like all old cameras, when we find one in good shape it can seduce us. By the way with all your great advices we know how to enjoy fully this great camera, so :
THANK YOU SO MUCH and : ***** REVIEW, BRAVO!
You have done a wonderful review, I will read again, and again to give me a raw model to make a good review.
Hi Eric, your comments were automatically marked as spam. I unmarked the most recent one manually 🙏
😉 thank youuuuu 😉
So nice.
See you all
Thank you so much for your kind words Eric. It really makes me happy that you found it useful!
Brilliant article. (as we are used here on Emulsive)