In part 1 of my Quest to make art for the living room wall, I went over the process I use to make black and white 8×10 prints in the darkroom. I want to make bigger prints though — 16×20 and bigger. Although silver gelatin darkroom paper is available in big sizes (especially if you’re willing to buy a roll from ILFORD), I’ve also been interested in “alternative processes”: cyanotype, van dyke brown, salt prints, albumen prints, gum bichromate, etc.
I think part of the appeal of these processes is that they look more handmade. Silver gelatin prints look very perfect, digital maybe? The problem with alternative processes is that most of the emulsions are UV sensitive, meaning they require contact printing (although Douwe Krooshof made a UV enlarger to get around this problem). Contact printing requires a negative the same size as the finished print.

Our options for making big negatives:
- Print a digital image onto a big piece of acetate with an inkjet printer.
- Get or make a camera that can make big negatives directly.
- Make an internegative. This would mean making a contact “print” of the negative onto another piece of film, then enlarging this positive onto a big piece of film to get a big negative.
- Shoot black and white slide film, and enlarge the slide onto a big piece of film to get a negative without the “internegative” step.
- Enlarge a regular negative onto big film and reversal process it.
- Enlarge a regular negative onto big film and process it normally, making a negative print.
- Use a printing process that requires a positive instead of a negative. For example, the UV light lightens the emulsion with anthotypes. I have also wondered if it would be possible to make a gum bichromate print on dark paper with a white emulsion.
Option 1 is obviously cheating, so that’s out. The big camera (Option 2) is another project in itself, and not very practical for “out and about” shots. A large pinhole camera would not be difficult to make though, so I decided to throw in a pinhole-vs-lens experiment here to see if the quality/sharpness would be acceptable.
Options 3, 4, and 5 should be doable without any special equipment and a little bit of experimentation, but I’d still need a large piece of film (as would Options 2, 6, and 7). Option 6 might be interesting to try for abstract pictures, but isn’t going to work for most representational photos. Option 7 is an experiment for another time.
Our options for big (16×20″ or bigger) film:
- Arista Ortho Litho film – can be bought in big sheets, affordable, orthochromatic
- X-ray film – becoming more and more difficult to get hold of, more difficult to handle than Arista Ortho Litho due to double-sided emulsion
- Make my own film – prepare a dry plate by coating glass with something like Liquid Light, or make my own emulsion
- Use darkroom (silver gelatin) paper
Before I thought to ask the question “does resin-coated darkroom paper transmit enough UV light to even bother,” I’d already begun an experiment to compare film negatives with paper negatives. Even if this turns out to not be useful for alternative processes, I’m interested to see what kind of result I can get with paper negatives, as paper is much easier to handle than film.
I’ve used paper negatives in the past to test cameras. Like polaroids, one can take a picture and see the result three minutes later. Also, paper is cheaper than film — a 4×5″ piece of film cost the same as six pieces of darkroom paper. I’d also like to start making colour prints soon, and would love to find away around developing colour film (for me it works out cheaper to get a lab to develop it than buy a kit to do it at home, but that means a 2+ week delay, and the cost adds up.) I’d like to give RA-4 negatives a go.
Let’s get started with the experiment… (I should add here that this article deals specifically with making prints from paper negatives, and exploring whether they are useful for making large prints to hang on the wall. If you are scanning your paper negatives to use digitally, all I can tell you is that they are easier to handle/develop than film, and easier to scan. They are not quite as sharp as film (if we’re comparing the same sized film and paper negatives), but they’re perfectly acceptable in terms of sharpness and contrast).
Step one, figure out how to pre-flash the paper. I wound my enlarger head as high up as it would go and stopped down to f/16. The paper went dark grey even after 1 sec. I put an 8-stop ND filter above the condensers and tried again:


The top is ILFORD MG RC IV Pearl paper and the bottom is Multitone RC Pearl. The ILFORD starts to look a bit grey at around 4 seconds, so I start with 4 seconds. This depends heavily on your setup and light source, so will be different for every setup. I usually cut and load all of my paper into the film holders, and then pre-flash it after.
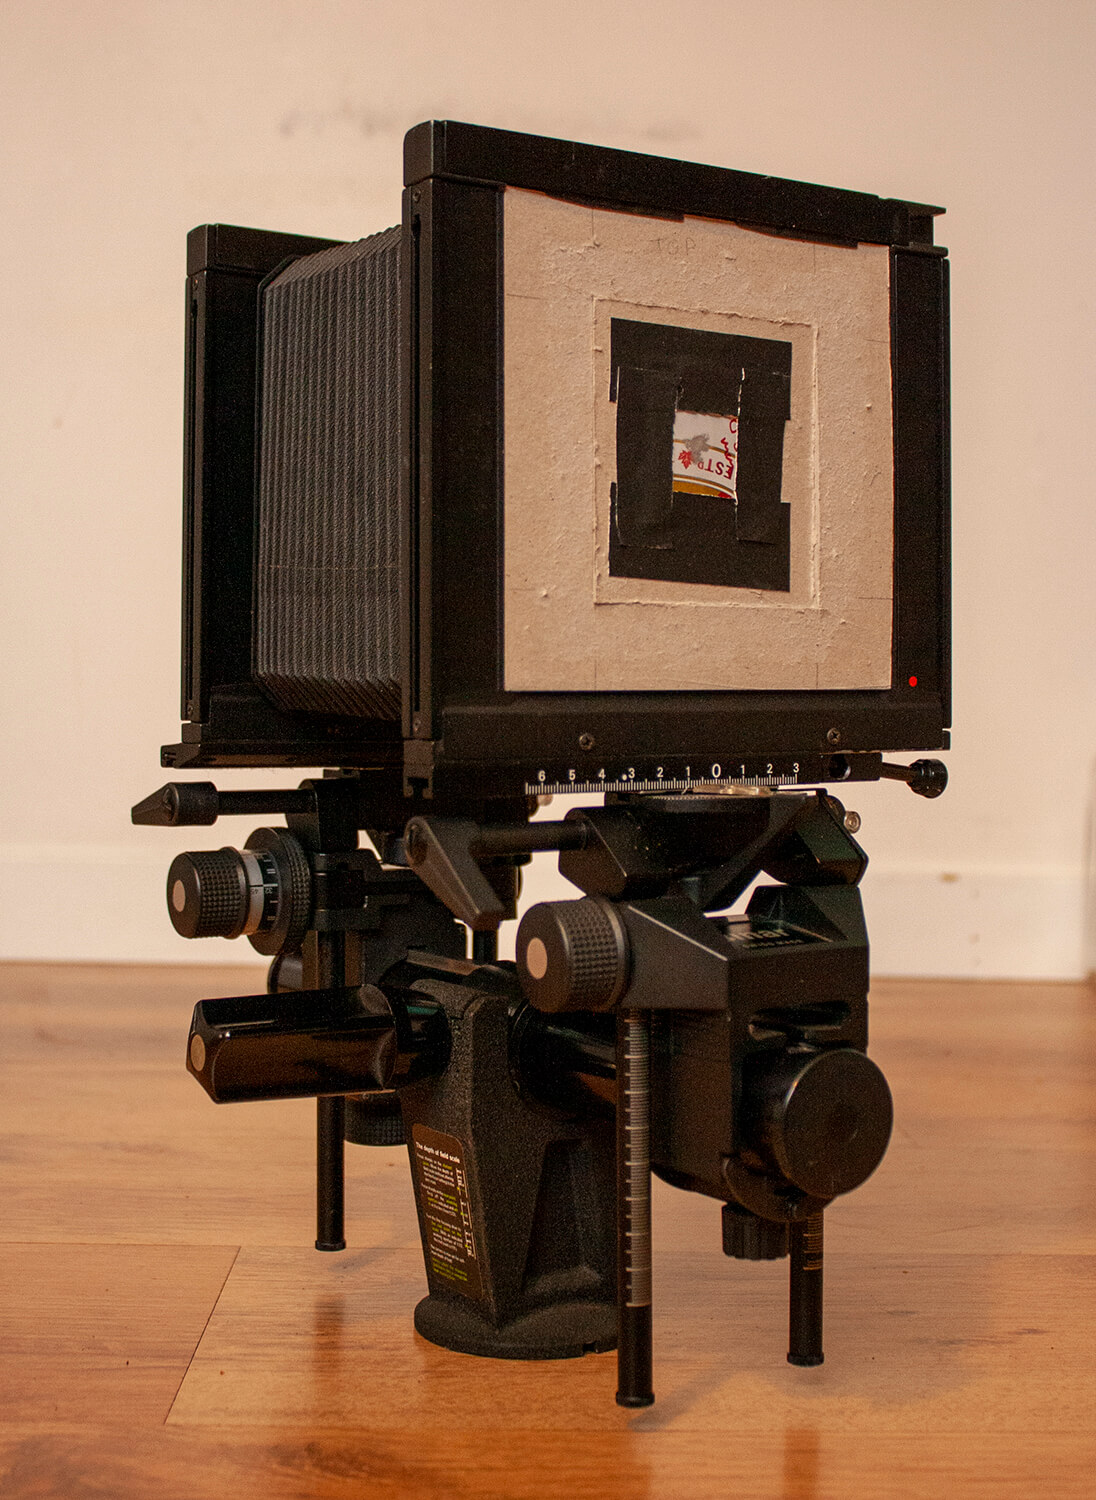
The second step, determine the ISO of the paper under my specific lighting conditions. The emulsion on the paper is only sensitive to blue light. The upside of this is that you can handle the paper under a red safe light. The downside is that you will need to expose differently based on the temperature of the light you’re shooting in, (also non-blue objects might end up looking darker than expected and skies will be bright white). I plan on shooting mostly in the studio, so shot all of these tests with a single 5600K continuous LED (specifically the Godox SL-60 with a softbox). I used a Sinar F monorail 4×5 camera, with a Kodak Optar 127mm f/4.5 lens (on a homemade cardboard lens board).
Test 1: Metered at ISO 100, f/11, 1/4s
Add bellows factor and adjust for ISO 3 (just a starting guess): f/11, 18 sec

Test 2: A bit overexposed, so try ISO 6, f/11, 9 sec

Good detail in the shadows, maybe the highlights are a bit dense. The Multitone paper looks like it requires shorter exposure times — I got the best results at ISO 25 with a 5-sec pre-flash:

This looks really good to me. I decided to try the ILFORD MG with a longer pre-flash (7s), and try ISO 12 (I know, not very scientific to change 2 variables at once).

That’s not quite as dense as the Multitone, even though I gave it an extra stop of light and 30% more pre-flashing. The deepest shadows are lacking detail, but I realize this is quite a high-contrast subject. The difference between the light side and the shadow side is stops. I decided to try another subject:


After some messing around, I settled on ISO 25 (5s pre-flash) for the Multitone and ISO 12 (7s pre-flash) for the ILFORD MG.
Step three, shoot the same shots on film. I used Fomapan 200 Creative, rated at ISO 100 and ISO 200, as I thought I might as well see how much effect pulling film has on the contrast while I’m experimenting. Also, there are no published times for Kodak D-23 1:1 with Foma 200, so I thought I could test the development times I’d arrived at for each speed too.

Step four, pinholes. I made a pinhole with a sewing pin in a piece of a pop can. I actually made about 20, and measured them by putting them in the negative carrier of my enlarger. I chose the one closest to 0.55 mm (should be optimal for 175mm focal length), and the one that was roundest and didn’t have any burrs. I taped it to a piece of cardboard with a hole in. I don’t know the reciprocity failure factor of Fomapan 200 (there’s a chart online, but it depends on adjusted development times, and I don’t want to develop each sheet separately.) I went with the numbers for FP4. It wasn’t enough and my pinhole images came out underexposed. I was planning to do pinholes on paper too, but with the (lack of) light I had, exposures would have been over an hour.

Step five, develop film: Kodak D-23, 1:1, 8 mins for Foma 200 @ 100 ISO, 13 mins for Foma 200 @ 200 ISO, in a 2-reel Paterson tank, taco style. No, 4×5 film doesn’t fit in a 2-reel tank.
Step six, contact printing. I made all the prints on ILFORD MG. The negative was placed face-to-face with the printing paper and a heavy sheet of glass was put on top to squish them together.
Step seven, compare results.

- Fomapan 200 @ 200 ISO (f/11, 2.5 s) contact printed with contrast 1 filter for 10s
- Fomapan 200 @ 100 ISO (f/11, 1.25 s) contact printed with contrast 1 filter for 10s
- Pinhole image on Fomapan 200 @ 200 ISO (f/360, 18 mins) contact printed with contrast 1 filter for 2 seconds
- Lens image on ILFORD Multitone RC Pearl rated at ISO 25 with 5s pre-flash, contact printed with contrast 00 filter for 50s

- Fomapan 200 @ 200 ISO (f/16, 1.3 s) contact printed with contrast 2 filter for 5.5 s
- Fomapan 200 @ 100 ISO (f/16, 2.6 s) contact printed with contrast 2 filter for 5.5 s
- Lens image on ILFORD Multitone RC Pearl rated at ISO 25 with 5s pre-flash (f/16, 10.5s) contact printed with contrast 2 filter for 20s
- Pinhole image on Fomapan 200 @ 200 ISO (f/360, 12.5 mins) contact printed with contrast 2.5 filter for 1s
In printing, I tried to get these images to a point where they were comparable in terms of exposure and contrast, but found that not to be possible in practice. The base of the paper negatives is so thick (compared to the transparent base of film) that the prints from the paper negatives are very low contrast. To get the lights (Dmin) and darks (Dmax) in the same places as the film negatives I could have printed the with the higher-grade contrast filters, but this would give us an almost two-tone image with either the darks solid black or the lights blown out:

If we’re lacking contrast in the printing stage, why did I go to the trouble of pre-flashing in the negative stage to reduce contrast? To try and get more range I guess. If we made a high contrast negative with only blacks and white and few mid-tones, we couldn’t get more mid-tones in the printing stage. We can’t print information that isn’t there.
This lack of contrast isn’t a huge problem though. The contact prints from paper negatives are not as contrasty as the prints from film, but are acceptable. There is more fiddling around that could be done to get better results, but at this point I’d gone through $30 of paper and a week’s worth of free time.
The prints from paper negs aren’t as sharp as from film. I’m not going to… what’s the analog version of “pixel peeping”? If one were to hang a contact print from a paper neg on the wall it wouldn’t look un-sharp at a regular viewing distance. I used pearl-finish paper here too — using glossy paper would probably give sharper results.
The pinhole gave acceptable results with the skull picture. It obviously isn’t as sharp as the others, but some of that is down to the lower contrast caused by underexposure. With correct exposure, I think they would look sharper. A laser-cut pinhole would probably improve sharpness too, as would increasing the negative size. With these improvements, I think a pinhole camera is viable option for making prints to hang on the wall.
What about enlarging these paper negatives? Below is an 8×10 enlargement from the Foma 200 negative, followed by an 8×10 enlargement from the paper negative:


There are a lot of problems with the print from the paper neg, but I think most of them could be overcome with a bit more time (and money — darkroom paper isn’t cheap). The biggest problem is the long exposure times needed. This print was 4.5 minutes at f/4.5, (compared to 16 seconds at f/8 for film). I think I’m well into the reciprocity failure of the paper here, as after about 2 mins, more time wasn’t giving much more density in the print. If anyone knows about reciprocity failure in paper, please let me know when it kicks in! No amount of time was giving me darker edges. I think that’s down to the crappy enlarging lens I’m using. Wide-open I think there’s A LOT of fall-off around the edges.
Although this is only a 4x enlargement, I’m really surprised with the detail in this print. I can see the threads in Hulk’s pants, and the knit stitches in the sock monkey’s arm. I think this is something worth perusing, so I’ve bought a better lens on eBay, some Multitone paper in bigger sizes (which hopefully will need shorter exposure times), and I’m trying a brighter bulb in the enlarger. Does anyone know of a paper with a thinner base?
This experiment could go on much longer, but I have come to the realization that all my experimentation (the paper negative testing and all the messing around that I’ve been doing the last few months) is useful and is teaching me a lot, but it’s also procrastination. I don’t need more knowledge or practice, I just need to get it done. Done is better than perfect.
So, in Part 3, I’m actually going to make a print to hang on the wall. I’ve already gathered the materials:

~ Sarah
Share your knowledge, story or project
The transfer of knowledge across the film photography community is the heart of EMULSIVE. You can add your support by contributing your thoughts, work, experiences and ideas to inspire the hundreds of thousands of people who read these pages each month. Check out the submission guide here.
If you like what you’re reading you can also help this passion project by heading over to the EMULSIVE Patreon page and contributing as little as a dollar a month. There’s also print and apparel over at Society 6, currently showcasing over two dozen t-shirt designs and over a dozen unique photographs available for purchase.


3 responses to “My Quest to make art for the living room wall – Part 2: Paper negatives”
People have made reflection enlarger heads for paper negatives that seem to do a better job than transmitting light through the back of the paper.
Thank you for the work that went into this article!
Hi Joe,
(Love your YouTube channel by the way!)
By “reflection head” do you mean something that shines light on the front of the negative? I hadn’t thought of just taking a picture of the negative with the camera. I’ll give this a try soon. This might work well for RA-4 paper as most of it has a print on the back.
Sarah
Sarah
This is a very disciplined, meticulous and fascinating description of your avant garde effort at producing such inventive negatives and prints. Thank you for your time and effort on this, and for your detailed description of the process.
NS Marco
Old School Amateur Photographer
Connecticut