If you are reading this article, you are a keen film photographer and have most likely experienced the joys of film photography across a range of film types, such as monochrome or colour negatives and colour transparencies. But black and white “slides”? Whoever heard of that?
Go back 55 years to the time when I was a kid, black and white movies, black and white “film strips” were an everyday event. You could borrow a travel or cartoon “film strip”, (invariably black and white transparencies) from the local library, load it up on the family slide projector, then spend hours marveling at the stunning monochrome images.
Black and white transparencies aren’t consigned to the history books, however. By the end of this piece, I am hoping to enthuse you to experiment with DIY black and white transparencies from typical black and white negative film, and experience the joy of creating your own stunning images.
Here’s a sneak peek at the final result!

Producing your own it is not going to break the bank — it just takes a bit of patience, organisation and persistence. Which is a good thing we film photographers have that in spades!
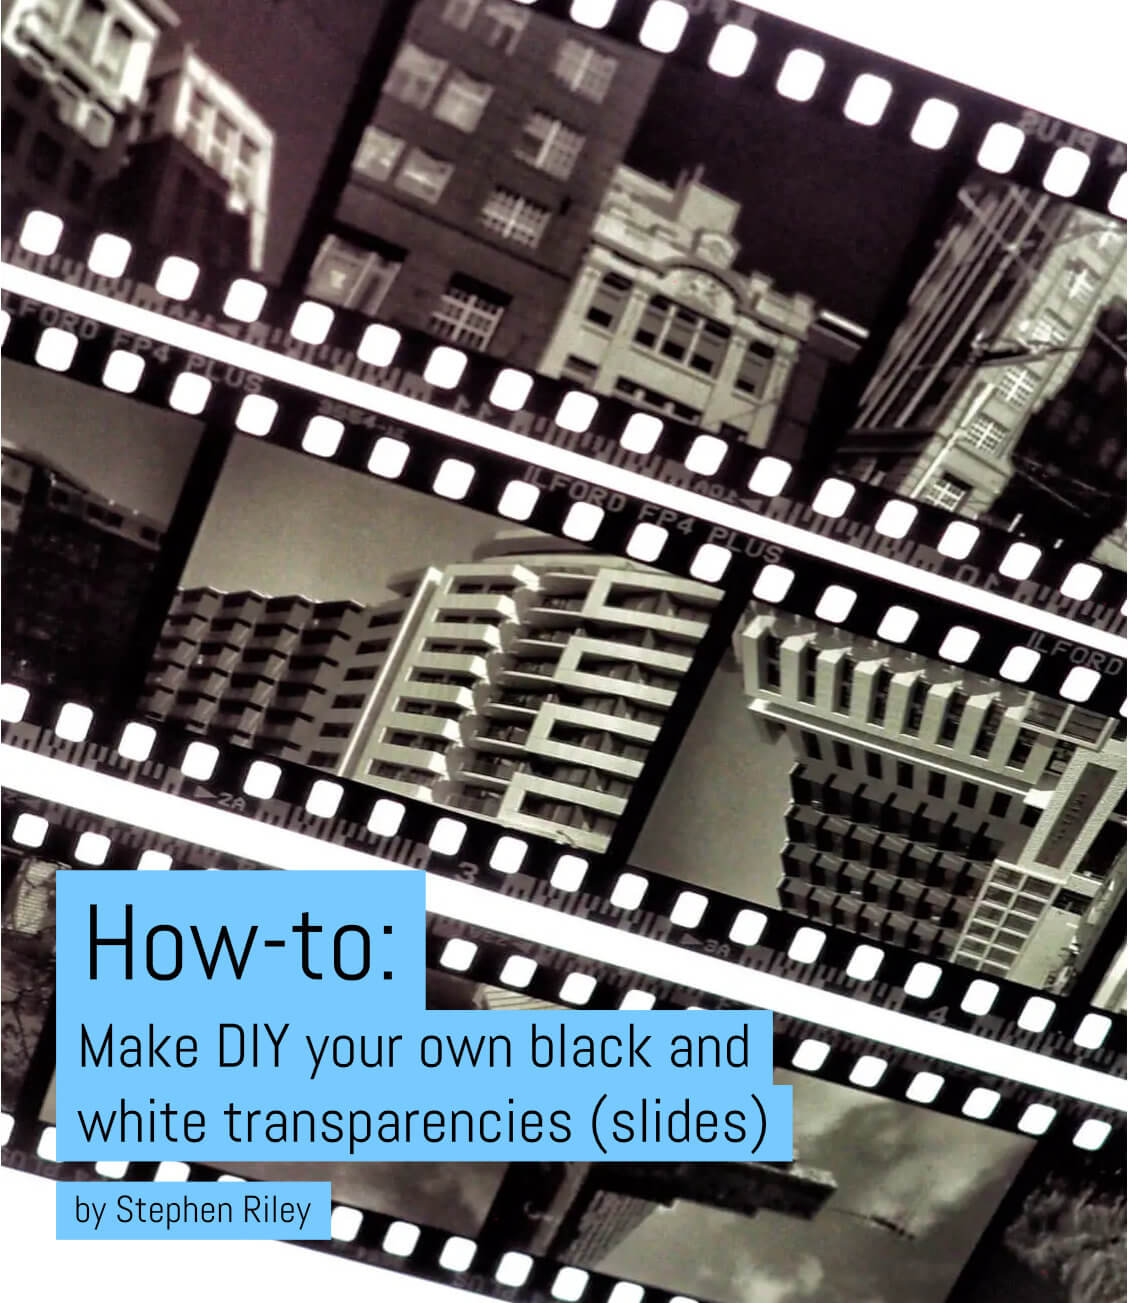
I use black and white transparencies created with ILFORD’s FP4 PLUS to illustrate this article but, as you’ll see further down the page, you can use almost any other black and white film.
Have I piqued your interest? Here’s what I cover in this article:
Slide film and transparencies are amazing
Colour transparencies from slide film are an experience all of their own. Slide/reversal films, such as Kodak Ektachrome and Fuji Provia 100F are not cheap, and their exposure latitude is much more restricted (narrower) than negative film, so extra attention must be taken to ensure accurate exposure. Then comes the development…
Exposed slide film generally goes off to the lab for E6 processing and if the lab processor didn’t break down and ruin your film (as has happened to me at least 3 times, including my wedding photos!) a hefty processing fee occurs. The effort, expense and wait are worthwhile however, because those transparencies (slides) are brilliant in colour saturation which, along with the clarity just jump out at you from the light-box, no matter what the format. 35mm slides look great, but a 4×5 transparency is awesome!
In my opinion, no digital camera screen can match the magic of a colour transparency on a light-box! Why is this? In the development of a negative, the tonal range of an image is compressed to allow for printing on media. In comparison, a slide (transparency) has a greater expanded tonal range, which is especially evident when viewed by transmitted light.
Hands-on stuff: Printing vs reversal processing
There are two main ways to create black and white transparencies. The first is known as “printing”; the second is a wet chemistry process that requires a few more steps to the normal negative process using standard developers, making it a “reversal process“.
“Printing” is very similar to traditional printing using an enlarger. If you have seen a movie shot in monochrome, this is the process involved: Steven Spielberg’s “Schindlers’s List” was shot on Kodak Double-X 5222 negative film. It was then processed using a low contrast developer, and then every frame was “printed” onto a high-contrast projection-quality negative and redeveloped.
So, a negative of a negative creates a positive.
Since this article is about the second method: reversal processing via wet chemistry into a positive image we won’t cover “Printing” in a lot of detail. If you want to try printing yourself, I would recommend buying either a slide duplicator attachment for your camera/lens (they are cheap) or simply photographing a negative of a negative on a light-box using a macro lens.
“Printing” will invariably lead to a loss of image quality, which is why wet chemistry processing makes good sense. The positive images are created on the original film straight out of the camera.
Can I make transparencies (slides) from other black and white films?
In short: YES.
I chose ILFORD FP4 PLUS because it is a film I am very familiar with and produces great monochrome images. I wanted a medium-speed film because I always use a coloured filter to enhance colour separation in the image (in this case, a yellow filter), which will reduce the effective ISO by a stop, yet still allow hand-held exposures.
If you want to experiment, slower, traditional ISO rating films such as ILFORD’s PANF F PLUS have fine grain, are higher in contrast, don’t fog as much as faster emulsions and give richer blacks. I have also made very acceptable slides from a Kodak T-MAX 100, a modern tabular grained film.
Let’s take a look at the process…
An overview of a black and white reversal development process
The back and white reversal development process contains a few extra steps over typical black and white film development. Here are the main steps:
The 1st step is negative development — similar to developing any monochrome negative. Added to the developer is a silver “solvent” such as sodium thiosulphate (Hypo) to remove the silver halide crystals present in all film emulsions, but which are inert and not sensitive to light. If not removed, these crystals will degrade highlights.
The 2nd step is bleaching to remove the silver image, which leaves behind a positive image of the remaining unexposed and undeveloped emulsion. This is followed by a dunk in a clearing solution to remove stain.
The 3rd step is a fogging process that facilitates the rapid development of the remaining silver halide. This can be done in 2 ways: either by exposing the film to tungsten or fluorescent lighting, or by a chemical process involving tin (stannous) chloride as is used in the E6 process.
The 4th step is a second development of the film to develop the positive image.
The final step is fixing and washing.
Does this seem like something you would like to try? If so, ILFORD have a very informative PDF on reversal processing available here:
This document gives a great overview of the process, including recipes for the chemistry and details on processing times and temperatures.
I didn’t follow the ILFORD protocol exactly but it’s an excellent place to start, then add your own tweaks. Here are some tips from my personal experience which you may find helpful:
Exposing the film (making photographs with transparencies in mind)
When photographing the initial images, I would advise bracketing each shot one stop below its normal exposure (over-exposing the film) and one stop above normal exposure (under-exposing the film) to give yourself three exposures of the same scene to help you dial in your own process.
For ILFORD FP4 PLUS, that would be:
- +1 stop = ISO 64 (over-exposing)
- Normal = ISO 125
- -1 stop = ISO 250 (under exposing)
In practice, you can follow this approach:
- Meter the scene / set your desired shutter speed and lens aperture
- Frame 1: Shoot at a shutter speed one stop faster than the one in step 1 (over-exposing it).
- Frame 2: Shoot at the desired shutter speed.
- Frame 3: Shoot at a shutter speed one stop slower than step 1 (under-exposing it).
- Repeat for the entire roll to have a consistent “Over-Metered-Under” sequence of frames for each subject.
Tip: If you are using a modern autofocus camera, see if it has an automatic bracketing option and use that instead to take three shots in sequence without any fiddling about (i.e. Nikon F100, Nikon F6, etc.)
I recommend bracketing your shots because transparencies have reduced exposure latitude, and the process needs to be calibrated for your situation, including variables such as developer concentration, agitation frequency and temperature.
Use the results to help you better understand how to expose specific scenes and really lock-in your own specific look.
For the frames you see below, I used a Contax G2 with a Zeiss 35-70mm zoom as I knew I would get well-exposed tack sharp negatives, but any good quality film camera will excel.
Finding and using the additional chemicals for your reversal process
In the linked ILFORD PDF above, most instructions are straightforward, requiring a mass of chemicals to be weighed out and made up to the given volume. Note that you may need to purchase an electronic scale for measuring out chemicals accurately (available online and not expensive).
Important: When you make up solutions, always use safety glasses, suitable gloves and a mask. Make sure your workspace is well ventilated.

The extra chemicals needed for the reversal process can be purchased as follows:
Photo store suppliers: Sodium thiosulphate and sodium or potassium metabisulphite (also home beer brewing suppliers for the metabisulphite!);
Pharmacy or online: Potassium permanganate (Condy’s crystals);
Auto shop: Sulphuric acid (used in car batteries). ALWAYS use safety glasses, and ALWAYS add the acid to water and not the other way around!!
Careful with the acid!
Concentrated (100%) sulphuric acid is nasty. I would recommend purchasing battery acid from your local auto shop instead. This is still very corrosive but generally around 30% concentrated acid. My bottle stated a concentration of sulphuric acid at 640 g / litre.
To work out the actual dilution you need, divide this number by 1900 (the amount of sulphuric acid in concentrated or 100% acid) and multiply by 100. Example: My auto shop acid was 33%. The ILFORD instructions recommend 10ml of concentrated acid added to 490ml water. In the case of my 33% auto shop acid, I needed 3 times as much compared to 100% concentrated acid. That made my measurements 30ml of battery acid to 470 ml of water. Hope that has been explained clearly!
Alternatives to ILFORD PQ Universal
I didn’t use ILFORD’s PQ Universal as detailed in the above PDF. If you have trouble sourcing it yourself, you can follow my alternative: a 1+ 5 dilution of Rodinal R09 plus 2g of Hypo in 500ml of developer solution. Developing time at 20°C was 10 minutes vs 12 minutes at at 20°C for the PQ Universal.
Replace the second exposure step with a chemical process
I didn’t like the idea of handling wet film, exposing it to light and then having to re-spool and develop a second time. So instead I used stannous chloride, which is added to the second developer to create a Reversal Developer.
Very little stannous chloride is needed — only 0.10 g per 500ml of solution. Rodinal was diluted 1+9. The developing time was 8 minutes at 20°C. Online textile dye suppliers stock stannous chloride, which is used to enhance the colours of natural dyes.
Evaluating your results
Remember that making black and white transparencies (slides) is a reversal process. A darker-than-ideal image means either underexposure or insufficient development (and vice versa).
To calibrate my setup, I prefer to adjust the film’s ISO, rather than adjust processing, as reversal processing has many steps. Using ILFORD FP4 PLUS as an example:
If an image taken at ISO 125 appears a little “light” after reversal processing, I would increase the ISO to 200. This calibrates the system, and in the future, I know the effective ISO of FP4 Plus for a black and white transparency is 200 — so long as I process in exactly the same way.
If there is an image you really want to nail, then bracketing in half stops around the effective ISO should ensure a well-exposed black and white transparency.
Rounding off + results
Interested in trying black and white reversal development but not keen to make up your own chemistry? There are two alternative black and white reversal films that can be purchased with a matched processing kit. These are Adox Scala and Fomapan R100. I have had no experience with these film / processing combos, but there are reviews available online.
How did my FP4 Plus and the reversal process go? Please see the accompanying scans of my black and white transparencies. They were were all taken in and around Melbourne city during a southern Australian winter on my Contax G2 with Zeiss 35-70mm zoom lens


Again, you are seeing these images via a screen, so you won’t see the full tonal range. To do that, why not have a go at your own black and white transparencies and experience the full potential of graphic and imposing images yourself? I highly recommend it!
DIY Mono Slides MISHAPS
This image of a street reflection in a window illustrates 2 common issues with transparencies.

The first is the reduced latitude (the extent to which an image can be under or over exposed) of transparencies compared to negatives. This shot was never going to work as a slide!
You can see that the highlights have been blown out and the shadows lack detail. The second issue is reverse thinking (compared to negative development) because this is a reversal process! In general, blown-out highlights in an image indicate overexposure (or overdevelopment) and the shadow detail loss
indicates underexposure (or underdevelopment).
For transparencies, the rule of thumb is to expose for the highlights. Please see the accompanying photo below.
This image has been exposed for the highlights and has a good range of tones – except for the under balcony areas which have loss of shadow detail – but whose interested in that?

One more general piece of advice is about agitation. When processing by hand, the normal procedure is to invert the tank at set time intervals 8 or 10 times. I have found this is inadequate for some developer and film combinations and can lead to uneven processing, such as streaks and blotches. To help overcome this, I also rotate the
tank with each inversion so that solution moves both vertically and horizontally with respect to the film.
That’s all for now!
I hope I’ve inspired you to try and take the leap into black and white reversal development. Please ask your questions and share your results using the comments area below. Thanks for reading.
~ Stephen
Share your knowledge, story or project
The transfer of knowledge across the film photography community is the heart of EMULSIVE. You can add your support by contributing your thoughts, work, experiences and ideas to inspire the hundreds of thousands of people who read these pages each month. Check out the submission guide here.
If you like what you’re reading you can also help this passion project by heading over to the EMULSIVE Patreon page and contributing as little as a dollar a month. There’s also print and apparel over at Society 6, currently showcasing over two dozen t-shirt designs and over a dozen unique photographs available for purchase.


5 responses to “How-to: Make DIY your own black and white transparencies (slides)”
Wot no slides of W class trams. Did a lot of this late 70s, to re-expose the film I used to leave the film on the reel (Patterson) then put it in a clean ice cream tub full of water, then expose for 1 min each side to a 100W lamp at about 50 cm. Used the Ilford method and FP4. This article came at a good time as my enlarger was broken when we last moved and I need to do some work.
Great tutorial. I played around with Adox’s Scala reversal kit and some old Scala 200X and got good results from that but it was spendy for the number of rolls it processes and adding to that the fact that I didn’t get through all 8 rolls before the developer turned. I might have to give the hypo and stannous chloride additions to the first and second developer a go, any idea if standard C41 bleach would work or do you specifically need to mix up the permanganate/sulfuric acid bleach? I’m a bit cautious about having conc. sulfuric acid around the place.
Haven’t been this excited in a long time. During the late 1960 – early 1970s I shot an processed hundreds of B&W slides using Kodak PanX and their developer kit, both on a camera stand and a variety of cameras. Recently was going through boxes of stuff I’ve carted around the world and came across a number of these, they look as good as they did some 50 years ago. Now… I’m going to have to get a film camera and some reels and cans. Thanks for publishing this!
Thank you. I will try asap
Fascinating process! Thank you so much for sharing!