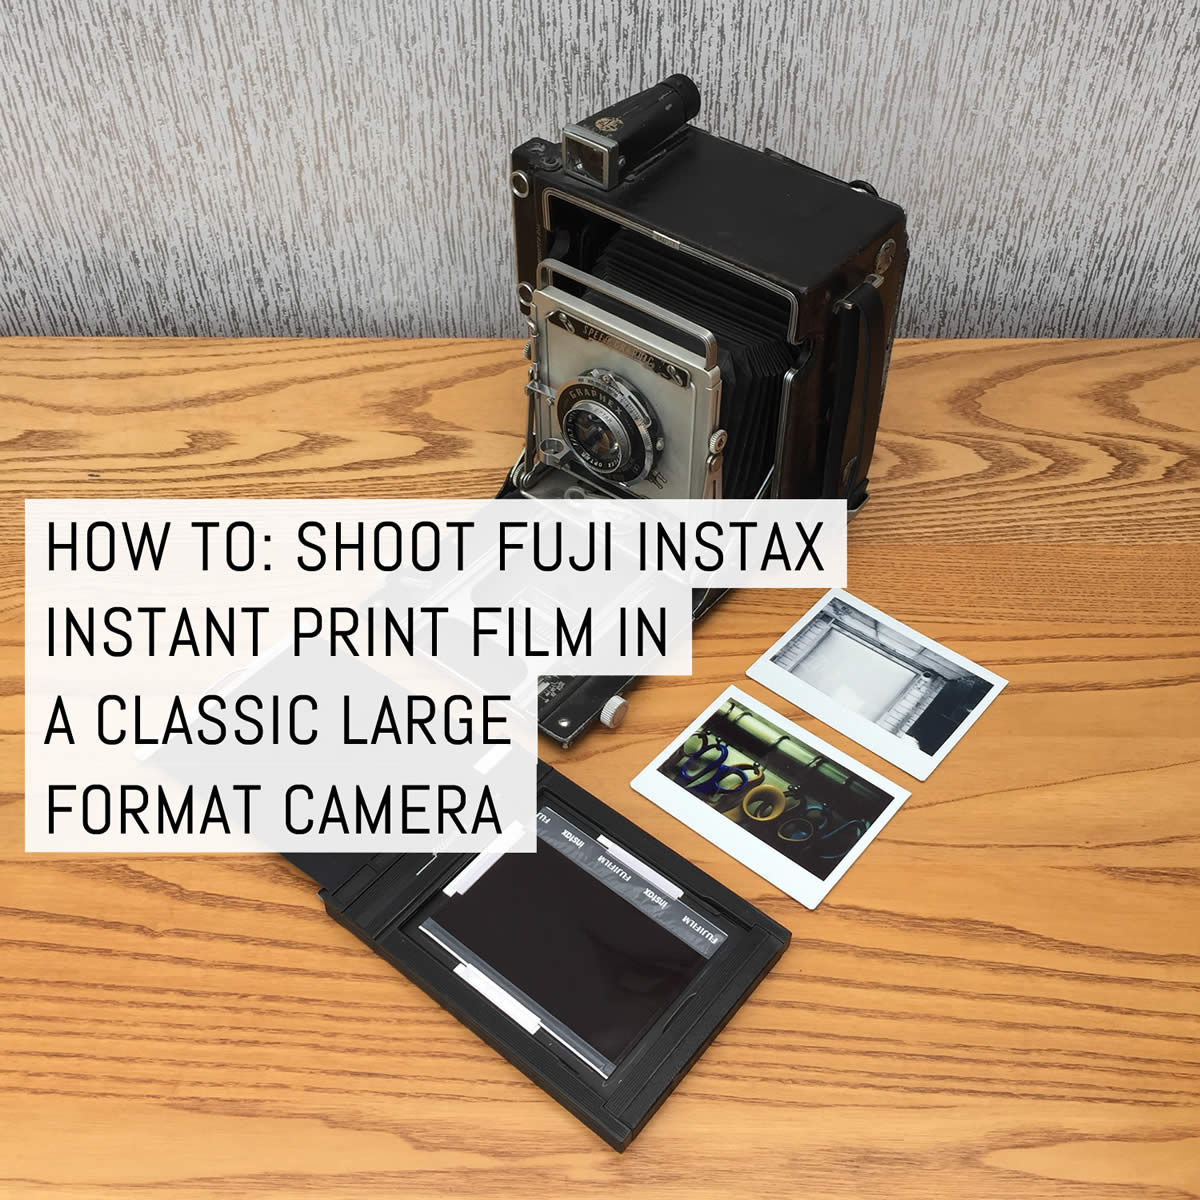
Some of my classic cameras remind me of the fascinating history of photography. Recently I wanted to see if I could make instant prints with my Speed Graphic press camera. Although Polaroid and Fuji materials are no longer available fresh, there is a plentiful supply of freshly-made Fuji Instax print film of various sizes and formats, in black and white, and colour.

This illustrated guide presents a basic outline of how I succeeded in getting instant prints from my Speed Graphic by modifying some hardware based on an upcycled, broken, and therefore eminently hackable Fuji 100 Instax Wide camera, plus a few simple modifications to one of my 5 x 4 inch film holders. The end result is a two-step method to shoot the film and then process it.
My general approach here could easily be modified to suit your own equipment, for example with cameras more suited to the much smaller size of Instax Mini film. Here’s what I cover:
…and here’s a quick sneak peek at the finished result.


Your skills and experience
You will need to be comfortable working with simple mechanical and electronic components and circuitry. You should be competent in the fundamentals of film photography, and, ideally – though not necessarily – familiar with large format cameras. This project is simply about having fun by finding out what is possible when coupling a classic camera with contemporary instant-print materials.
INSTAX is an ISO 800 film – careful!

Fuji Instax film is highly sensitive. Individual sheets removed from their original protective packaging and multi-shot cartridges must be handled in complete darkness to prevent unwanted fogging (accidental exposure to light). Therefore you will need access to a darkroom, or a film changing bag/box, or some other suitable arrangement, as well as some means of storing your unexposed sheets of Instax film in a lightproof container before processing.
Metering
For this project, I used a smartphone light meter app to measure and calculate my exposure settings, but you can use whatever works for you.
Safety warning

Unless you are competent, experienced and qualified to work safely with electronic circuits, do not take risks with the Instax camera’s capacitor and the flash/strobe system when you take it apart. That system can deliver an electric shock.
If in doubt, seek professional help.
Instax donor camera
I hacked a low-cost eBay “for spares or repairs” Fuji Instax Wide 100 camera for this project, but there are other designs from which to choose.


The front and rear casing came apart after undoing a few small cross-head screws. They went back together just as easily.
Motor drive
I’m using the innards of my donor Instax camera to process my expose sheets of film. Here’s how it works: the two pressure rollers which spread the integral processing chemicals over each individual film sheet are driven by a DC motor through a gearbox.
I simplified everything by removing the lens assembly, then discarding all of the surplus circuit boards and wiring (disclaimer: see safety warning above).

Without the Instax camera’s “autopilot”, it is necessary to start and stop the processing rollers manually, so the DC motor drive needs a simple push-switch wired in series from the batteries. I salvaged one from a broken VCR. It is a push-to-make, momentary, normally-open type.
Check that the polarity (+ and – volts) at the two terminals on the rear of the motor housing will make the pressure rollers rotate in the correct directions to eject a sheet of film from the slot in the top of the camera casing.
To test this, I substituted a rectangle of thin card to wind through them before I permanently soldered the switch into the battery pack power supply (standard AA cells). With a bit of practice, your ears will soon tell you when a sheet of film has been rollered, then ejected.
Film holders


The Speed Graphic’s 5 x 4-inch sheet film holders are too a just little too big to hold Fuji Instax wide film without it either moving or, worse, falling inside the bellows just before making an exposure. [_a_5 x 4 inch dark slide + Instax wide film sheet.jpg] So I cut small strips of card and plastic to act as guides and holders.

This was the most precise part of the hack, because the relatively fragile chemical pods on the long edge of the single film sheet must not be damaged or punctured while loading or unloading the dark slide.
Film orientation
The light-sensitive surface of Instax film is the one with the “fat”, filled chemical pod on it. That surface must face the camera’s lens when it is loaded into the film holder, just as if it were an ordinary sheet of film correctly positioned.
There is also a “thin”, initially empty pod on the same surface which is there to contain any chemical overflow after the processing rollers have done their spreading job.
When aligning a sheet of exposed but undeveloped instant print film in the converted processing unit of the hacked Instax camera body, the fatter, full chemical pod must be positioned at the top nearest to the rollers and be face up under your fingertips in order to ensure an evenly developed result.

If you were able to work in the light (you can’t!), you’d be looking at it.
If you suffer from sweaty hands (usually hard to avoid when fumbling inside a changing bag), wear thin cotton gloves (lab style) to avoid spoiling your pictures.
Patience
Depending on the ambient temperature, the image on an Instax “print” appears slowly over time, perhaps taking 60 to 90 seconds before anything becomes recognisable. It continues to intensify/darken for several minutes.
Thinking differently
You may be in the habit of inspecting your negatives on a lightbox to assess your exposures. Ordinarily, a very “thick” (dense) negative indicates over-exposure (too much light). Instant print materials work in the “opposite” sense: they behave as “reversal” materials – think slides/transparencies. This difference means that if your first results with Fuji Instax come out extremely light, or are an overall pure white, your film has been overexposed.
Results: colour and black and white


I was quite pleased with the tones which the Fuji Instax black and white material gave me. A bit of digital editing on a phone camera snap of the original Instax print produced a satisfying conclusion to my experiments. Those of you with high-quality scanning systems would be able to obtain the maximum resolution which these Fuji materials are capable of.
Final thoughts
The making of one picture on a single sheet of film in a fully manual camera forces the photographer to slow down, to think carefully about every step of the technical and creative process. Working with the extra preparation, processing and “development” which this experimental project required further extended that set of cognitive and physical skills.
I found the attention to detail and mental concentration needed was amply rewarded by the pleasure I got from watching my first image appear successfully — almost magically — in broad daylight. The whole wonderful history of the photographic process was alive right there in the palm of my hand.
~ Peter
Share your knowledge, story or project
The transfer of knowledge across the film photography community is the heart of EMULSIVE. You can add your support by contributing your thoughts, work, experiences and ideas to inspire the hundreds of thousands of people who read these pages each month. Check out the submission guide here.
If you like what you’re reading you can also help this passion project by heading over to the EMULSIVE Patreon page and contributing as little as a dollar a month. There’s also print and apparel over at Society 6, currently showcasing over two dozen t-shirt designs and over a dozen unique photographs available for purchase.


