If you have had a look at my article on the Goldilocks of camera designs you will have realised that I am a bit of a fan of the Twin Lens Reflex (TLR), a type I have used for around half of my 60 or so years in photography. Unfortunately, in my declining years I also tend to buy cameras to use for a while and then sell on to make way for the next one I fancy giving a try. My last TLR, a Minolta Autocord, went that way a year or two back, joining the ranks of cameras I now regret letting go.
I realised recently, however, that life is missing something without a TLR and I searched for a replacement I could afford (justify). Since my last purchase, prices seem to have taken off somewhat, and finding a suitable one became something of a major quest. There wasn’t anything available here in New Zealand but I eventually found a Flexaret IV in the Czech Republic that I felt fit the bill and so took the plunge.

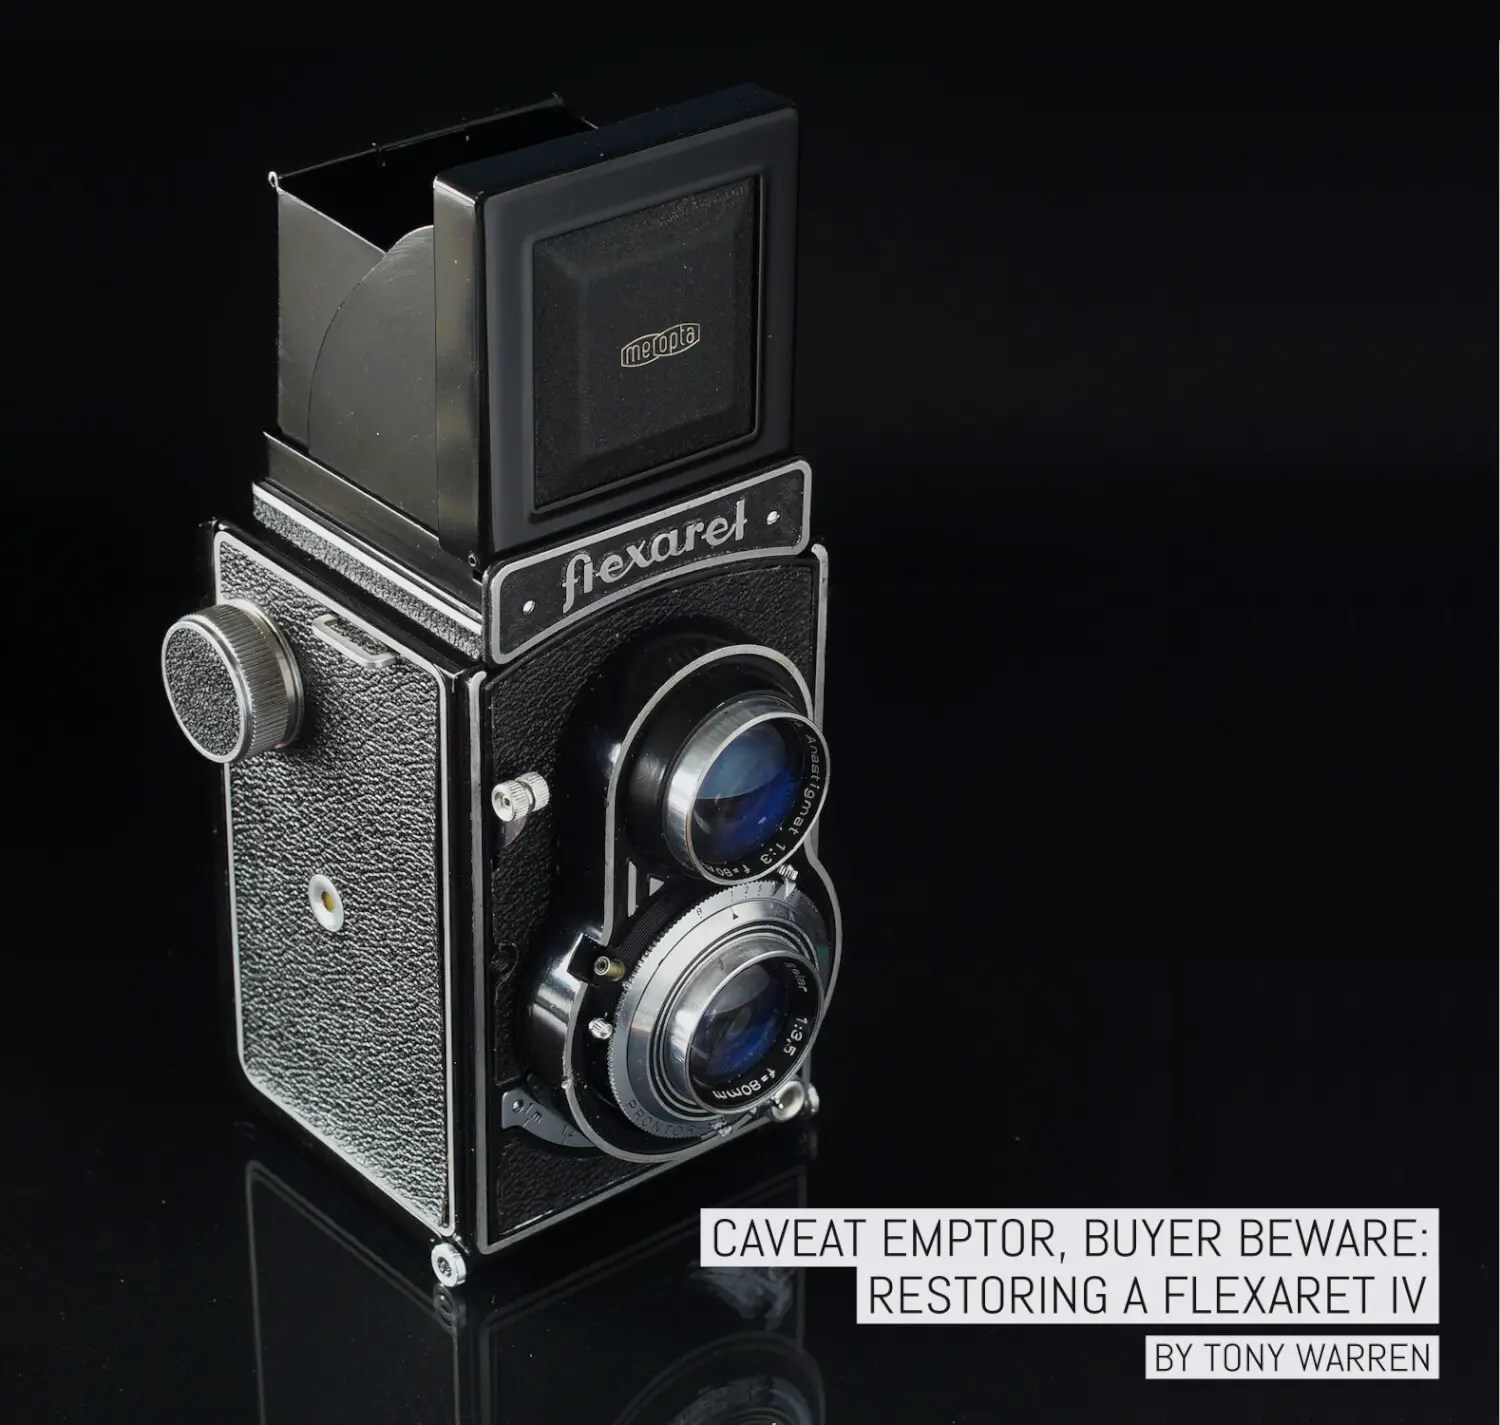
The camera after repair
It had a couple of obvious defects in the listing photos, a distorted back, and a missing bit of leatherette on the film advance knob. These I could repair quite easily but that turned out to be the tip of the iceberg. More of that in a moment.
Receiving the Flexaret IV
My choice of a Flexaret was because I know they are very well made and precise but, unlike most other makes/models, also easy to take apart. In other words, so basic cleaning and lubricating would be fairly simple to do myself. I am impressed with the engineering design which is economic and effective in locating the parts positively with very little complication.
The exception here is the shutter of course, which is in watchmaker territory, and apart from the basics I leave these in the hands of someone qualified.
On arrival, all seemed as per description if a little more shabby. The focus lever was a little stiff but the shutter speeds seemed to be quite good. Importantly, the Delayed Action (DA, slow shutter speeds) did not work, so to see if something had come adrift, I took off the faceplate and speed plate.
See if you can spot the issue here:

The right hand half where the delayed action gears should be is empty.
Even to the untrained/lightly experienced eye, something is horribly wrong: the right-hand half of the shutter mechanism where the delayed action gears should be is empty.
Yes, a complete half of the housing was empty: The Delayed Action gear train, spring and linkages were all missing, meaning that the flash would presumably not synchronize properly on “M” for bulb flash, the necessary delay to reach full brightness of bulbs being controlled by the same gear train, and no DA clearly.
It must have become seized and caused the shutter to freeze up completely at some time, a frequent problem with this type of shutter, so the drastic solution taken by the previous owner at the time would certainly have cured it at the cost of some functionality.
Reviving the Flexaret IV
Rather than incur the huge cost of sending it back, I asked the vendor for a goodwill refund, to which he agreed. The missing bits would not prevent me using the camera and I may come across a replacement shutter at some point which could be cannibalised if I decided I needed to for completeness.
Unfortunately, the problems didn’t end there.
Running a test film or two through showed that the focus would not reach infinity and on unscrewing the lens I also discovered the most enormous bubble in one of the rear elements plus a couple of more typical, much smaller ones just above it (below).

The massive bubble and the two smaller ones above it.
Bubbles were fairly common in the past and were reputed to be a sign of quality. I would put that down to salesman-speak in part but it has some basis in truth. Bubbles form as the glass cools and was an unavoidable part of the production process apparently, but this one shouldn’t have passed quality control I would have thought.
The oval shape at 9 o’clock in the example shown (Photo 4) is probably the result with a point source, i.e. the sun, in frame. This would also cause fairly strong flare with early lenses and it is advisable to avoid such situations as a rule, but flare isn’t bad in this case for a lens of this age and it can be used creatively of course.

The flare spot from the bubble at 9 0’clock.
I decided that I could live with the bubble and set about taking the camera apart and do what was needed to put it into useable condition. As mentioned, the Flexaret is an easy camera to work on, even for a rank amateur such as myself, separating into four basic sections, body, front panel, finder and back (below, top).
After careful removal of the front leatherette and the shutter release lever end, four screws around the taking lens allow removal of the whole front panel and finder (below, bottom). On later models, there is a shutter cocking linkage to the film wind but the model IV featured manual shutter cocking and doesn’t have this minor complication.
A further four slightly smaller screws around the viewing lens detach the finder and mirror unit to allow access to the screen and mirror. If access to this section only is required it can be removed without taking off the front panel.

Disassembled into its basic components. 
Showing the groups of screws mentioned.
The shutter and taking lens are all removed conventionally with a slotted collar needing to be unscrewed. A lens spanner is recommended for this operation. The large, threaded aluminium collar holding the lens/shutter assembly had been quite badly mangled as a result of someone not using one and I could only get it to unscrew with some solvent applied and then pressing the pointed ends of my spanner firmly into the relatively soft aluminium to get enough purchase.
This now gave access to the focus mechanism, a multi-start helical, liberally laced with congealed grease (below, left). After removing the inner part and giving everything a clean, I then found great difficulty getting it back together again. You can perhaps see from the photo (bottom, right) how https://retinarescue.com/fine the thread is, and the many start points on the thread. A generous bit of advice from Chris Sherlock of Retina Rescue showed me that a very, very thorough cleaning and meticulous inspection of the threads is essential after which the two parts meshed together very smoothly.

Dried out grease causing stiff focus. 
The focus helical after cleaning.
The two lenses, which are mounted together as one unit, are very accurately synchronised (i.e they focus precisely together), and set up at the time of manufacture, with spacers under the shutter housing. This pair has four in order to synchronise focus for the pair of lenses. With the helical no doubt set in a standard start position, this ensures an exact focus match to the marked scale — what you see through the top (viewing) lens, is what the film “sees” through the bottom (taking) lens.
The problem with infinity focus appears to have been tackled earlier by inserting washers under the screws holding the faceplate to the body, rather than getting the helical in its correct, original position. Not ideal or originally designed for and which didn’t work anyway. So, after a few hours of assembly and disassembly trying to find the correct start point (there are probably twenty or more possibilities) I finally had it correctly set. It now hits infinity and closer distances accurately and the focus screen can be relied on to show accurate focus against the scale. Not knowing the original helical setting, this rather laborious trial and error approach seemed right. If it ever has to be done again I shall be very careful to note the start point of the helical.
The Flexaret IV back in action
With the camera put back together, it is very nice to use. And the good news is it produces some very acceptable results. The Belar lens, apart from the mild flare and bubble, is well up there with some other really nice Tessar types I have used, as the comparison shots show.
It is perhaps the most contrasty of the three, with the Zeiss Opton Tessar (center) very smooth tonally and the Ross Xpres (right) somewhere in between. I also have a Kodak Ektar from a Miniature Speed Graphic, also a Tessar type, but I haven’t photographed the bronze statue with it, a very sharp lens though.

The shutter speeds are all well within manufacturer’s original tolerances. Mind you that is not difficult as I think the standards at the time only required them to be within 30% of the marked speed. My testing method is not that precise either, being based on the old record player method of many years ago, but close enough as a rough check (more on that in an article here in the near future!
Film transport is smooth and positive, with accurate frame spacing and the lenses are very accurately synchronized for focus as I mentioned, so what you see on the screen is what will appear on the film. On the downside, the screen was a bit dim and hard to focus in less than bright light (below, left).

Original screen left and new with fresnel right.
As a result, I decided to replace it with a Rick Oleson Bright Screen which is well recommended online and reasonably priced. The before and after comparison shots show the massive value of adding a fresnel (above, right).
The fresnel-equipped replacement on the right really brightens the corners, giving even illumination across the frame and the microprism allows very positive focus. The magnifier in the hood is small, much smaller than the one on the Flexaret Va that I had previously, but by viewing at normal distance it covers and magnifies just the centre of the microprism spot making focussing a simple matter, a useful tip provided by Rick along with the screen. I also echo the many compliments I read about the excellent service he provides.
The proof of the pudding is in the eating as they say, and the camera does not disappoint on that score. The results I am getting are very acceptable, as the gallery perhaps shows, and testament to the quality this make of camera can produce.
Conclusion
This is a cautionary tale but with a happy ending. There is much good advice online that you should only buy a CLA’d (Cleaned, Lubricated and Adjusted) example of the Flexaret from a reliable source, which is excellent advice if you don’t want to tinker like me. But for a camera made in 1955, this somewhat abused example acquits itself well and will give me plenty of pleasure using it. Fitting the Rick Oleson Bright Screen is the only improvement I have felt the need to make for now but I am on the lookout for another shutter.
TLRs are reputed to be good for your photography because the screen is viewed more objectively at waist or chest level, and shows a laterally reversed image, which makes you concentrate more on composition. They can also give a distinct character to the images they produce, probably because they are usually held closer to horizontal at waist level which gives less perspective convergence. And for candids they are less obvious than an eye-level model whilst low level or overhead shots are also easier. This illustration from a Rolleiflex Automat manual shows some alternatives

Some of the more unusual ways to shoot with the TLR.
The photo was taken by me with the vertical down hold, with my shoes visible at the bottom of the frame.

Straight down shot.
If you have never tried a TLR I would thoroughly recommend giving one a go. They are mostly very reliable and durable designs with good lenses, capable of excellent results, as I hope the following gallery demonstrates.


This selection of images made with the camera are shot on ILFORD FP4 PLUS and ILFORD ORTHO PLUS, all developed in Rodinal. The still life shots are made through a 3 dioptre close-up lens.
~ Tony
Share your knowledge, story or project
The transfer of knowledge across the film photography community is the heart of EMULSIVE. You can add your support by contributing your thoughts, work, experiences and ideas to inspire the hundreds of thousands of people who read these pages each month. Check out the submission guide here.
If you like what you’re reading you can also help this passion project by heading over to the EMULSIVE Patreon page and contributing as little as a dollar a month. There’s also print and apparel over at Society 6, currently showcasing over two dozen t-shirt designs and over a dozen unique photographs available for purchase.


6 responses to “Caveat emptor, buyer beware: Restoring a Flexaret IV”
I must take my Ikoflex out again! And my Retina – I recognise the book you have as well! Either camera is a guaranteed conversation starter, and the images stand the test of time!
So true Steve. I tend to use the Retina less these days my glasses giving problems seeing all of the finder field. A great little camera though and such quality.
An odyssey with a happy ending. I always thought TLR’s were not good for close ups, but your gallery proves otherwise. Very nice definition of volumes through their shadows and light.
Thanks Francis. Close ups are more of a fiddle with TLRs but it slows everything down and makes for better concentration. A parallax adjuster like the Mamiya Paramender is useful but not essential. I use a bit of card to raise the tripod column the necessary amount.
I admire your images and commitment to the repair. Sure I would not have the patience! But I agree that there is something about a TLR….
Thank you Russ. I have plenty of time on my hands these days and I totally agree with you about TLRs.