“You can have it for £40, but the meter’s broken, so it’s sold as seen. No guarantee.”
I had walked into the independent camera store (now long since gone) in my hometown of Ipswich on the off chance and simply asked if they “had any medium format gear?” I had been on holiday with a friend who had a Mamiya 645 outfit and when I’d looked into the waist level finder and seen the huge, clear, bright focusing screen I just knew I had to get me one of these!
I looked down at the Yashica Mat 124 in my hand and it looked in good condition. The shutter speeds and aperture worked and it had a nice leather case, albeit a bit worn. I already had a hand-held light meter so I figured it was worth the gamble and I handed over my money. That was in the summer of 1998 and in the intervening twenty years my love affair with this fantastic camera has never waned. Pound for pound it’s the best value camera I’ve ever bought.


The Camera
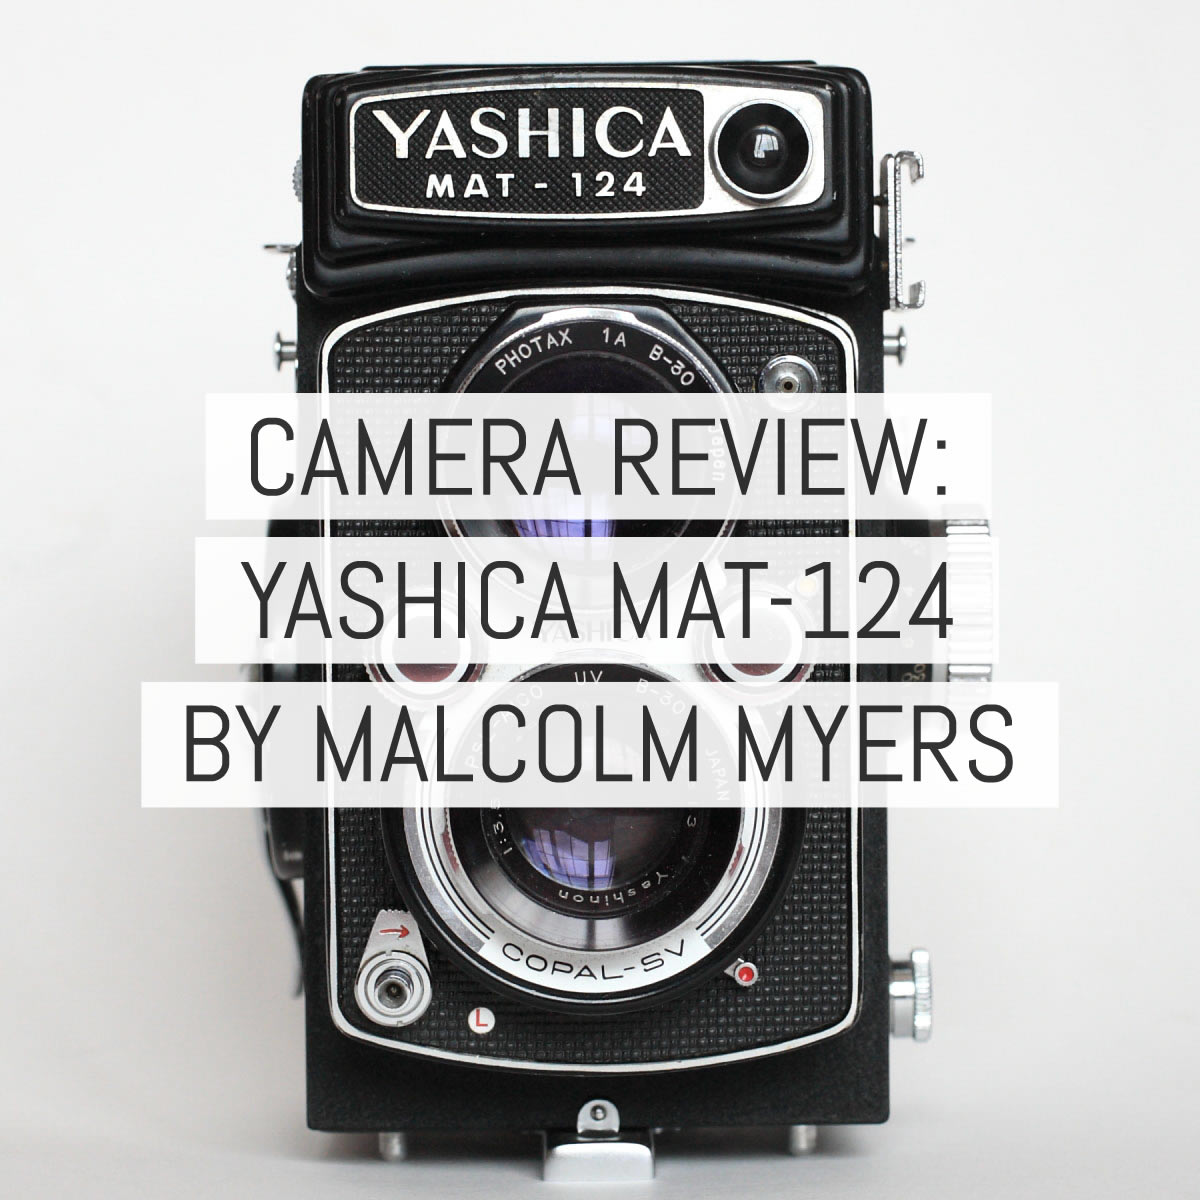
The Yashica Mat 124 is the penultimate in a long line of medium format Twin Lens Reflex (TLR) cameras produced by Yashica, and is clearly a copy of the esteemed Rolleiflex TLR. The last version, the 124G, was essentially the same as the 124 except that it had gold plated contacts in the meter, hence the “G” suffix. I’m sure I have also read that the 124 has metal gears and the 124G had plastic gears, but I can’t confirm that.
A twin lens reflex camera has, wait for it…two lenses! One sits vertically one on top of the other. You compose your picture by looking through the top (viewing) lens which reflects (hence reflex) an image onto a ground glass screen where you focus, and it is the bottom (taking) lens that incorporates the shutter and actually exposes the film. This does lead to some parallax error but only at very close distances to the subject. Learn to leave a bit of spare room at the top of your frame when composing and you should be fine.
The Yashica has an 80mm f/3.5 Yashinon lens which gives about the same angle of view as a 50mm lens on 35mm film. Both viewing and taking lenses have a bayonet surround that allow you to attach bayonet filters, which can easily be found on eBay (more on that later).
Now, a TLR is certainly not a camera for all occasions – and it is rarely the camera I go to first – but it is most definitely the camera I wish I could use more. And perhaps you are reading this in order to decide if it’s the camera for you? Sports photographer? Birds in flight? Fast action? Then walk on by, there’s probably nothing here for you. But if you are minded towards a more contemplative style of photography, the sort of photography that in an earlier age might have led you to a couple of sucks on your pipe before you clicked the shutter, then this camera might well be up your street. Basically, you need a subject that is prepared to stay still for longer than 1/125th of a second!
Why Medium Format?
So, if it’s not that versatile why bother? Asceticism for asceticism’s sake? No, the reason for using the 124 is the size of the negative. It produces 6×6 negatives, but if you’re new to film photography you may not appreciate what that means or why it’s important.
A 35mm negative is 36x24mm. Medium format cameras however, use 120 and/or 220 roll film which produces different sized negatives depending on the camera you are using. You can produce images on negatives 6×4.5cm and 6x6cm through 6×7, 6×8, 6×9 and even 6×12 and 6×17. If you’ve never heard of that before then the next time you hold your 35mm negative up to the light to try and make out the image just imagine what you’d be able to see if the negative were 6, 12 or even 17cm wide!
The Yashica is a 6×6 camera, so it should make a negative that is 60×60 mm. In reality, 120 film was first made in the time of imperial measurements and was actually called 2¼ inch film. This equates to 57x57mm, but that still means that its negatives are nearly four times the area of a 35mm negative.
You see, when it comes to negatives, bigger is definitely better. You get more detail and more tonality. You get shallower depth of field because you are generally using longer lenses to get the same field of view from a 35 mm camera.


Most significantly, you can make much bigger prints before you start to see the grain. When I had access to a darkroom I used to love printing 16” x 20” prints; they were just stunning. I even got a few posters printed and the quality of those was amazing too. And that is the reason people bother with medium format and even large format (but let’s leave large format for another day). Any photographer getting into film photography owes it to themselves to have a go at medium format at some point, just to see the results for themselves.
The other thing about 6×6 is that the negatives are square, whereas most other formats are rectangular in some way. So there is no need to rotate the camera 90º to go from landscape to portrait mode. Some people like that and some people don’t; it’s down to personal taste. It’s probably not going to suit someone who likes taking panoramic landscape shots, but I find it especially effective when taking head and shoulders portraits of people; or group shots of people standing (think weddings). And it makes me think differently about my photography than when I’m using a 35mm camera, and I think that variety is good for my (or anyone’s) photographic imagination.
Most medium format cameras will deliver in the area of quality. I say most, but definitely not all. I have tried an Agfa Clack which at 6×9 should deliver astounding results. But it was a cheap camera in its day with a simple meniscus lens and the one roll I ran through one didn’t make we want to run another one through. I’ve also tried a Lubitel which was ok but not great as it had too many light leaks. As a result I’ve never tried a Holga or Diana, so I can’t comment on these. For me, medium format is about high quality.
But it’s not just poor medium format cameras that don’t hit the mark for me. I’ve become a big fan of the Sunny16 podcast over the past year and two of the presenters – Ade and Graeme – are big fans of Bronicas. Bronicas are clearly a durable and capable camera, and the prices are reasonable, so when I saw an ETRS for sale in a camera shop recently I went in and had a look. It’s quite a heavy camera and I found the focussing a bit too stiff for my taste. That and the fact I’d need to get a prism finder and a handle to hold the 645 framing in portrait mode and I realised that it was not for me. And Ade from the Sunny16 podcast doesn’t like TLRs. So who is right? Both of us, or neither of us, it depends on your point of view. Of course, your mileage will vary, but I think it shows that there is no one-size-fits-all with medium format. It really is worth doing some research and deciding which camera best suits the results you want to achieve, and which one you like using best before you jump in.
Using a TLR
So how do you use a TLR? The first thing to do is hold it about waist level so you can look down into it (you can hold it up at eye-level and use the ‘sports finder’ but personally I’d reach for an SLR). You flip the top up to reveal the ground glass screen and you push the front of the camera in to operate the magnifier and you can now compose your shot. Woah! If you move left the image moves right! Yep, the image is inverted left to right, so composition will take a bit of getting used to, a bit like using the rudder on a boat, you move right to go left.

Once you’ve got the hang of this (don’t worry, it comes with practice) it’s time to load up some film. The 124 will take either 120 or 220 film, but I’ve only ever used 120 film. The method is as follows:
- Use the beautifully finished chrome-plated wheel on the bottom open the back up.
- Assuming there has been a film used before there should be an empty 120 reel in the bottom. Pull the knurled knob to release it and insert it into the top film holder of the camera using the reverse method.
- Now open up your 120 film, pop it into the bottom film holder and feed the leader into the top reel.
- Using the winder wind the film until the black arrow lines up with the start point,
- Close the back and lock it using the chrome wheel and then wind on until the winder stops. Reverse the winder about half a turn and stow it in its recess and you are good to go.
To shoot, pop up the lid of the wait level finder and the magnifier. Dial in your shutter speed and f-stop using two small knurled wheels either side of the lenses. (If you are lucky enough to have a working meter you simply dial in your ISO and then move the wheels until the two needles in the metering window line up. Luxury).
Bring the magnifier up to your eye and compose your shot. Focus is provided by the wheel on the left side of the camera. It is not as easy to focus as an SLR with a split-screen or by using the patch in a rangefinder. You tend to have to focus in front, then go past the subject and back again until you are happy that you’ve got the focus right. I did say it was quite slow!
The shutter button is to the bottom right of the camera as you hold it. If it doesn’t work first time rotate the small lever surrounding it, as this unlocks the shutter.
Once you’ve taken the shot flip the winder out of its recess, rotate it forwards about half a turn until it stops, wind it back half a turn and then flip it back into its recess.
Repeat eleven more times.
Once you’ve finished all twelve shots just keep winding until you feel the film go free, open up the camera and remove the film. Job done.
As I said earlier, the camera rewards a slow methodical approach. When I started out I would only use it on a tripod with a cable release, and I would still recommend that if you can, as my best results have come when using a tripod and photographing a patient sitter. However, I do use it hand-held with a fast shutter speed as well nowadays as the chances of my children sitting still whilst I set up a camera and tripod are approaching zero. I’ll have to wait until they’re older.
The leaf shutter
One of the advantages of a TLR over an SLR is that the TLR has a leaf shutter. SLRs have focal plane shutters that sit behind the mirror. The have two curtains (first and second) that move either horizontally or vertically. When you the press the shutter the first curtain opens, exposing the film. After 1/125 of a second (or whatever your shutter speed is) the second curtain follows it. These curtains move quickly enough that at slow speeds the whole negative is exposed at once. However, at higher speeds the second curtain starts its journey before the first curtain has arrived at the other side. So rather than exposing the whole negative at once you end up with a slit that travels across the frame. Normally this has no impact on performance at all, except when you want to use a flash. You see, a flash has to fire when the whole negative is exposed. In most cameras this means that flash sync is between 1/60th and 1/250th of a second and is camera dependent. If you use flash at higher than the maximum sync speed then part of image will be lit by flash and part will be dark.
TLR’s have a leaf shutter which opens radially, rather than horizontally or vertically. In other words at some point the whole negative is exposed at every speed, not just at slower speeds. So on a TLR you can use flash at 1/500th second, whereas for a medium format SLR you might be limited to using flash at no faster than say 1/60th of a second.
In the studio this makes no difference but outside this is a boon when you want to use fill-in flash, i.e. flash that doesn’t light the whole scene but just adds a touch of light in order to reduce shadows. This is especially useful on bright days where a bit of fill flash just reduces the shadows on people’s faces and puts a sparkle into their eyes. If you look at pictures of people with eyes in complete shadow they do look a bit, well, dead. I have found that flash 3 stops down from ambient works for me, e.g. .your flash tells you to set the camera to f2.8 and you set it to f8, which is three stops slower. In other words, only about 1/8th of the light in the picture comes from the flash. It’s just enough to fill any deep shadows without making it obvious you’ve used flash.
A word of warning though. The 124 has a cold-shoe, not a hot-shoe, i.e. you can put a flash on the camera but you must connect it to the PC sync socket using an appropriate cable. And be careful not to leave the cable dangling in front of the taking lens. You won’t notice it when you’re composing, but you certainly will notice the black line across your negatives when you get them back! You also need to set the small XM lever to X (for modern electronic flash) rather than M (for 1960’s era bulbs).
Close-Up Lenses
One of the disadvantages of this type of TLR is that you cannot change the lenses. Mamiya tried to solve this with interchangeable fronts on their C220 and C330 cameras but boy, are they heavy! However, there is one way to at least modify the focal length of the Yashica and that is to use close up filters. These come in three strengths: +1, +2 and +3, each one giving an increasing amount of magnification. You lose infinity focusing, but you can focus much more closely than the 3 feet of the standard lens. So they are great for close-up portraits (+1) or even macro work (+3).
Each comes as a pair of lenses that attach as bay filters, a thin lens for the taking lens and a much thicker one for the viewing lens. The reason for the thickness of the viewing lens filter is that not only does it magnify the scene it also acts as a parallax correction device. Without it you will effectively looking over the top of your subject. It is therefore essential that you make sure that the dot on the filter is at the 12 o’clock position once it’s on the camera, otherwise, you will be looking up and right (or left) instead of straight down on your subject.
Image Quality
So this is where I come unstuck a bit. I’ve never been a great one for super-technical lens reviews. What I can say from my nearly 20 years with this camera is that image quality is better than any 35 mm film camera I have (and I have a lot). That negative size makes a huge difference even in small prints. At wide apertures, you get reasonably shallow depth of field for separating your subject from the background, although it’s not a ‘bokeh king’ lens. As a rule of thumb you are probably better off going for f/5.6 or f/8 to ensure focus and just keep your subject away from the background. And if you want big prints then fill your boots; you can go as big as you like.


One thing to be wary of is shooting into the sun, you do get flare on the lens. So be careful if you catch a bit of sky in a shot that is otherwise in shade, it can spoil the shot. I suppose that this shows that the camera is not ideal in high-contrast situations. Although I’ve never tried one I am sure that cameras like the Mamiya 6 and Hasselblad 500 can perform better, but check out the comparative prices on eBay and all of a sudden the Yashica makes a whole lot of sense.
Portraiture
Over the years I have used the camera in all sorts of settings, but my favourite has always been portraiture (which is my favourite form of photography anyway). Whether it’s friends showing off their newborn baby, at least a couple of weddings or some shots of my children and godchildren, I like this camera because it lets me record the lives of the people around me. I’m not that artistic a photographer so, whilst I can take a picture of a landscape, I’m not really the sort of person who is going to give it a novel or fresh perspective. My main goal in photography I suppose stems from a green photo album that contains all the important photos from my childhood. It is a wonderful record of not only my younger years but also of the places we lived (my Dad was in the Royal Air Force and so we got to live in Cyprus and Germany as well as the UK).
It averages one picture every two or three months of my life, and I have very few pictures of me in my teenage years, which is a shame. I spent too much time behind the camera! I doubt teenagers of today will be making that statement in thirty years’ time!


As I said earlier, I have become a big fan of the Sunny16 podcast and I spent a few weeks last summer catching up on the back catalogue. In one show Ade and Graeme discussed the idea that if you could take picture of a person who would that person be and what camera would you use? I think the question came about after a discussion of Yousuf Karsh’s iconic portrait of Winston Churchill where Karsh dealt with an uncooperative Churchill by pulling Churchill’s cigar from his mouth and then clicking the shutter at Churchill’s displeasure. Not a stunt that I would have the confidence to pull off!
Whilst Graeme and Ade discussed their ideas my response was immediate. I’d love to take a proper portrait of my six-year-old son with my Yashica, probably using ILFORD XP2 Super film. Something that he could treasure long after I’ve gone. Why my son and not my three-year-old daughter? Well her too, but she is quite amenable to being photographed. She stays still long enough for me to use the TLR. My son is a lot less co-operative and gets especially annoyed when Daddy uses his film camera and not his digital because he can’t see the picture once it’s been taken. But I’ll keep trying!
Desert Island Camera
People often talk about ‘Desert Island Cameras’, the one camera they would choose if they only had one to take from their collection. My film camera of choice might be the Canon A-1, a hugely capable and enjoyable camera that would cover any scenario I threw at it. Or perhaps the all-mechanical Nikon FM2n which I bought recently and that has seriously impressed me with its build quality and the ease with which I can take pictures with it. But I suspect that my heart would quietly overrule my head and my hand would alight on the Yashica. I would know full well that it would not cover every scenario. Those pictures of tropical birds in flight on my desert island would have to be missed as I would, as Monty Python might say, have to nail them to a perch in order to get a shot.


But my long-term photography goal – that of becoming a pleasing portrait photographer – would undoubtedly benefit; provided my desert island had some other people on it of course. And I do know that every time I got it right, the level of detail in the negatives and the large prints I would undoubtedly want to make would let me enjoy my pictures for hours on end and for many years afterwards. I also know that it would stretch me photographically because by its very nature it makes me stop and think about what I’m trying to achieve. You always get more keepers from a roll of medium format film, especially when it’s on a tripod!
Conclusions
So there we have it. A camera for slow, contemplative photography that is capable of delivering outstanding results when you get it right, and at a sensible price too. Most importantly, it is the camera that stretches me the most, the one that makes me want to be a better photographer.
I’ve had the camera twenty years now. Has it made me better yet? Probably not by much sadly, but that is more a testament to how little I’ve used it compared to 35 mm. However, it has made for some fantastic memories. Perhaps twenty years on a desert island with nothing else to take pictures with might not be such a bad idea after all. Alas, such a monastic existence has too many downsides to be realistically considered. But I think writing this review has solidified a thought that I’ve had in my mind for quite some time: that I really need to use this camera a lot more.
It might actually make me the photographer I’ve always wanted to be.
~ Malcolm
Share your knowledge, story or project
The transfer of knowledge across the film photography community is the heart of EMULSIVE. You can add your support by contributing your thoughts, work, experiences and ideas to inspire the hundreds of thousands of people who read these pages each month. Check out the submission guide here.
If you like what you’re reading you can also help this passion project by heading over to the EMULSIVE Patreon page and contributing as little as a dollar a month. There’s also print and apparel over at Society 6, currently showcasing over two dozen t-shirt designs and over a dozen unique photographs available for purchase.


14 responses to “Camera review: the Yashica Mat 124”
Great write up and review, your images are spectacular, question please, do you shoot film box speed?
Hello Silver Eagle. Thanks for reading the review, it was written many years ago now! Good job I’m still getting email alerts.
With black and white film I normally shoot at box speed, although I have experimented with pushing films from ISO400 to ISO1600. With colour I try to overexpose, i.e. set Porta 400 at 320 or 200, as most people seem to think that colour film works well with overexposure.
I have a Yashica MAT-124 camera that has belonged to both my dad & me since the late 1960’s. Both of us enjoyed the camera, he used it for a small side photo business & I used it for small town news & sports photography during my high school years. I especially liked the 2 1/4 square film format for darkroom work.
found a 124g on craigslist, a wonderful camera!
Nice review!! Covers a lot and it’s quite descriptive for those of us juggling with the idea.
With @Ffordesphoto having some of these in, I’m going to regret reading this. But here goes… 🤪🤪
I just received one as a gift and I am even more excited to use it after reading your review! I loved hearing your affection for this camera.
I had to order the correct battery and now I have to wait two more days to play!
(Also–I found an alkaline 1.5v battery which seems like it should fit, but was advised the 1.3v zinc-air is the right replacement for the mercury original. Do you have any info or opinion–is it important to have the 1.3v?)
A camera review by someone with decades of experience with the camera instead of hours. How refreshing.
Having taken apart the 124g many times, I can confirm there are no plastic bits in the film transport. The only plastic I see are on the external knobs and such. Other differences from the non-G are the flocked interior. Cheers.
Thanks for letting me know Scott. By the way, how did you learn to take one apart? Or did you just dive in? I suspect that the skill of servicing a mechanical camera is going to become more and more useful as time goes on!
I carefully removed the crank arm and top bar in order to peel the leatherette. I just wanted to lube some of the axel points with watch oil to prevent a jam. I will agree with you, as simple as the Yashica is internally, the fewer who understand the workings, the more difficult it will be, as well as expensive. I also had to fix the meter by re-soldering the wire. No seals to worry about on the “G” models either, which is also good.
Great review totally agree I felt the same when I used my first medium format camera a very used Mami… https://t.co/OBPDXGrDhv
Thank you Armand. I doubt it is as good as a Rolleiflex in many ways, but it is a great alternative for those on a budget. And as we have both found, it’s very enjoyable to use!
Thanks for your review. I have the 124G and have been very happy with it, especially for the $160 I paid for it in the early 1990s. It is possible that its older brother, the 124 reviewed here, may be a little bit better made but the two models are pretty similar. Optical quality is very good if you stick with mid apertures but not quite up to Rolleiflex or even Mamiya TLR standards. I was told when I bought it that it was as good as a Rolllefiex but that it is a bit of a stretch. Nonetheless, both the 124 and 124G are fine cameras in their own right. I enjoy using mine as much as you enjoy using yours.