After learning last year that our office was due to close, I wanted to use my photographic skills to give something back to the people I worked with, something that might help them find their next dream job. I thought I could offer portraits that people could use on their CVs and social media. After doing a few formal shoots one of my colleagues approached me about doing something a bit different.
He wanted to do something more akin to a fashion shoot and I was excited to help create some cool images. I thought it might be a great opportunity to try out some Kodak EKTACHROME E100 for portraits but I was not willing to unleash my novice flash skills on expensive film without some form of backup.
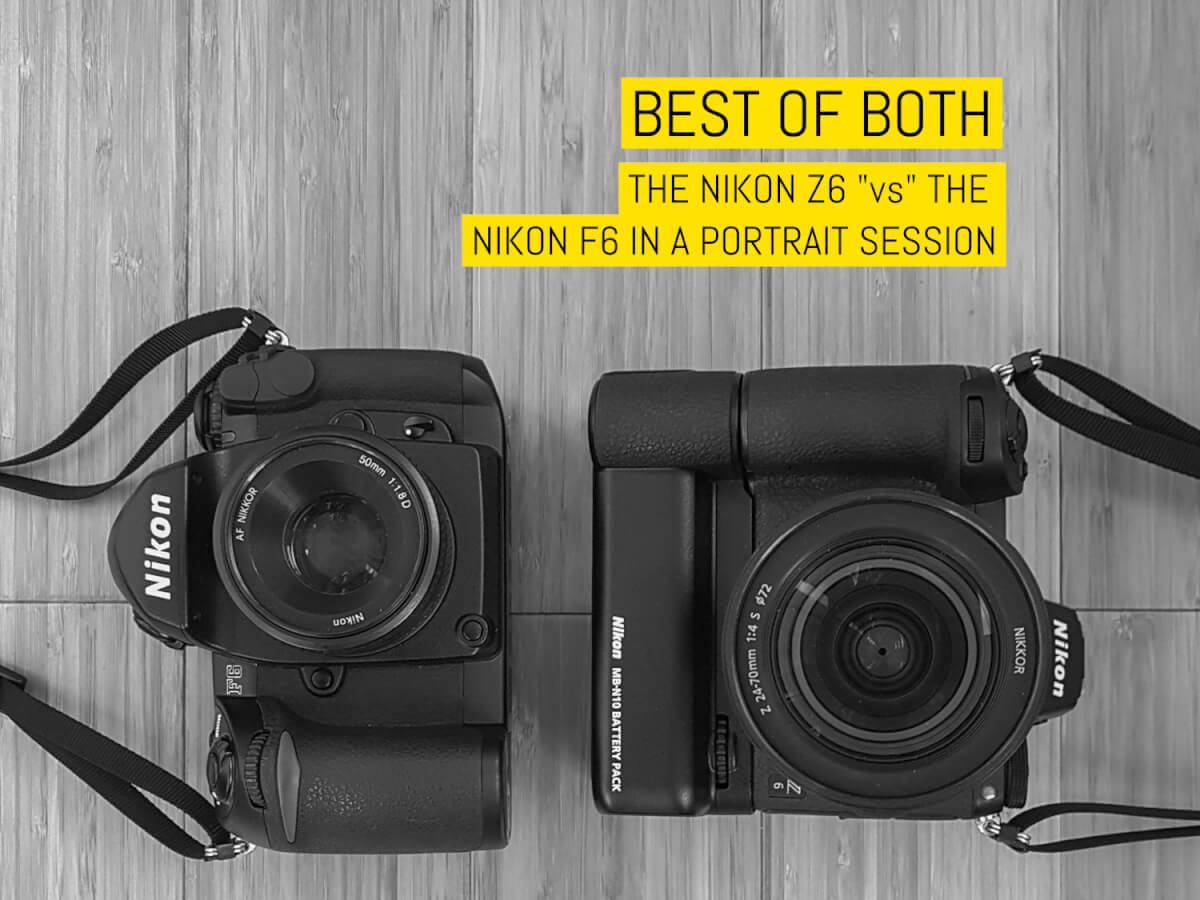
Over the course of a couple of months, we planned and executed two photoshoots. One in the office space and one on location in a local ruin. The workflow I opted for was to get lighting and settings nailed on a digital camera (the Nikon Z6), before transferring those settings to the film camera (a Nikon F6). This proved a fantastic way of working and created a really wonderful selection of images with favourites from both digital and film cameras.
What follows are some of my favourite images and a bit of a comparison between the two different technologies.

My Nikon Z6 and Nikon F6
Note: This is not a review of the cameras (the F6 is fantastic by the way), as that has been done to death by other websites. This is about what can be created with two cutting-edge creative tools.
I used a Nikon SB800 flash off-camera on a wireless trigger for all of the images and will start with some of the images from the office shoot. For the image below, I used a NIKKOR Z 24-70MM f/4 S lens on the Z6 at 34mm and f/4. The F6 had a NIKKOR 50mm f/1.8 AF-D lens again at f/4.


Note: Click/tap to view all images in this article full screen
In this case, I like both images, the Z6 (left) clearly has more dynamic range and a warmer look to the image. The film image has more contrast and for some reason, I wasn’t trying as hard to get my framing as precise as the digital version. I scan my slide films using the Z6 but try to keep the colours close to what my eye sees on the film.
Next up, one from the office reception area. I switched the lens on the Z6 this time on the Z6 to the NIKKOR Z 85mm f/1.8 S. Our reception has an amazing feature wall which was too good not to use, took us ages to work out how to turn off the halogen spotlights though.


Nikon Z6 and NIKKOR Z 24-70MM f/4 S bottom
I definitely prefer the feel of the film image (right) out of these two, the digital image is just too clean and clinical. Both images were shot at f/2.8.
Having whetted our appetites with the office shoot we racked our brains for a good location for a follow-up. I remembered a local ruin which I had visited a few years ago and thought the textured walls could work really well. I wasn’t wrong and the location was an absolute gem for a fashion shoot with a variety of walls, plinths, corridors, and staircases to shoot against.
Moving on and I love both the film and digital images in this next example.
The digital workflow paid dividends in the ruins, I processed the digital images before sending my films off for development and realised I had managed to slightly under-expose the majority of the shots. As a direct result of this, I decided to ask the lab to push process the film +1 stop when developing. It did appear to lose me a little dynamic range but ultimately was the right decision; there would have been a lot of dark slides if I hadn’t realised my mistake.


Hot tip: Always carry an umbrella, especially on a portrait shoot! It made a great fun prop for the model to play with.


Would I shoot in this hybrid way again?
Most definitely. Having the digital shots there and then was really important for working with a model, it helped create real energy and excitement on the shoot. I did make a point of not sharing the images with my model after the shoot until the films were back from developing. It made for a sense of anticipation when we finally reviewed the output from the whole shoot with both film and digital images standing alongside each other.
The whole shoot (both office and ruins) was a great success and a thoroughly enjoyable experience. Whilst I have tried to show similar shots on both film and digital in this “versus” article, we managed to create a shortlist of over 60 fantastic images with some real depth and variety.
When my favourite images change every time I look back over them, that tells me just how good the shoot was.

Thanks for reading!
~ Dave
Share your knowledge, story or project
The transfer of knowledge across the film photography community is the heart of EMULSIVE. You can add your support by contributing your thoughts, work, experiences and ideas to inspire the hundreds of thousands of people who read these pages each month. Check out the submission guide here.
If you like what you’re reading you can also help this passion project by heading over to the EMULSIVE Patreon page and contributing as little as a dollar a month. There’s also print and apparel over at Society 6, currently showcasing over two dozen t-shirt designs and over a dozen unique photographs available for purchase.


5 responses to “Best of both: The Nikon Z6 “vs” the Nikon F6 in a portrait session”
Nice shots. If a Kodak film is too blue, as the Ektachrome is here, it must have been a consumer-grade film that has not aged properly/fully. Kodak manufactured its consumer confections too blue as over time, at decent room temperature, the film becomes neutral. Beyond neutral it becomes too magenta. Professional confections are balanced neutral and need to be stored in the fridge: take film out the night before the shoot to prevent condensation, shoot, and deliver to the processing lab overnight. This gives wonderfully neutral Ektachromes. If the processing is done well, it has a great dynamic range of easily 13 f-stops (yes, that’s less than the Z 6, but more than what’s in these shots).
Of course, very old consumer confections still can go blue if they had been stored in the fridge and thus prevented from going through their ageing towards neutral.
I took the two “stairs” shots into LrC, adjusted them with the eye dropper, raised blacks by 100% in the Ektachrome “scan” and looked for the differences in tint between certain colour patches. The Ektachrome has consistently more saturation, first in the “blues” and when present in the “reds”. The question is if we can easily create a profile that makes a neutral Z 6 shot look like an Ektachrome as we see here. Henri Cartier-Bresson is right when he says that “sharpness is a bourgeois concept” (and that was a very pejorative statement from an upper-class person that had gone through art school), but the film shots are less sharp ;). Today’s problem is that we have touchscreens with two-finger zoom and people looking at our shots zoom in beyond 100%. “It’s not sharp, my over 90 years old dad said to me, looking at a photo on my tablet computer or his iPhone – so much for the art painter in him. If there’s one thing I’d like to see in digital, it is the “gradation” of 8″ x 10″ Ektachrome Professional and its potential for colour saturation (is that colour space?).
Thanks JPdJ, useful notes on the too blue situation. I had purchased the film from an online retailer and used almost immediately so cannot comment on it’s storage prior to me getting it. The film for the office shoot did hang around for a couple of months in camera before the roll was finished. The blue is most noticeable on the 1st pair of images. It could of course be influenced by my digitising process for which I use a flash behind the film, and I am not sure which profile I processed the image in Nikon software with as this again could have adversely influenced the image.
Regarding sharpness I did find myself applying an unsharp mask to the film scans just to get some of the harder hedges to stand out a bit more. In general I think the film images would benefit from a professional scan.
The blue is probably a scanning artifact – a lot of electronic flashes have a blue cast. I prefer the blue rendering to the more “accurate” digital one, but honestly, color balance is something you can play with in post-processing. I use an ancient Mac Mini because it has firewire to support my Nikon Coolscan 8000; it’s monitor isn’t very accurate, so I do the “real” color and contrast work in Lightroom. (GIMP would work too, if you’re on a budget)
Overall, the Ektachrome shots are just more fun to look at – they have more pop and sparkle.
Great juxtaposition!! Photographers have been taking great photos for years, long before many of these technological advances.
Additionally, your post also further dispels the false narrative that the Nikon Z6 is not a good camera.
Awesome shots!
Thanks SLH Photos, both cameras were a joy to use for the photo shoots. As is often the case it’s not about the gear.