Getting your exposure right is the first priority in making a photograph and comes before almost any other decision after the initial idea for a shot. Nowadays though, it is hardly given a thought. With many cameras making the basic choice, the photographer only needs to decide if any adjustment should be made to achieve his or her desired result.
If, like me, you enjoy older film cameras, an understanding of how to determine exposure – and how your camera/meter “thinks” will improve your results. In this article, I will be providing you with give some background to exposure assessment using various methods to help better understand this aspect of film photography. Here’s what I cover:
Film vs digital sensor response to light
Exposure assessment when using photographic film is much more significant than when using a digital sensor because they each respond to light in different ways.
Generally speaking, a digital sensor records the darkest to lightest tones as a straight line graph, whilst film produces an S-curve as a result of development when the lightest and darkest parts of the graph are compressed slightly. Film emulsion is also coated on a base that is not always perfectly clear, so the starting point for a film’s sensitivity is what is called film base plus fog level, i.e. the step above the base and fog density. This dictates where the lightest negative density will be produced (the “fog” part being produced in the emulsion layers).
The Roman numerals in the graphs below indicate the one-stop increases or decreases in brightness/shades of gray. I’ve borrowed them from the Zone System — explained in brief later — but for the meantime, just consider them as a scale of tones from utter black to the birghtest white.


Your decision on what settings should be used for exposing film go beyond simply “getting it right”. Because a digital sensor can capture a wider range of useable tones from the range of brightness in a subject than film — around 11 or 12+ stops against film’s 8 or 9 — it is necessary to be more selective as to where we place the exposure.
This limited range of tones that can be captured by film can be only a part of the full range that might be present in a scene, so what is important in the picture must be taken into account when you meter your exposure.
The human eye adjusts its iris automatically so that you see what you want to see within the range it can cover, a kind of auto-exposure system I suppose. To obtain a good photographic image on film involves a similar process by placing important subject details at the optimum point of the available exposure range to record the subject correctly.
Digital photography is further forgiving with post-processing options and HDR to widen the response. Film has to be exposed more accurately and with the end result in view.

The example above, taken with an Ensign 12-20 and ILFORD FP4 PLUS was a scene with a wider tone range than the film could record. The average meter reading (left) of 1/100 second at f/16 given lead to blown-out highlights and blocked shadows. Here, the flower head was the important element, so reducing the exposure by a couple of stops allowed more highlight detail to be captured at the expense of the even more blocked up shadows, giving a better rendering of the subject.
Exposure metering and light meter basics
The basis of exposure assessment are the rated film speed (ISO) and intensity of light – I’m speaking about assessment, not the exposure triangle! An assessment is arrived at on the assumption that the range of tones in all scenes will average out to “middle grey” – a grey tone which represents 18% reflectance in visible light.
In other words, a slightly dark, mid-grey, no matter how wide or narrow the range may be, ignoring details like colour and texture, as though the scene is being viewed through frosted glass.
This range of tones can vary between a few aperture stops in dull conditions — well within the film’s density range — to many more than the film can record in very bright conditions. The examples below show how a film camera or handheld light meter approximately “sees” the three sample images and how it measures them to bring them all to the same tone as the first, leading to varying exposures in the non-average ones.
From left to right:
- An average subject that will meter accurately
- A mostly light subject that will give an underexposed reading
- A predominantly dark subject that will indicate overexposure.
- Important detail in highlight or shadow details will be lost in the non-average images.

Let’s take a quick look at three basic types of light meter:
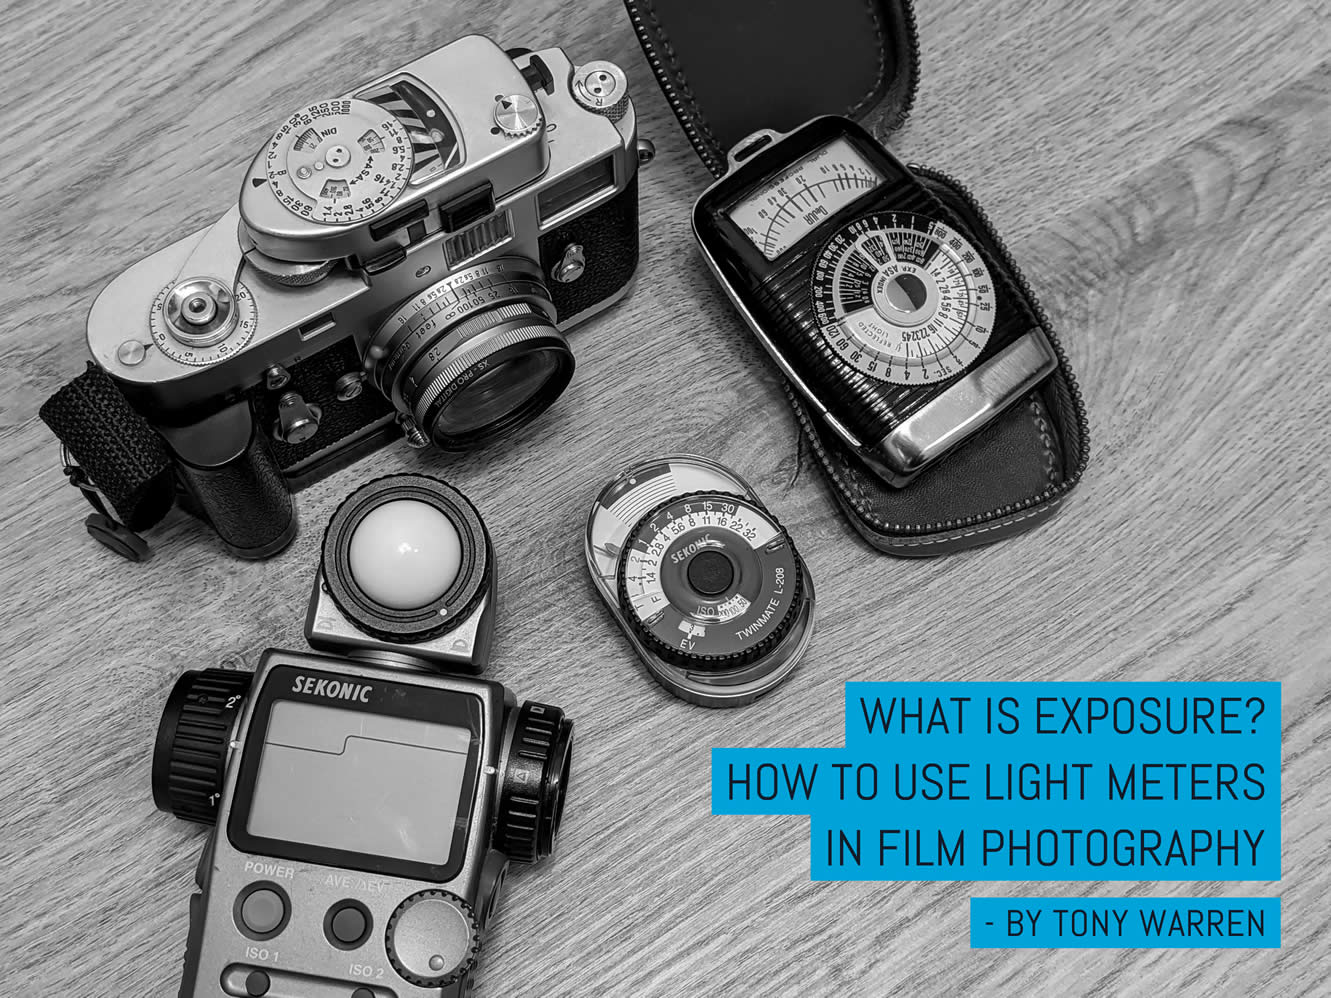
Type 1: Handheld meters typically measure the light reflected from the subject with an acceptance angle similar to a standard lens. Some handheld light meters can be mounted directly onto cameras – the Sekonic L-208 and Voigtlander VC meter being two examples. Handheld light meters will take readings using “reflected light” or “incident light” (more on that a few paragraphs down).
Many film older film cameras have built-in light meters which do much the same job as handheld light meters. You can find examples of these in cameras such as the Rolleiflex 2.8E, various Yashica-Mat TLRs, Olympus rangefinders and others. These are very different from light meters which “see as the photographer does” through the viewfinders. We call those…
Type 2: Through The Lens (TTL) meters, which as the name suggests, meter the scene directly through the lens. TTL meters are generally “weighted” to favour the middle of the scene. This is due to a legacy assumption that the important part of your photo will be in the middle of the frame. These meters also typically use a “reflective” reading. For a highly directed approach to metering very small sections of your scene, there’s only one choice…
Type 3: Spot meters differ by measuring from a 1º or 4º area — a spot — seen through a simple viewfinder, like an SLR without film. The spot is placed on an important subject area and reads the strength of the light reflected from that point. It must be remembered though that this is still a reflected reading and the meter assumes it is seeing an 18% grey whether the spot is placed on a lighter or darker tone than average.
Users of spot meters will typically take multiple readings of the areas of the scene most important to them and then set their lens aperture and shutter speed to suit. some spot meters, such as the Sekonic L-608 will allow you to store multiple readings and then take their average, making life that little bit easier.


There are, of course, light meters which provide a combination of all three – for example, a modern film SLR camera with a TTL meter capable of taking an average reading from the center 30-40% of the scene or a spot reading or even the sophisticated, multi-zone matrix metering first seen in the Nikon FA.
It is worth remembering — confusingly perhaps — that a reflected reading of a light subject should be given more exposure and a dark subject less exposure in order to produce a good result.
Reflected vs incident light meter readings
I have spoken so far about reflected light meter readings, where the meter measures the light being reflected off the subject. Many light meters also provide the option of an incident reading, which measures the light falling on a subject. The strength of the light falling onto the subject is measured, again assuming it will produce the same 18% grey.
Once more because it’s important:
Reflected light meter readings measure the light being reflected by the subject.
Incident light meter readings measure the light falling on the subject
The sketch below also does a good job of explaining the difference.

A light meter’s incident reading is not influenced by subject brightness or colour in the same way as a reflected one is. Adjustments are made more logically, reducing exposure for light subjects and increasing it for dark subjects.
A digital camera or phone can be used as a reflected light exposure meter of course, and will put you in the right ball-park.
Light meter cells and batteries
Light meters — both handheld versions, or those built into cameras — typically use one of two technologies at their heart. Older light meters historically used a Selenium photoelectric cell, the advantage being that no battery is required! The second type, more commonly used today, is a Cadmium Sulphide (CdS) photoelectric cell, which depends upon a steady voltage from a battery to operate it but does not suffer from age, as Selenium cells do.
Light meters based on Selenium cells will lose accuracy/response if exposed to light for long periods and after many decades, many no longer work, or at best, are unreliable. Those that continue to work fairly accurately typically have a cover of some kind, which is only opened when the meter is in use, protecting the cell from light except when needed.
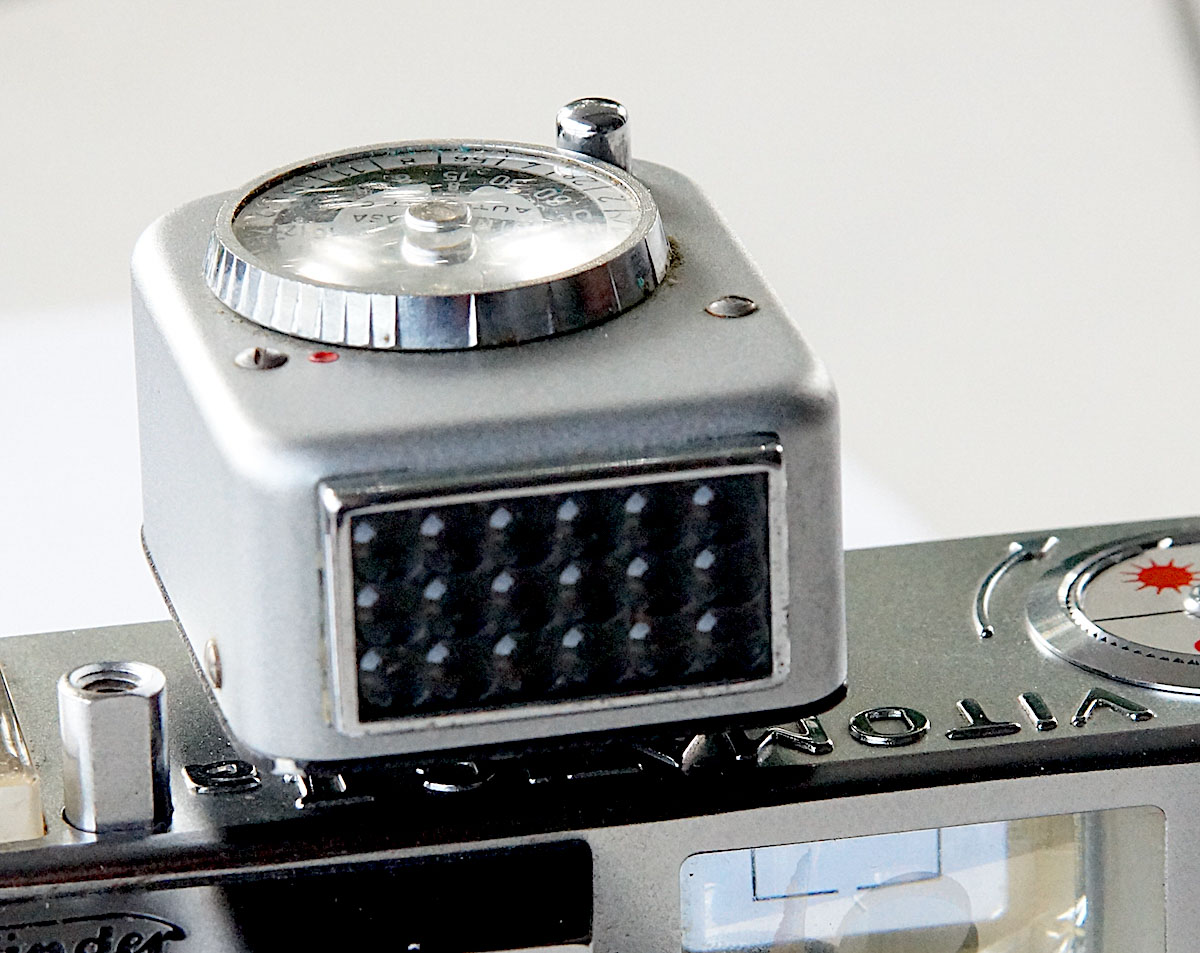
I was fortunate with the Minolta Autocord I owned which had such a cover and an accurate, working meter, and the Voigtländer Vitomatic IIa I currently use, which must have spent its life tucked up in its case, as this meter also works accurately.

Some older CdS-based light meters — both handheld and those found in older cameras — require a 1.35-volt mercury button cell (often the PX 625). Mercury batteries were banned in the 1990s (’91 in the EU and ’96 at the US Federal level) and are thus nearly impossible to find. This type of battery delivered an accurate, steady current, with an abrupt drop off when exhausted, avoiding misleading readings as the battery weakened.
Replacement 1.5-volt silver or alkaline-based batteries can be used in their place but will give inaccurate readings unless the camera or light meter is modified or unless a suitable battery voltage adapter is used. The MR-9 battery adapter is a good example of a non-destructive solution as it contains a built-in circuit to drop the voltage from 1.5 to 1.35 volts.
Zinc-air batteries giving close to 1.35 volts are available as another alternative but have a much shorter life and discharge continually once the seal is removed to allow air to activate them.
Exposure automation in older equipment
Automated exposure began to develop in the immediate post-Second World War years when photography really took off as a popular pastime. Just about every manufacturer included an automatic or semi-automatic model in their range.
Autofocus was still a little way off in the 1950s but exposure automation was well developed. This was generally what is now referred to as shutter priority and worked by first setting the shutter speed and then matching the aperture to the meter read-out for correct exposure at that speed. This happened automatically in some cases but could involve first turning the aperture ring until two indicators lined up.
A further refinement was introduced called the “match needle” whereby, after matching two needles in a small window on the camera body, the combination of shutter speed and aperture chosen could be altered together without upsetting the set relationship between the two. The Voigtlander Vitomatic has this feature.


Subsequently of course, automation has come on leaps and bounds, a direct result of the increasing use of electronics and computers. My Vitomatic is entirely mechanical and has nothing approaching electronic wizardry in its construction, using a battery-less photoelectric Selenium cell meter.
The principle of that device has been around for almost a hundred years and is more basic physics than micro-circuitry. Comparing modern camera exposure control using its sensor to earlier methods using one or two cells is like comparing autonomous driving with the tiller used to steer the earliest motor cars.
Early exposure metering/estimation solutions
In the very early days, it could be almost pure luck and experience that produced the correct exposure. But in those days, development of the negative was done individually — it could be observed under a darkroom safe-light and stopped when the desired density was reached. This was called development by inspection but could still lead to variable negative densities, requiring the use of intensifiers and reducers to go some way to correcting things chemically.
“Immediate gratification” was not in the Victorian and Edwardian vocabularies!
There were exposure tables and other advice provided to help the emerging photographers of the day and large format negatives were fairly forgiving (see next section). Various devices were introduced using strips or rolls of photographic emulsions as their “metering cell”. One well-known example was the Watkins Bee meter, which assessed light levels by the amount a strip of emulsion darkened in a given time against a standard scale.


The extinction meter (second gallery image above) was another, non-electronic meter and although built into some cameras, it was a pretty hit and miss device. It usually took the form of a box or tube with an eyepiece at one end and a graduated, numbered step wedge at the other end. Using an extinction meter relies on the eye identifying the faintest numbered step and setting this against adjustable scales to establish the exposure setting.
Clearly, the longer you kept your eye to the device, the more the eye adjusted and the more steps would become visible, distorting the results! If you use one of these devices, it is good practice to time how long you view the step wedge to help you achieve a consistent result.
As photographic film began to be used in roll form, exposure accuracy became more critical. A roll of film would contain several different exposures and therefore could not easily be developed by inspection. A reliable way to establish correct exposure for each frame was essential.
In the mid-1900s separate/handheld light meters were a popular accessory and came in many forms:

Exposure tables could also be good guides for many lighting conditions and also come in many forms. Inside the film cartons for example, or in the case of some cameras, mounted on the back of the camera on a plate. Some were very sophisticated, the twin wheel example shown below allowed for differences in light during Winter or Summer month. some went as far as to offer the hyperfocal distance for the aperture set on the camera’s lens.


The principle of the photoelectric exposure meter was known from around 1900 and by the 1930s, miniature cameras began to appear with built-in meters, the Contax III and the Kodak Retinas, for example. Some could be fitted with a separate meter in the accessory shoe that most 35mm view and rangefinder cameras were normally provided with. These are interchangeably called a “cold shoe” and eventually morphed into the “hot shoe” that we see today. Meters attached via accessory shoe were not connected to the shutter or aperture, so exposure settings had to be transferred manually.
Exposure calculators
Exposure calculator represented an important part of the standardisation of how we measure light (photographically) today and thus require their own section. In January 1941, the British Standards Institution (BSI) developed the BS 935 photographic exposure tables standard. It set out — in table form — exposures for almost any situation likely to be met in general photography by means of cross-referencing film speed, time of day, month and weather/light conditions.
At the time, there were numerous, different film speed systems in use and one of BS 935’s aims was to bring some standardisation – internationally. Some systems in use at the time were confusingly similar yet different, the BS and Scheiner systems, for example, used “degree” calibration, 21º or 27º for instance, with a 3º difference doubling the speed. Unfortunately, they didn’t both start from the same base so BS21º was not the same as Sch21º — or even DIN 21º, which still survives today — and would give several stops difference if mixed up.
The BS 935 standard set out to remove this proliferation of systems and provide a single system that could be used by everyone. Eventually, the ISO system was established and ISO is the standard all sensitivity scales follow nowadays, analog or digital.

Using the BS standard, several firms, particularly those involved in selling processing chemicals like Johnsons of Hendon, began producing devices and tables for assessing exposure based on the new standard. They proved quite an accurate guide and the Johnsons versions were particularly successful for quite a few years. They were made from durable plastic, worked like an old rotary dial telephone and were small enough to slip in a pocket.
In fact, the Johnsons products were my first means of establishing exposure settings after pure guesswork and they subsequently developed several versions for colour films, flash as well as basic monochrome and colour films. Ever with alternative versions for use in southern latitudes were created – where the seasons are reversed of course!


These appear quite regularly on auction sites and are still a viable option as an exposure guide.
The Zone System
I couldn’t talk about metering and exposure without at least mentioning the Zone System. It needs an article of its own but must be included here for completeness. The Zone System is a very sophisticated and potentially complex system of controlling exposure and the final print. Mainly for using monochrome film, it can be partly applied to colour film products, too.
It was developed by Ansel Adams and Fred Archer and is based on 11 steps of brightness, from the deepest black as Zone 0, to the brightest white as Zone X (it used Roman numerals). The pervasive “middle grey” — 18% grey — is placed on the approximate mid-point at Zone V. This effectively covers the range of tones available in “standard” lighting, i.e an average, normal toned subject, front lit, in sunny conditions.

In practice, only nine steps will be recorded on monochrome film because of the S-curve response of film and only six of these will show useable detail in the negative, Zones III to VIII. A great deal has been written on the subject, the best being Ansel Adam’s own book, The Negative, so I will leave it at that.
The Sunny 16 method
Nowadays, many people use a form of estimation called “Sunny 16”. The Sunny 16 method is based on setting the shutter speed to the reciprocal of the film ISO speed and the aperture to f/16. For example, using ISO 125 film = 1/125 sec at f/16.
In full sun, this will give close to accurate average exposure. Based on this, other light conditions and subject features can be catered for: open up a stop for cloudy/bright, a further couple of stops for cloudy conditions and subjects in shade and so on. The strength of shadows is a good indicator for this.
Full sun gives strong shadows, beach and snow very hard shadows and should be given less exposure, cloudy bright weak shadows, cloudy hardly any shadow and shade has no shadow, all roughly 1-2 stops difference between each.
Ideally, adjustment to these settings should also be made if the subject colour etc is non-average.
Filters, compensating for
To wring the most out of monochrome photography, colour filters will eventually be used. In fact, for all outdoor work, a medium yellow filter is recommended to give a little more contrast. All colour filters needs the exposure to be increased – ranging from 1/3 of a stop to as many as 5-6. This specific filter requires exposure to be increased by one stop and for more dramatic skies, a red filter can be used which requires a 2-3 stop increase in exposure.
These exposure adjustments can be applied to the light meter reading or catered for by reducing the film speed appropriately on the meter if the filter is used all the time. Most TTL meters will automatically compensate for these “filter factors” but you should test your filters yourself to understand how to compensate for them individually.
Applying your understanding of exposure


Application of an understanding of how exposure works can make quite a difference to results, especially when using older film equipment so I hope this article will help you to get more pleasure from exploring film.
As I said in my opening remark, exposure is a key element in a successful image. There is something about a well exposed, fully toned and detailed monochrome image that is deeply satisfying. There is a lot to be said for practice and more practice in most fields and particularly in photography, where small adjustments can make a huge difference to results.
This article should give you a good understanding of the basic tools and principles, but you need to apply these tools to find the right combination that works best for you.
Thanks for reading.
~ Tony
Share your knowledge, story or project
The transfer of knowledge across the film photography community is the heart of EMULSIVE. You can add your support by contributing your thoughts, work, experiences and ideas to inspire the hundreds of thousands of people who read these pages each month. Check out the submission guide here.
If you like what you’re reading you can also help this passion project by heading over to the EMULSIVE Patreon page and contributing as little as a dollar a month. There’s also print and apparel over at Society 6, currently showcasing over two dozen t-shirt designs and over a dozen unique photographs available for purchase.


22 responses to “What is exposure? How to use light meters in film photography”
Hi Tony, a nice wide ranging article on the subject thanks. One thing that has always confused me: many ordinary lightmeters do both incident and reflected readings however to go to incident mode a diffuser (flat plate or dome) is attached over the lens without any adjustment for sensitivity needed (I think, this is true isn’t it?). This seems surprising to me. If you imagine using it in normal direct sunlight. When in reflective mode the acceptance angle does not include the sun (or even sky if you are using it carefully). However in incident mode the sun shines directly on the diffuser. Obviously the diffuser bounces a bit of the sunlight away but I am surprised it is enough to give the same reading as the reflective case. And is it a coincidence that it comes out exactly the same or is there some underlying science I am missing?
Hi Michael – no you are quite correct I believe about the diffuser.
The diffuser is necessary and calibrated to adjust for the much higher reading an incident reading would give without it. Irrespective of the strength of the light falling on the meter cell it assumes it is “seeing” mid-grey. With a reflected reading, it can vary depending on what is reflecting the light to the meter – a white painted wall would give higher reading than a dark brick wall for example. With an incident reading however the strength of the light is not influenced by being reflected from anything and measures only the strength of the light itself, giving an accurate mid-grey exposure for any subject receiving that level of illumination.
You must be careful not to assume that they will each give the same reading in the same lighting. In my wall example here the incident reading would give the same exposure for both but the white wall could be burnt out and the dark brick wall lacking in detail (see the rose example in the text). The reflected reading would give less exposure to the white wall and more exposure to the dark brick one.
A rule of thumb used to be – for darker subject give less exposure than a reflected light meter shows and more exposure for lighter ones.
There are many people starting out in film photography these days that a well written and concise article like this is so valuable. Thanks for taking the time to write it.
The instructions for using a reflected meter seem spot on, so to speak, but the instructions for incident metering are at beast misleading:
“A light meter’s incident reading is not influenced by subject brightness or colour in the same way as a reflected one is. Adjustments are made more logically, reducing exposure for light subjects and increasing it for dark subjects.”
It’s not influenced by those factors at all. An incident reading will give you “normal” exposure of the metered subject without any adjustments. If you wish to make the subject darker you reduce exposure. For a brighter exposure, e.g. when you want to blow the highlights somewhat or place deep shadows in a lighter zone, you increase exposure.
Otherwise super article!
Thanks David, but I think we are both saying the same thing really but from different directions.
My comment refers to adjusting to expose the subject within the tone range of the film, whereas you are suggesting how to adjust the exposure to change the tone of the subject creatively. So we are both right in effect, the difference being the final result you aim to achieve.
What you say is really worth bearing in mind in order to manipulate the image outside of standard, so thanks for that.
Modern light meters tend to use silicon photo diodes or photo transistors instead of calcium sulfide photo resistors. SPDs have faster response and no “memory” compared to CdS cells, and then there’s the toxicity of cadmium. An individual light meter is safe enough, but the manufacturing process can present a health concern.
Kudos for this statement: “The basis of exposure assessment are the rated film speed (ISO) and intensity of light – I’m speaking about assessment, not the exposure triangle!”
Wish more “photographers” understood the role of ISO vs exposure.
Good read, really enjoyed. While it wouldn’t make a difference in the educational aspects per se, It’s good enough that it would seem worth while to update the photos and other references.
Forget about light meter, use the sunny 16 rule, negative film has so alot of dynamic range you can overexpose 4 stop and underexpose 2 stop and you will still get great results
“An incident light meter is one which measures the light being reflected by the subject.”
A typo. Should be “…the light coming to the subject”, yes?
A typo in the FAQ, thanks for letting me know Andre!
Noted for later on, I have to study !
Does one really have compensate for subject brightness when using an icident meter (other than changing exposure according to artistically desired effect)? Isn’t that the point of an incident meter vs. a reflective; getting the “correct” exposure without the use of a grey card or similar to account for subject brigness?
PS In the FAQ the same defintion is given for both type of meters.
Hi John – the answer is yes because film cannot always take in the whole range of brightness in a given scene.
If you want to render, say, the flower in my example above, correctly you must adjust your exposure so that the important part of the subject are correctly rendered, i.e. the highlights in this case are not blown out.
Your mention use of the grey card is pertinent because this would also give an exposure for an 18% grey but your subject may be much brighter or darker than the film can record and the same adjustment would be necessary.
It can be a practical or a creative choice depending upon your intended final result.
David Hamilton’s comment and my reply may shed more light too.
Tony.
Tony, thanks for the posting…I’m surprised at the LACK of articles that are posted on this subject. Very informative. I personally use a Luna-Pro F, recalibrated by Quality-Light Metric years ago to accept current batteries. But, after almost 50 years, I can ‘accurguess’ the exposure.
Excellent informative and interesting article Tony. Many thanks for taking the time to do it.
Minor tip: There is one subject on which the Sunny 16 rule always works, whether you’re shooting film or digital, and it’s not one that comes first to mind. Keep in mind, though, that whenever you can see it, it’s always effectively noon on a cloudless day on the surface of the Moon. So if you’re photographing the Moon, Sunny 16 is highly effective.
The one caveat to this is that (as we now know due to various space programs) the Moon is actually medium to dark gray. So the regular Sunny 16 setting will make it look a bit darker than you want, but if you add a couple of stops, it’ll be fine. (Sunny 8, anyone?)
…you mean, Looney 11? as opposed to Sunny 16?
Good one.
So very true Brian. Went out with my grandson recently to shoot the moon. He left his camera on auto and the moon was just a blown out white blob until I suggested he set his camera to manual 1/100, ISO 100 and f11 which was much better.
Thanks! Always so useful such an article!! 🙂
Bookmarked, metering is my Achilles Heel of photography