In November of 2020, during a peak in the pandemic, a neighbor posted a series of photos to a local Facebook “Buy Nothing” group of a large number of unwanted household items she had put out on the curb for anyone to come by and help themselves to. In one photo, sitting on a table, I saw what looked suspiciously like an old large format camera. As an avid film photographer and erstwhile camera collector, I bolted straight out the door and over to her house.
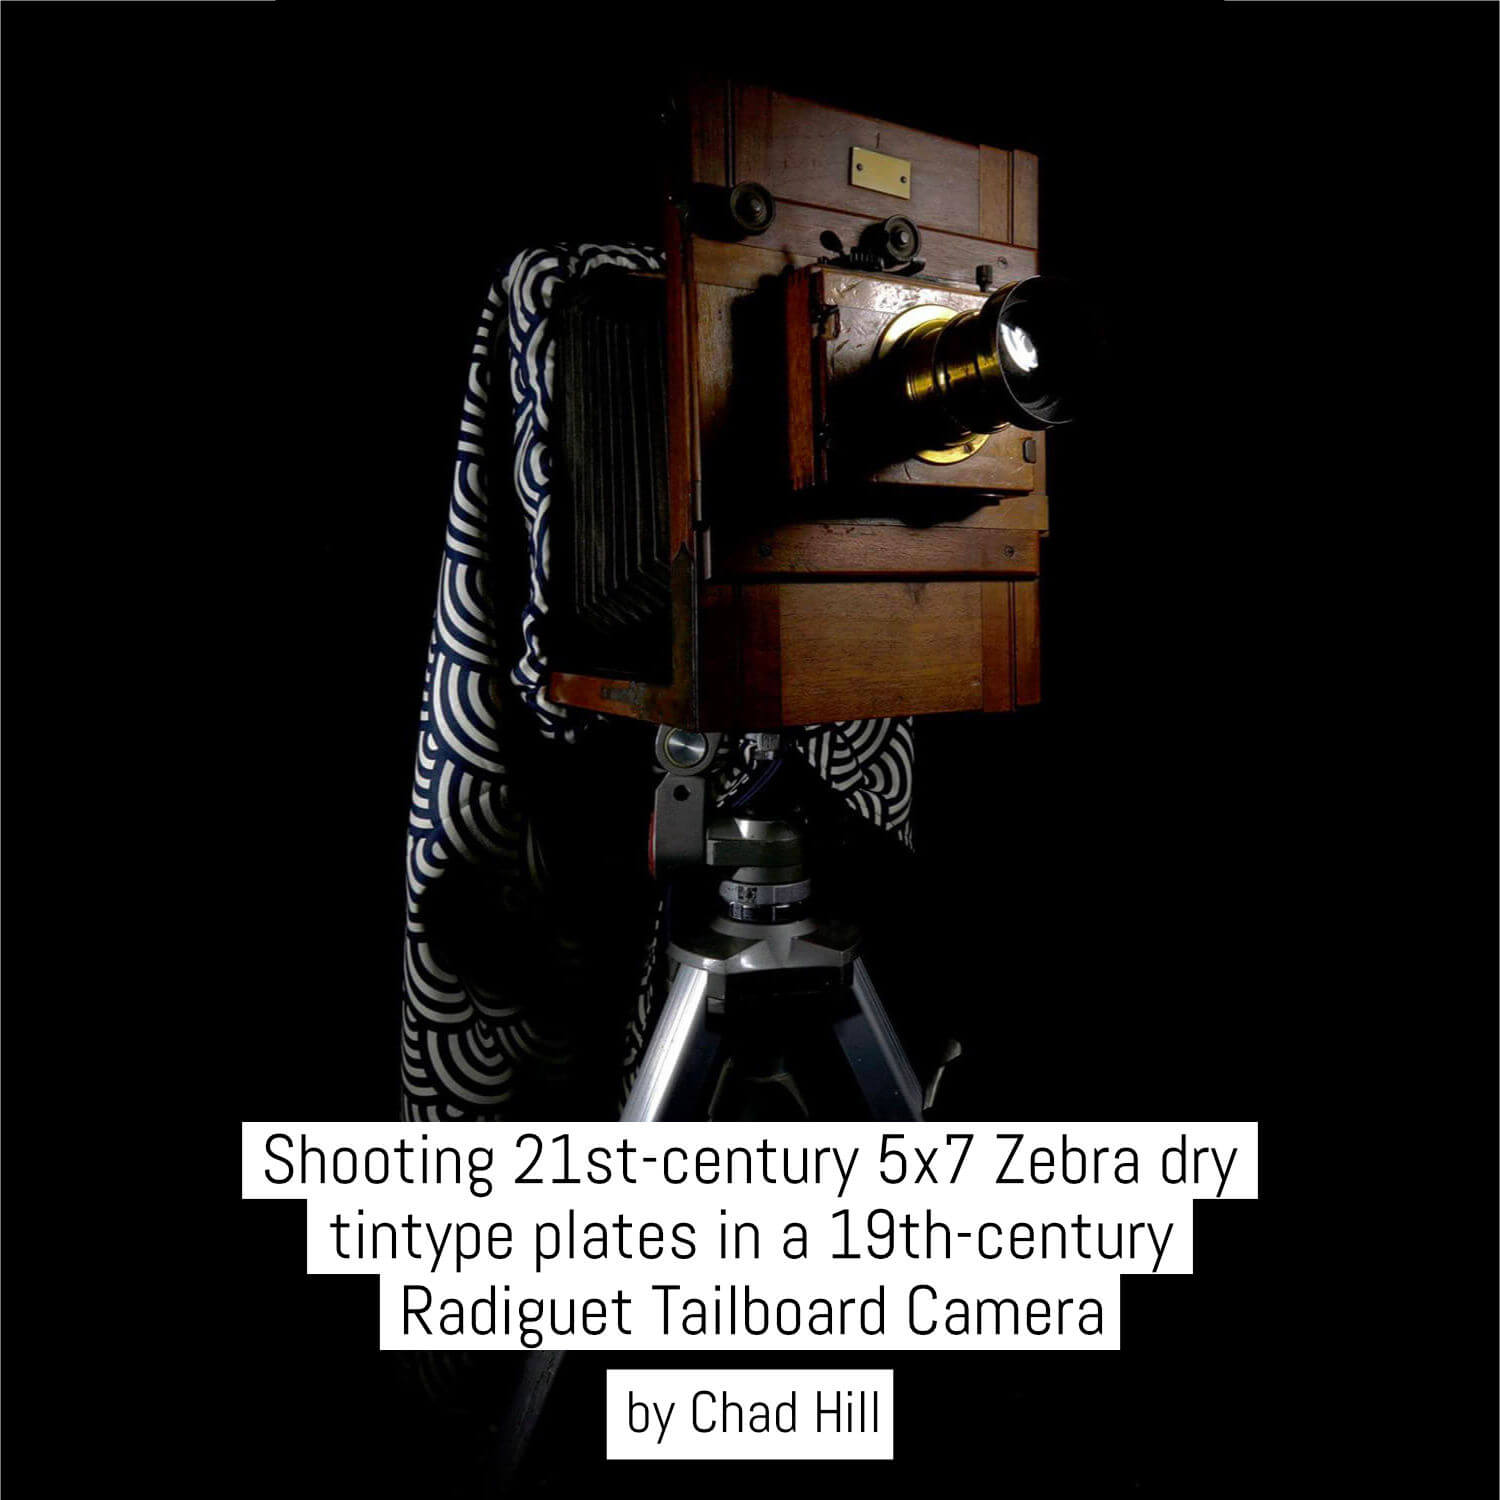
Sure enough, it was a camera, but it was significantly MORE camera than I was expecting: an antique 5×7 (13×18) wooden “tailboard” camera, complete with brass lens. I have some knowledge of large format cameras, but did not know anything about cameras of this style or age. Even so, I could immediately see that the glass, bellows, and original shutter appeared to be in great condition! I came home with my new treasure and embarked on a long-term photographic project to put this camera to use.

What is it?
The markings on the camera are extremely hard to read. After a lot of squinting, googling, and deciphering, I was able to figure out that this is a french camera. The body is (almost illegibly) marked “Radiguet” with an address in Paris. Internet searches show Radiguet, at that address, as a company in Paris that merged to become “Radiguet and Massiot” by the turn of the 20th century. The lens is a rapid rectilinear marked “Vulga”, which should be short for Photo Vulgaricatrice, another Parisian camera manufacturer from the late 19th to early 20th century.

The — working — shutter is an early Thornton-Pickard T+I roller blind shutter, with marked and functional shutter speeds from 1/15 to 1/80! Based on the combination of timelines I can find for these companies, and the feature set of the Thornton-Pickard shutter, the camera likely dates to the early 1890s (though please feel free to let me know if I am wrong about this!!).
How to use it?
I had zero interest in putting this on a shelf and admiring it, I wanted to shoot it! But, of course, the camera did not come with any film holders, and I would not be able to shoot it until I could put some film in it.
I first got in touch with my neighbor who had posted it, both to thank her and to check that she did not have any accompanying film holders floating around. She gave me a little more history of the camera, but confirmed that there were no holders.
Unfortunately, but unsurprisingly, this camera does not take modern standard 5×7 film double dark slide holders. Of course, this makes sense because this camera would have been made for glass plates rather than film! It has a very narrow brass slot that should fit a similar slot on a wooden 13×18 plate holder. I found similar-looking holders on eBay, but my one attempt to buy the exact right vintage holder failed: it did not, quite, fit. So instead, I spent months working on 3D-printed solutions. First I made a custom 4×5 reducing back, with integrated ground glass, by remixing part of the amazing “Will Travel” camera system by Morten Kolve. This let me use my existing 4×5 holders.


This worked, but was not ideal, as I wanted to use the full size of the 5×7 format. So, next, I remixed a 5×7 holder I found on Thingiverse to make custom holders of a more appropriate size. This required printing many iterations to make sure the prints were light tight, the holder fit tightly in the camera, and the film plane remained coincident with the ground glass!
I also tried several different dark slides, and ended up with thin sheet metal from the local hardware store that can be scored and cut to size and then folded for a handle. The final result is a pair of functional holders that, combined with various inserts (primarily a metal cut-film sheath insert and a 3D printed ½ plate insert) can shoot a variety of formats: 5’x7” paper or film, 13×18 film, ½ plate glass plates, and 5×7 tintypes!

Unfortunately, I could not make the light baffles that are part of the original design work correctly, so I am careful never to remove the dark slides entirely, or else there will be light leaks.
N.b. The newest version of Robert Bieber’s plate holders use magnets and have an improved light trap system. I am currently printing the 4×5 version and if it works well, will probably re-mix the 5×7 design as an upgrade!
Shooting with an antique
My experiments with using this camera, over the course of the last two years, coincided with my larger return to film processing and darkroom printing. When I started using this camera, I was still only taking tentative steps toward restarting my darkroom, so my first shots were individually unloaded Instax sheets loaded into 4×5 film holders with custom inserts and then processed in an Instax 300 camera. This was followed by simple paper negatives, that I could scan and invert digitally, and then black and white film (13×18 Foma 100).
One of the first things I noticed, however, was significant difficulties getting exposures right. I would meter for a test shot using a cell phone light meter app, or another camera, and the exposure would be terribly far off. My results, for an embarrassingly long time, were extremely hit-or-miss. I assumed the speeds were off in the 130-year-old shutter, and that would be causing exposure problems, but even when I tried flash setups in my “studio” or long exposures using a hat for a shutter, that should get rid of problems with the shutter speeds, I’d get results that still didn’t match what I had metered. I paid extra attention to calculating the bellows factor, but this didn’t fix the issue.
Readers with more experience with very old cameras will probably already have guessed the problem, but it had not occurred to me that the problem was the aperture numbers marked on the lens! After this had gone on for some time, I stumbled onto a discussion in a forum that mentioned the older Universal System (US) for apertures, with links to blog posts like this from T. Rand Collins MD that includes a commonly shared conversion chart between US f/stops and modern f/stops. The US stops marked on the lens of my camera seem identical to modern f/stops (my lens is marked 8, 11, 16, 22, 32, 64) but 8 in the US system is actually 11, 16 is 16, and 64 is 32! My results improved significantly after I realized this.
Over a period of months, I experimented with a bunch of different processes, looking for one that would seem appropriate for the camera but could also fit into my re-evolving darkroom workflows and capacity. I have tried paper negatives, direct positives (Harman Direct Positive paper as well as reversal processed standard paper), black and white film, the extraordinarily fun RA4 positive process, instant film, and the awesome J Lane dry glass speed plates.

Nothing, though, seemed to be quite the right combination for me. I really wanted a process that would produce a positive directly, and would seem like a historically appropriate process. I enjoyed shooting glass plates, but wanted something more like ambrotypes!
Dry Tintypes
The whole project really came together, recently, when Nejc Urankar posted in the Dry Plate Photographers FB Group that he was beginning to take pre-orders for his new ZebraDryPlate Dry Tintypes. I had been closely following, in that FB group, the development by Lee Lira of new processes for developing dry ambrotypes and tintypes, but the process had remained a little intimidating. I was also not yet willing to try to learn wet plate! But the published processing guide for the Zebra plates seemed manageable enough to make this finally accessible enough for me. So I immediately signed up for the preorder.
Over the last few weeks, I have shot that first box from the pre-order. I expected a steep learning curve to get a handle on this new-to-me process, but the success rate in this box has been extraordinary relative to my usual results! For my very first shot I set up a selfie in my basement “studio” with all of the strobe power that I could muster: 1500ws via a Novotron 1500 VR and two heads plus a very low power slave on the background. The box speed of these plates is ISO 2, but they are also orthochromatic/UV sensitive, and I worried I just didn’t have enough power to get a correct exposure since the Rapid Rectilinear lens has a slow max aperture.
However, based on flash metering and a test exposure of the light setup with similarly slow Harman Direct Positive paper, I exposed the plate at f16 with the strobes at full power JUST outside of the frame. The first plate looked amazing, so I followed it up with a portrait of my mom, with the same setup!

Based on the success of my first plates, I asked some friends, who do various kinds of 19th-century historic reenactment, if they would like to sit for tintype portraits. First up was Eric Nelsen and Francesca Costa, historical interpreters at the historic Kearney House in the Palisades Interstate Park, in Alpine, NJ. I brought strobes to do indoor portraits, but for a variety of reasons, ended up shooting them both outside in natural light, with 2-4 second exposures at f/16 in afternoon shade.


Next, I went to visit Jim Keyes and Carla Lynn Hall who do amazing 18th and 19th-century programs combining music and historical reenactment. I shot their portraits in natural light as well, though this time I struggled with the process a little bit. The shot of Carla came out well, but the two additional plates I shot were underexposed and do not look as good.

To finish out my first box of tintypes I shot more portraits of my family, including the shot below of my dad, outside his house, with his beloved Martin D-28. The light was fading, so I stretched the exposure to 10 seconds at f/11 and then still had to extend the development significantly.
I am amazed by the flexibility of this process. Although this process requires development by inspection, so should be done in a darkroom under a red light, the upside is that the process is surprisingly flexible, which is not what I associate with direct positive/reversal processes. I had initially hoped to be able to process these in trays in a dark bag, while out shooting, but the ability to correct for modest exposure problems during development more than makes up for this limitation.

It is hard to photograph these extremely reflective tintypes effectively. They look different in different light (especially in terms of how “yellow” they look, and static images don’t seem to do justice to the dynamic effect of the very reflective positive image on a deep black background. So I have also sometimes been showing short video clips to give a more visceral sense of them:

Conclusion
Even though they are not “perfect” and there is still significant room for improvement, these results have blown me away. This has immediately become the main process that I want to be doing with this camera. The outcome is predictable, the processing is at least a little forgiving, it is historically accurate for the camera, and the results are beautiful and unique one-of-a-kind objects that have a story to go along with them.
5×7 is a great size for tintype portraits, as well, providing great detail even for full-length shots. Shooting these has been some of the most fun I’ve had making images in years, and the entire process of figuring out how to get the images that I want out of this camera has been a driving factor pushing me back into a whole host of other analogue processes.
Acknowledgments
~ Chad
Thank you very much to all the people who sat patiently for me while I worked with this new process: Faye Hill, Austin Hill, E.S. Hill, Eric Nelsen, Francesca Costa, Jim Keyes, and Carla Lynn Hall. Thanks also to Andy Karlson, an old friend and fellow photography enthusiast, who has followed along with this project from day one and encouraged me to write something like this about it, when I was ready.


2 responses to “Shooting 21st-century 5×7 Zebra Dry Tintypes in a 19th-century Radiguet Tailboard Camera”
Fascinating article and I keep staring at that Kodak today I have in the corner of the living room, which is a 5 x 7 flatbed view camera. Maybe something like this will happen to that!
Quite a journey and an interesting read. Thanks for your insights.
Best regards
Martin