You’ve heard of GAS? I’m also getting PES – Paper Experimentation Syndrome. Now 6 months into my adventures working with paper negatives, I’ve found three types of paper negatives to work with: Ilford Multigrade IV RC Paper, Oriental Seagull VC-RC Pearl, Galaxy Direct Positive Paper. As you’ll remember from part one of this series, I’ve basically bought a lifetime supply of Ilford’s paper; a box of 1000 4×5 sheets.
On a whim, I also recently picked up a box of the Oriental’s paper when I was ordering other goodies from B&H. It’s sensitivity and dynamic range (DR) seems similar to Ilford’s but I really love the textured, pearl finish. Galaxy paper is interesting as it boasts increased DR and sensitivity.
ISO Sensitivity aka: Oh elusive ISO rating – where are you?
Yep, that was me, talking to myself as I turned the photo paper box end over end, corner over corner. To shoot photo paper as a negative, I needed some idea of its ISO sensitivity. Yet, the box said nothing.

Online, I’d found posts that talked about every ISO value from 4 to 12. Most differences seemed tied to the brand/type of paper but sometimes it seemed more like phase of the moon or day of the week. Not that helpful.
My old-fashioned solution was to determine the ISO sensitivity of my paper by…testing it. I would shoot my subject in as consistent light as possible and then develop the negatives by inspection.
Preparing the Paper Negative
One thing seems to raise the ISO sensitivity: pre-flashing. It also helps tame some of the extreme contrast – although some people find high contrast to be part of the charm.
Pre-flashing is a method involving exposing paper to additional light either before or after the exposure. Many people use enlargers to pre-flash but not having an enlarger, I opted to try an SB-900 flash leftover from my Nikon days. Let me tell you, in the confines of my small bathroom, the 1/128 power setting felt like Icarus flying too close to the sun.
That said, after popping the sheet into developer, the speed at which paper went from white to jet black confirmed I was on the wrong path.
Several failed lighting attempts later, and I eventually resorted to using an LED keychain flashlight. With the paper on the floor, I held the keychain at ceiling height and shone it down for 2 seconds (counted manually, so pretty approximate). Perfect! This amount of pre-flashing turns Ilford RC paper (my most often used paper) a very, very light grey if you develop it immediately. I also do my darkroom work under an LED headlamp that has a red light mode so this whole process is very easy to manage in my mostly-dark bathroom.

The Oriental pearl is different, though. It not only seems generally more sensitive to light than Ilford RC, but it’s also not safe under my headlamp. If I flash Oriental paper at all, it’s but the briefest of moments (maybe 1/4 second).
With my headlamp ruining the paper before it was even shot, I resorted to putting a dim LED stick tip-down into an amber beer bottle. I stole the idea from a post I found online talking about Oriental’s paper needing a more amber light where someone spoke about cutting a beer bottle to cover up a light. My solution is a lot dimmer, but I don’t have a glass cutter and I don’t need much light to do my work now.
Galaxy paper I don’t pre flash at all – let them prove their awesome-DR claims 🙂
Determining ISO Sensitivity
First off, while I have whack-load of 4×5 paper, I only have 100-sheet boxes of (pretty-damn-expensive) 8×10 paper. There was no way I wanted to use a lot of these precious sheets on testing. A better way to proceed, and compare, was to shoot several exposures on a single sheet. To do this, I loaded 4 sheets into two film holders: two that had been pre-flashed (using the system above); and two that had not.
Using an arbitrary ISO value of 4, I metered a scene where the light would be fairly constant during my tests. This was the process: pull the dark slide out 1/3 of the way and take a shot of the shutter speed indicated by the meter; another 1/3 of the way and a second shot at the same shutter speed; remove the dark slide and a final shot.

That one sheet now had three different exposures, shot number one which received 3 times the amount of light indicated by the meter, shot number two with double the exposure and shot three which had the metered amount of light. With my base ISO of 4, shot one was effectively ISO 12, shot two ISO 8 and shot three ISO 4.
For my next trick, I flipped the film holder and shot at a base of ISO 6. That gave me three more shots at effectively ISO 18, 12 and 6. I also liked having two shots at ISO 12 as a kind of control to make sure both sheets were developed a similar amount.

I did the whole thing all over again with the pre-flashed paper. Then, it was time to hit the bathroom, I mean darkroom, for developing.
Note: for the Ilford Multigrade IV RC paper I’m using, non-flashed paper seems to be around ISO 4 and pre-flashed paper is around ISO 8. Oriental seems to be about the same, but I find I’m pre-flashing it less and less. Galaxy, counter to their claims, seems to be about ISO 20 for me.
When 4×5 Isn’t 4×5
My biggest revelation in this adventure was that 4×5 paper is not the same size as 4×5 film. Wow. Paper seemed to be about 1mm to 1.5mm too wide for a film holder. Out came the scissors. Sadly, I trimmed a few too narrow and, on my first outing, some paper spilled out of the film holder and into my bellows. It also caught up in the dark slide as I tried to insert it after a shot.
Using a paper trimmer (where I marked the required width with a Sharpie) was a much better idea, and also provided consistently sized media to shoot on.
Storing the Cut Paper
Initially I cut just enough sheets to fit in the few holders I’d dedicated to paper negatives. That quickly wore thin. I finally spent 30 minutes in the bathroom under the red light and cut a bucket-load of sheets to size. By this time, I’d gone through all the sheets in one of the bags from the box of paper so I stuffed the sized sheets into the empty bag for safe keeping. On the top of the bag, I wrote “Unexposed UP” so I’d be able to tell which side of the paper was light sensitive.

While it wasn’t lost on me that my film was wrapped in cardboard, bagged and boxed (with three boxes no less!) that seemed like overkill. A simple bag would do for my paper negatives, right?
Wrong! In the first day or two of a recent ten-day trip to Iceland, my black bag sprouted a 3cm long tear along an edge. Various amounts of light spilled onto the negatives as I was travelling. Of the 20 sheets I brought to Iceland, only 1 was entirely unaffected. Ouch!
Shooting the Paper
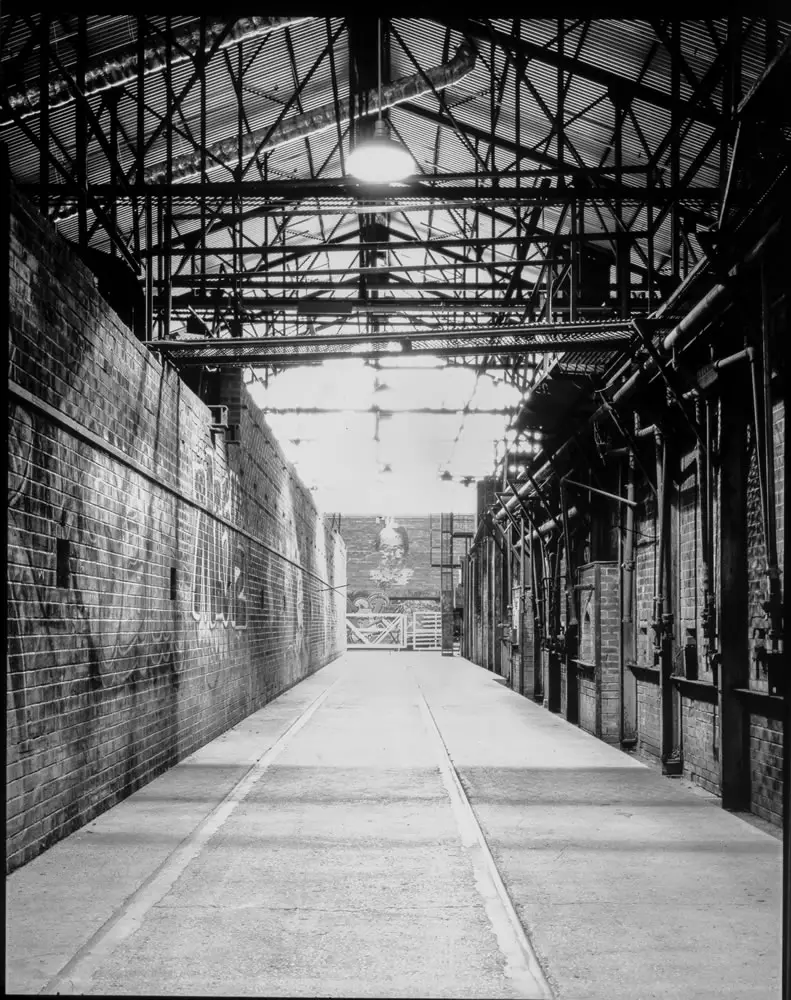
What does it look like, you ask? Very cool: Bleached white skies due to sensitivity to blue light/color, dark reds due to insensitivity to those light wavelengths, and punchy contrast. It’s also got a whopping 3 to 3 1/2 stops of dynamic range.

Note that if you follow traditional practices for metering film, you’ll end up crushing your blacks (which you might want). To retain shadow detail, I meter my shadows for zone 4 and hope my highlights come in around zone 7 or 7 1/2. I have only shot a few photos that don’t have either clipped highlights (usually the blue sky) or shadows.
How Color Impacts B&W Paper
As mentioned, B&W photo paper is largely blind to specific wavelengths of light. The Oriental 8×10 paper I’ve used needs very deep amber safe-light and very dim light as well. The Ilford MG paper is very tolerant of my fairly bright, red LED lamp. This insensitivity extends to subjects in your scene leading to bright reds turning almost black, red-haired people going raven haired, etc.
The paper is also extra sensitive to blue light. Skies will wash out in exposures and blue eyes pale to look quite striking.

Recently, I had the idea to experiment with filters. My light orange filter tends to reduce the contrast of the scene somewhat, which helps tame crazy contrast. While I’ve not tried it, I suspect a red filter would render the scene extremely dark and kill any chance for a good exposure.
How Light Impacts B&W Paper
Much of my shooting has been on overcast days. This helps me tame the dynamic range of a scene, but also makes it hard to anticipate exposure for other scenes. I’m sure I’ll be in for some big surprises under the harsh glare of full sun.
With studio lights, I learned the hard way that paper wants more, more, more! If I shoot portraits at the metered exposure, paper negatives turn out dark and muddy with little contrast. Only by adding two stops of extra light do skin tones finally starting resembling the subject and the sickly parlour get lifted from the scene.
Oops, except for the Oriental paper, it was happy with about 1 1/2 stops of extra light.

All said and done, B&W photo paper gives a really interesting, classic look. This can be further enhanced by the use of old glass. With careful selection of a scene and perhaps some use of filters and/or pre-flashing, one can achieve some great results.
Having to cut paper to size is a bit of a hassle, but once you figure out some lighting that keeps your paper happy, it’s not too onerous. Plus, you simply cannot beat the cost compared to even fairly inexpensive B&W film.
Up next
We’re nearly done with this series but trust me, there’s so much more to this medium than can be done justice in just three parts! Next up we’ll explore developing paper negatives and contact printing!
~ Don Kittle
Share your knowledge, story or project
The transfer of knowledge across the film photography community is the heart of EMULSIVE. You can add your support by contributing your thoughts, work, experiences and ideas to inspire the hundreds of thousands of people who read these pages each month. Check out the submission guide here.
If you like what you’re reading you can also help this passion project by heading over to the EMULSIVE Patreon page and contributing as little as a dollar a month. There’s also print and apparel over at Society 6, currently showcasing over two dozen t-shirt designs and over a dozen unique photographs available for purchase.


7 responses to “Working with paper negatives – Part two: Trial by light”
I am completely new to 4×5. I have just about collected everything I need and am now
about to use the camera for the first time. It was wisely suggested I start with paper negs due to the cost of film and not wanting to experiment at great cost. Of course shooting paper negatives is a whole new lesson to learn in itself! I found your article on Emuslive and found it incredibly helpful and just wanted to thank you for sharing your knowledge.
Some interesting and useful stuff here. I’m not sure about your Iso determination method logic as it is described. If you exposed the paper at 3 exposures (Iso’s) and the single exposure section is your base eg ISO 4 then since the other sections had more exposure are they not the equivalent of rating the paper as a slower ISO? not a higher one? eg 2 and 1? and not 4, 8
Thanks a million for sharing the knowladge! as beginer paper negative shooter I am really appreciate it! Are you metering ISO with phone app? If yes which one you would recomed to use?
A man after my own heart.
http://www.ipernity.com/home/kiwivagabond
Paper Negatives. http://www.ipernity.com/doc/kiwivagabond/album/412209
I am looking forward to coming back to read more fully….
Graham Hughes
Don’t see Part Trois yet. Really looking forward to reading it if/when Don finishes preparing the article.
Would be really keen to see some examples of studio portraits on paper negatives, if Don doesn’t mind sharing.
5
I’ve been working with paper negatives for several years using a pinhole camera with a 5×4 inch back attached. Then make contact prints on 8×10″ paper. Also i put ‘fix’ chemical on my fingertips when tearing/cutting and loading the 5×4 sheets of paper into the backs. This gives fingerprint and smudge marks when developed and printed reinforcing the hand-made process. When printing i do a very light paper fog before printing the negative itself to reduce contrast and take the ‘paper white’ away leaving a soft grey in the highlights. Then finish with selenium and tea toning. I really like the final quality. http://www.rosstsmith.co.nz