Being in lockdown has given me more time to consider expanding my repertoire of darkroom techniques. One of these is something a little different to what I would normally try: Solarisation. It’s a technique I’m sure many are familiar with, it is new to me and to be honest, some of the images I’ve seen on the internet haven’t wowed me. That being said I haven’t seen many attempts and I figured even if I don’t like it, I should round myself out in all areas of darkroom techniques.
If you’re not familiar with the concept, solarisation describes the effect of tone reversal – black becoming white, along with every other grey tone to white also becoming reversed. Think of it as a negative image being transformed into a positive one.
It was this Twitter conversation/giveaway that sparked my interest in trying out the solarisation technique and I’d like to thank Roy for the giveaway and David Allen for commenting that he wanted to try out more advanced solarisation. It got me thinking, I hadn’t even tried normal solarisation!
Solarisation, at least in this instance, refers to the process of adding white light to the developing latent image to produce a reversed image of sorts. I believe in truth this is known as pseudo-solarisation (Thanks, Wikipedia!) but for ease, I’ll continue to refer to it as solarisation. The aim is to achieve an image that has reversed its tone with light areas becoming dark and dark areas becoming light. How strong this effect is is determined by the relative exposures of your original print vs white light you blast on the image. The technique was adopted by the artist Man Ray and used in many of his images.
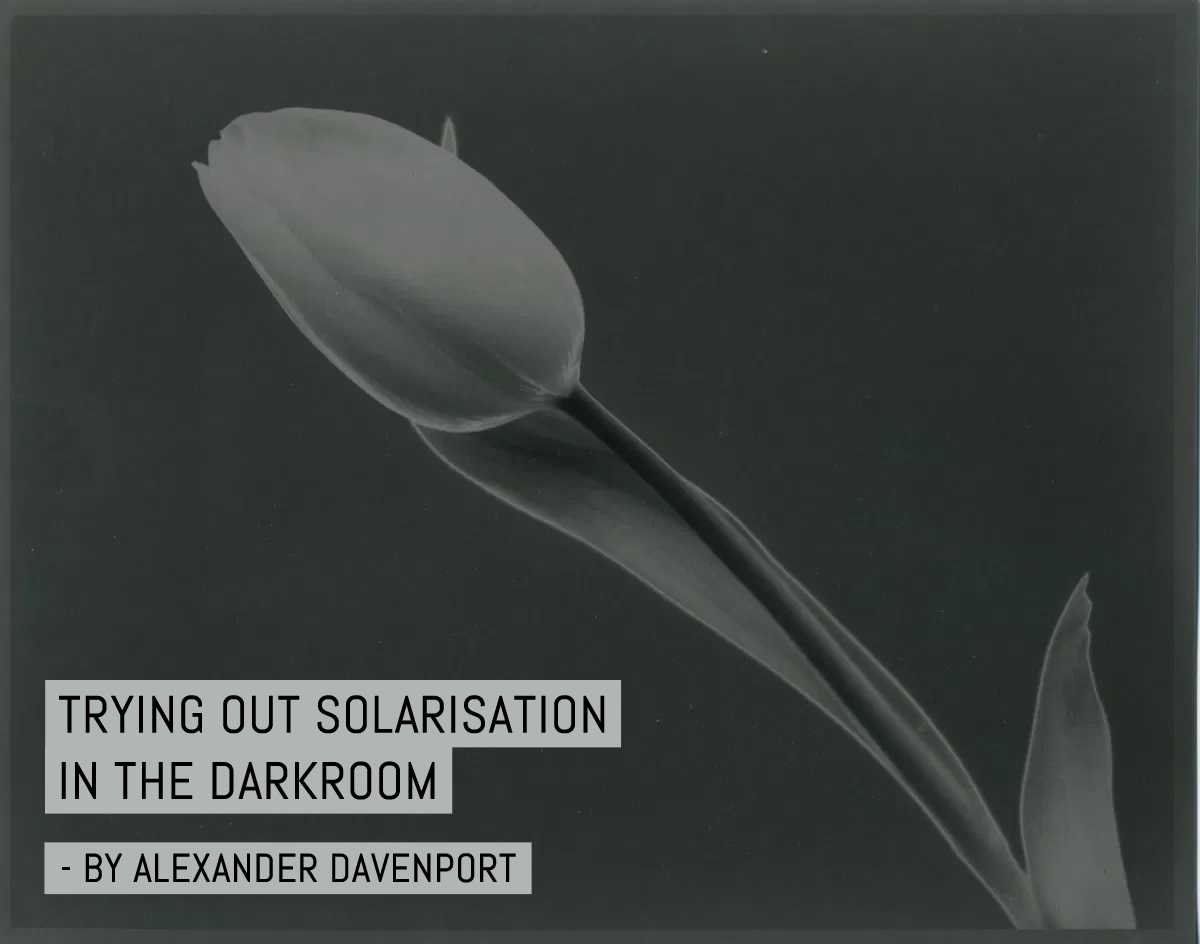
Not really knowing how to effectively utilise the technique, my aim original aim was just to learn how to perform it. Solarisation is a relatively simple technique to do, but preparation is everything. Choosing the right negative to get the best effect to then printing the right image is needed to get an image that looks good. This is the one I chose for this experiment:

I shot this roll of ILFORD Delta 100 Professional against a light box as a background using a couple of white foam boards to reflect the light back in AND an LED light panel over the top to help fill in the shadows just a tad. The camera was placed on a tripod and I used a shutter release cable given to me by Neil to help minimise shake. I developed the frames in ILFORD ILFOTEC LC29 at box speed.
Once the negatives were dry I needed to make a contact sheet. I started with 3-second increments at grade 2 and quickly realised that this wasn’t going to work.

My next contact sheet, still at Grade 2, used 5-second increments and I settled on a final timing of around 45 seconds. I got to this number because my print went up to 35 seconds and I figured as many of the frames were quite high key, I could add another 10 just to be sure.


After making a contact print I had to determine the best settings for the print. I went with an 8×10 sheet of paper, mostly because 6×7 enlarges nicely to this size and because I had a fresh box of 8×10 ILFORD Multigrade Pearl. I love that paper.
I used my usual method of determining final print times, which is to find an acceptable print at Grade 2 (approx 22 seconds) with test strips and then split Grade between 0 and 5.

Normally I would exactly halve the time and expose for 11 seconds at Grade 0 and 11 at Grade 5 but for my first print, I thought I would give a little extra time to darken the highlights so I printed the Grade 0 image at 15 seconds.

As you can see, my first print was too dark in the highlights and whilst playing around with the timings I just decided to halve the time (11 seconds) and use a Grade 2 filter instead of Grade 0 for the highlights. This gave me a clean background but also allowed enough of the tulip through.

My next step was to determine the solarisation timing. I performed split grade test strips of the tulips and then developed them for 10-15 seconds. After 10-15 seconds the image started to show through and I threw the strip into the stop bath and flicked the light on for 3 seconds. I then washed the print in water and continued to develop, stop and fix.
After playing with timings I also decided not to bother stopping the development and just flicked the light on for 1 second with the print having been in the developer for about 15 seconds. Here are a few test strips from those tests.

Happy with my timings and additional exposure to light, I made a print. Sadly, my first large print attempt didn’t take into account the light in relation to the tray wall (whoops).

But with a small tweak, my final prints came out really nicely though and I’m really happy with these results for a first attempt!

My final Impression is that for the right photograph, I think I absolutely love it but I can see how this can look bad. Very quickly.
To take this a step further, I think I’m going to try the process on a range of different negatives and see what happens in the future — as well as try out lots of new techniques in the darkroom. Whilst the lockdown is on I’ll have plenty of time to try them all out!
Thanks for reading,
~ Al
Share your knowledge, story or project
The transfer of knowledge across the film photography community is the heart of EMULSIVE. You can add your support by contributing your thoughts, work, experiences and ideas to inspire the hundreds of thousands of people who read these pages each month. Check out the submission guide here.
If you like what you’re reading you can also help this passion project by heading over to the EMULSIVE Patreon page and contributing as little as a dollar a month. There’s also print and apparel over at Society 6, currently showcasing over two dozen t-shirt designs and over a dozen unique photographs available for purchase.


5 responses to “Trying out solarisation in the darkroom”
I use the technique of solarisation on negatives (you can see some on my IG or website), it’s fun and more spectacular than on prints, though the result above is beautiful.
I believe the solarisation of the beg is the true solarisation, and what I did was pseudo. I must try your way at some point. Have you got any examples of negs that worked well?
I became interested in solarisation man years ago, when I discovered the work of Man Ray. I worked in the photolab industry all my life, but never managed to get the same effect as MR did. I was looking in the wrong place it turns out. I used to play with solarising prints, and although the results were interesting, they were not what I wanted. It was when I read more about Lee Miller, the amazing model and war photographer (yes she was brilliant at both) who was Man Ray’s lover, that the penny dropped. The story goes that MR’s solarizatio images were born when Lee accidentally turned the light on while MR was developing some NEGATIVES. Having liked the results, they both experimented and refined the method, but never told anyone the secret. When I get ack to my darkroom I will get some ortho sheet film, which I can develop under safelight, and see if I can’t duplicate MR’s results. If I do, I will write it up and send it to Ethan, so it might appear here.
Love this article. Could you give more info about final solarization: source of light=enlarger? Distance to the print? Thanks!
Thanks for the kind words.
The source of my light was actually a room light (centre of room dangling down). It’s an LED bulb that I flicked on and off. I’d guess the distance was about a metre/metre and a half.
Hope this helps. The negative you choose and the initial development time has a large impact I think too. Happy testing!