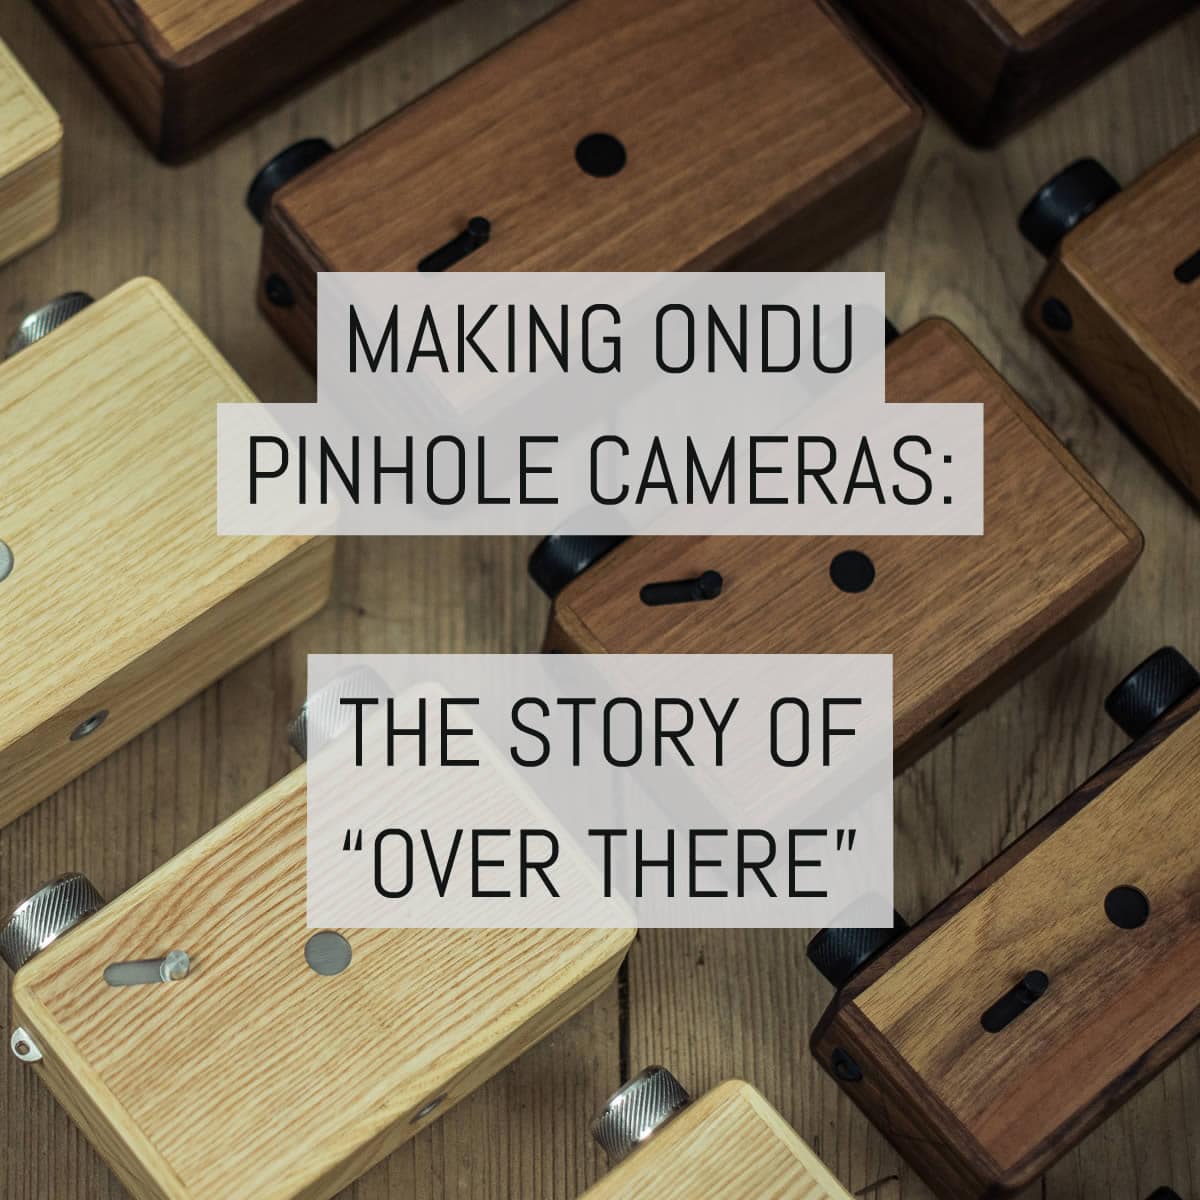
A little while ago, I got speaking to Elvis Halilović, one half of the brains behind ONDU. We spoke about the company’s new MK III cameras (currently on Kickstarter) and I asked him if he’d be interested in telling the story of ONDU in a way that hadn’t been told before.
Well, here it is, making ONDU pinhole cameras: the story of “over there”.
Over to you, Elvis.
“Over there”
ONDU started not as a pinhole making company but rather, a company focused on ideas of sustainable living. We made wooden geodesic domes all over Slovenia. This was back in 2011-12 and culminated in the creation of the Floating City, a series of four floating geodesic domes located on the Velenje lake, my hometown.

When I started making the domes I needed a name for my single person company. One idea was Nanook which is the name of my dog. You can see him in the MK III Kickstarter video!
I wanted something simple and a word that would be easy to remember by users outside of my country. It had to have a meaning, so I picked up a Slovenian dictionary, scrolled through the pages and very soon ÔNDU popped up. I never knew of the word before, as it is an old, rarely used word in certain parts of Slovenia. It meant “over there” or “just there”.
I liked it so much because of the fact that I was always involved in some kind unconventional way of expression and doing things…things which were not considered “here” for most of my peers at the time.
I don’t know…does this make sense?
The first “ONDU”
Way before domes and sustainable housing I spent most of my days in the darkroom, I was always fascinated by alternative photographic processes; reversal large format paper developing, emulsions on every possible medium, infrared, wet plate …and pinhole to name a few.
It all started when I saw a show about Lomography on TV around the end of 2006 (the year I started at the Academy of Fine Arts). I was on a vacation and internet was not available instantly like today, so I wrote “check out Lomography” in my sketchbook. As soon as I got back home I went online and discovered this amazing world of Soviet-era cameras. I liked everything about them. In their camera section, there was a laser cut kit for a pinhole camera.
At this time I had no real clue about pinhole photography, I had a Canon EOS 300D (my first digital camera!) and a few vintage lenses that worked well even with no focus peaking or digital viewfinder. The idea that I could make an image with nothing more than a hole was just too good to be true.
As I was already a student of the Academy of Fine Arts, I had access to a darkroom so, I headed over, stopping at a gas station to buy a can of Red Bull. Once in the darkroom, I pressed play on my Doors cassette, drank the can of liquid energy and proceeded to make my first pinhole camera.
It was made from a plastic 135 film container and had a hole cut out of it for the pinhole to fit. The pinhole itself was drilled into a piece of that Red Bull can and taped inside with black gaffer tape. The shutter was just tape on the outside of the camera. For the photographic material, I cut out a piece of photo paper I had laying around and the journey began.
(If you’re wondering, I found beer cans don’t work well for pinholes, as the aluminium is too thick to make a nice hole.)

This discovery that I could just make a camera so simple opened a whole new world of creativity.
I found an online group called f295, joined the forum and soon found myself surrounded with the big boys of that time’s pinhole photography scene. To the best of my knowledge, at 19 years old, I was the youngest member there. We would exchange ideas and look for solutions all in the quest of making the perfect camera.
There were sections dedicated to showcasing images, as well as making actual cameras. Needless to say, it was there that I learned the most in my camera making adventures. Most of my first cameras were made out of black foam board as I had no knowledge of woodworking, and the majority of them worked on paper not film.
Every camera I made was a single shot, which meant that I would load a backpack full of cameras, go outside, shoot, come back home and develop them in my bathroom…which was now permanently covered with cardboard and duct tape to keep it light tight (much to the dissatisfaction of my family!)
It was truly a wonderful time. My cameras were made to serve a specific purpose. I would test ideas and create something new all the time. This continuous experimentation was a big part of the game for me and I enjoyed pinhole photography so much that I completely neglected all other forms of photography for almost 2 years.


Scaling up
The chance came to make something bigger. Much bigger.
I liked complex projects – I still do – and one of those early complex projects was to make very large exposures on pinhole. The original size of the image below is 120x180cm (5×6 feet). It’s made up of 50 13x18cm sheets FortePan RC taped together (from their final batch, no less). As you can imagine, it took quite a long time to put together.
The idea was to have at least a 100 people in a shot spread all over a grassy field which the darkroom of our photo club ZRNO (meaning “grain”) looked out on to. The darkroom itself would be used as the pinhole camera. Needless to say, way fewer than 100 people came, mostly due to the fact it was Saturday morning/noon and half of my peers were still asleep, unable to move from the night before.
In order to see what was going on outside, I’d put a blank white canvas on my painting easel and used a bigger pinhole to focus an image onto it. This was swapped out with the “real” one before taking the shot. I talked to my subjects outside via handheld radio and guided them in position. Once the shot was composed to my liking, I asked them to stand “motionless” in the summer sun at midday for 15 minutes.

The exposure was taken and I said goodbye to my friends through the darkroom. I had to get straight to work since I had nowhere to put the paper in it’s taped form! This took a few hours of carefully peeling the tape off the back of the paper under a red light. Once all 50 sheets were separated it was time to develop them.
This was a time-consuming job, which needed to be consistent in developing times, chemical strength and proper washing and fixing in order to preserve the image quality. Once I had my 50 developed sheets dried, I set about contact printing each one under my enlarger. This was my very first production line with exposing, developing, washing, fixing, final rinse and drying in sequence. I did this until everything was done, all in one single push with food breaks in between.
I was so excited to get this thing done it was way past midnight before I was finally finished. For whatever reason, the next day I thought it would be nice to scan every sheet and pull it together in Photoshop. No adjustments of any kind were made to the final resulting image. I still have the source file but don’t open it very often since it nearly melts my computer every time I move the mouse cursor near to it.

Back to small scale, I got bored of always exposing only one image in the camera before having to develop it. This was way before I thought about using film for those, so I made a camera with 4 pinholes in a single body. It worked well, then one day, I decided to remove the dividers and this came out.
The images from each pinhole overlapped and created these wonderful compositions that no EOS of that time could master.

Experimenting was the driving force in my projects and happy accidents like this made it so much more exciting.
A quick leap to large format photography
Pinhole photography was great, but the big boys at f295 were making large format cameras. Keep in mind there was not much info online on these things, no CNC’s, no 3D printers and lasers. Makerlabs hadn’t been invented yet, so you took what information you could get.
In fact, I built my first large format camera, before I took on making a wooden pinhole. It was a monorail camera, not pretty, not particularly functional, but it was mine and it worked, well…sorta. I had no skills to make a film holder so the only way to expose images with this camera was indoors at night. I would focus the subject using a DIY makeshift simple meniscus lens and homemade ground glass.


To use it I would turn off the light, mount the paper and turn on the light to expose. These were all mere experiments and most of these cameras made no more than 10 images before being left in my archives or taken by time.
The Polish eureka
Up until this time (around 2010-11), making cameras was primarily to satisfy my creative cravings (I had little interest in classical product design in today’s terms at the academy). I always liked products and objects that had character and would last a long time. All along, my professors would tell me, “Old school photography is passé. Nobody is interested in these things, you’d be better of making things like the rest of your peers.”
I was having none of it.
I didn’t care if I could make a living of any sorts making these things; it’s what I enjoyed. My big breakthrough came when I went for a student exchange to Krakow in Poland at the Jan Matejko Academy of Fine Arts (the ASP). It was there that I meet two people who would influence the rest of my creative career.
One was Piotr Bożyk, profesor of product design with strong emphasis on tactile feelings in design objects and just an over all pleasant person to be around. He pushed me forward like no body before and even gave me the chance to use his woodworking workshop to create my first wooden pinhole camera.
It was in his workshop where, for the first time, I felt that woodworking could be the way to go for me. I enjoyed this place so much that time became an abstract thing every time I walked through that door. He would come back from the academy, put on his Johnny Cash records and work on his kinetic sculptures in a separate room. Every so often he would sing a song and play guitar, one of the nicest memories of this time of my life for sure.


My other great influence was Zbigniew Szegan, profesor of photography. He gave me unlimited access to his personal cabinet and the nicest, biggest darkroom I had ever worked in up to that point (with my own set of keys!) This unlimited access enabled me to expand my horizons while making images on large format on expired photo paper and reverse developing them in the darkroom. I have slept in all of the darkrooms I have worked in before this was no exception, on many occasions.
The camera in action was a huge Mentor 13x18cm camera with heavy Carl Zeiss Jena DDR Tessar barrel lenses and an internal rear standard curtain shutter. The whole setup weighed-in at about 30kg with tripod and, I still took the whole setup all over Krakow in my quest for learning.
The key for nice exposures in the city was timing when the tram passes by, as it would shake the ground and thus the image with it. Images were made on negative expired Foma photo paper and developed by the reversal process.

From domes to pinholes
Upon arrival home, the pinhole project came to a bit of a standstill. I had the Floating City in my sights and started building domes for various customers, from children’s theme parks to greenhouses. This took a solid year and a half, during which the pinhole cogs in my brain never really stopped turning. After the domes project was done, a bit more knowledge in terms of woodworking was acquired, prior to this I never had access to a woodworking facility, all was learned on the go.
Then came January of 2013.
I “locked” myself into my rented workshop and worked hard on making the ONDU MK I. My first month was rather unproductive in terms of the creation tangible objects. The first cameras were already made from walnut and maple but looking nothing like the final camera. I remember one night I got this idea for the bright bezel and dark front-plate. Which came to be the defining look of the ONDU MK I and II.
Then came the issue of how to make it. I really didn’t have a clue about what could be done with certain router bits, let alone joints and connections. It all slowly came together. One of my biggest challenges at that time were the winding pins and while looking for a solution to this one night (I worked most creatively at night), a piece of a magnet flew across my messy desk onto a washer.
This was it, final hurdle was overcome. The first fully working prototypes were created, the first images shot and very soon, the first Kickstarter was launched. This was in May 2013, and what happened next was just too much for me to grasp me at that time. We raised so much interest that we were suddenly over our heads in work. There was never a fear of not finishing the cameras, although missing the December deadline seemed likely.

The first cameras worked well, they made pinhole images, people liked them and they are still in use to this day. It’s such a nice feeling to see them appear with #ondupinhole on Instagram every so often. With the sheer number of cameras we sent out, we got a lot of feedback on what our backers wanted improved in case we ever made an ONDU MK II.
The improvements for the MK II came directly from the users worldwide. We added a levelling bulb, engraved lines for framing, smoother winding, shutter stop pin, the pinhole became interchangeable and nestled in an aluminium housing. The cameras were made better and stronger and we greatly expanded our product range, which now consisted of 10 different formats and sizes and were made in an inverted color scheme.
PHEW…!
We made a lot of MK II ONDUs: over 1200 just for the second Kickstarter orders and website pre-orders…and there were many more left from remaining stock of the MK I. As readers may are aware, MK II production went through quite a few difficulties. First and foremost was due to a problematic company making CNC and LASER cutter machines. This one problem set us back by 8 months, it slowly resolved and ended in the return of both machines. In short, instead of using CNC to make our lives easier, we resorted to the good ‘ol manual labour.

This is just one example of the challenges that await you when you’re building something from scratch. You can’t always know what’s around the corner, even if you plan for it.
Level-up: making the MK III ONDU series
Only two years passed between the ONDU MK I and MK II. I had plans to unveil the MK III within the two years that followed the MK II but it was now clear that I needed a break. Starting with the Floating City and both ONDU campaigns, I was starting to wear thin. I knew what need to be done but my mental capacity was not prepared for another Kickstarter campaign so soon.
I gave it an extra year to ask for feedback and learned that there are so many different styles of pinhole photographers out there that the MK III should try to cater to most needs. On a side note, just shortly after the MK II’s last camera was shipped I made a one-off camera for Steven Boelaars with the rise and fall feature already in use.

The idea with the MK III was to make the ONDU cameras a bit more “serious”. To make them a tool and give them a proper high-end feel. I wanted owners to feel like they had a special item in their hands, a camera that gets the things done. It also had to be versatile and simple to use.
The first thing that needed to be changed was the shutter, while I had made internal sliding shutters way before ONDU was a thing, there was never a way to make them viable in large scale until I got into CNC machining a bit more.

CNC opened the possibility of using filters, a few magnets and we have a working solution. I choose a solid color this time around with aluminium details and emphasis on parts that are used the most and in places where wood simply does not fit the bill.
My main book of inspiration for this series was from a designer named Peter Olpe and his book “Out of focus”. Published in 2012, it features a vast number of collaborating artists from all over the world using his cameras. You can see the similarities between the ONDU Rise series and some of his multiple holes cameras featured in this book. Keep in mind his designs were made in the 80’s, way before I was even born. Even though we all think we know so much about pinhole photography I think there is still so much that was lost to us with the passing of time.

The concept behind the RISE series is simple and not new in it’s essence, what is “new” is the fact that I managed to squeeze all three holes in one body. It works like this, when we level the camera with the help of the spirit level and expose the middle pinhole, the horizon stays in the center of the image. Same as using any single hole ONDU. If we want to shift the horizon to the upper third of the image we open the fall ( bottom ) pinhole. The position of the hole is at the lower third of the film plans which causes it to move up. With these two extra holes either on the lower or upper third we are able to compose the image with the rule of thirds in mind, without distorting the vertical lines in the image.
 hole")

Over the years, we have had many offers from companies overseas wanting to make our cameras. Honestly, we have a really hard time thinking about this concept.
We feel letting go of this part would make ONDU lose its essence, kinda. This is the reason we have decided to keep the production of our cameras in-house with a dedicated team of craftsmen/women ensuring the best possible quality. In our eyes this makes the ONDU stand out from others out there and our backers worldwide will attest to that.

ON(DU) to the future
I think the ONDU MK III as it is, is here to stay. There might be some minor changes to its inner workings, light traps, etc., but in general I see it as a final product in all of my years making pinhole cameras.
I am glad how it turned out and I really can’t wait to see what photographers all over the world will think of it…and all the places these new cameras will be taken to! It is a special feeling getting an email from a person somewhere on the other side of the world saying, that they appreciate your work and that something you made has helped them capture so many amazing moments.
Just like my paragliding guru says “paragliding is the perfect antidote for the modern lifestyle”, I’d like to say something similar for pinhole photography. The lack of visual aids, simplicity of use, long exposure times, unobstructed passage of photons all…of these aspects still have a place in today’s fast-paced world.

It may be related, it may not be but I have been diving more and more into wet plate photography since 2014 and I’d like to work in that area a bit more than I had time so far. I have already seen that there is so much more room for improvement in making products that would make it easier for people to explore the world not confined to the walls of a studio as is the case in many wet plate photographers.


So, I think we’ll see more specialised dedicated wet plate gear in the future from ONDU, maybe wooden tripods although I’m not entirely certain there is a market for these right now.
As there are some established brands who have already been making them for decades.
I am also a big fan of open source projects and have some photography projects with that in mind working in the background. There is a chance it will be large format camera oriented as we discussed recently with Graeme and Rachel on the Sunny16podcast.
The priority right now though, is to finish the ONDU MK III Kickstarter campaign and make the cameras available as soon as possible. With so many possibilities and interests that excite my brain, I think we’ll just have to wait and see what the future holds!
~ Elvis
Footnotes
The ideas and works in this article are just a few examples of things I worked on over the years, there are so many other which will never see the light of days, that’s mainly because I make thinks to make things. Never really had a desire to show them around too much.:)
The Doors tape I mentioned was the only tape in the darkroom, even though I had quite the collection, this was the only one that played in that room for a few years.
Share your knowledge, story or project
The transfer of knowledge across the film photography community is the heart of EMULSIVE. You can add your support by contributing your thoughts, work, experiences and ideas to inspire the hundreds of thousands of people who read these pages each month. Check out the submission guide here.
If you like what you’re reading you can also help this passion project by heading over to the EMULSIVE Patreon page and contributing as little as a dollar a month. There’s also print and apparel over at Society 6, currently showcasing over two dozen t-shirt designs and over a dozen unique photographs available for purchase.


4 responses to “Making ONDU pinhole cameras: the story of “over there””
Elvis and the ONDU staff produce exquisite cameras that are works of art. The customer service at ONDU is unlike anything I have experienced in over fifty years of photography. I am the proud owner of their 6×9 MKiii.
I have a 6×12 multiormat ONDU MKII and I love it. Elvis and his team produce beautiful, quality products that are works of art not just functional cameras. I’ve also jumped on board for the MKIII this time in the 35mm pano model. It’s great to hear the history and background behind the camera. Thanks Emulsive and Elvis.
An excellent read – I wish Elvis and Ondu the best of luck for the future.
I really liked this article. Good stuff and good luck to Elvis.