I’ve been stuck in my house filling orders for my Kickstarter campaign for the CAMERADACTYL 4×5 Field Camera, mostly just babysitting printers, changing filaments and adjusting extruders every few hours. This has left me with some rare time for tinkering.
Recently I built a cheap, quick and dirty tool to calibrate a project that I was working on. I was adding manual shutter speed adjustment to my Yashica Electro 35 GSN and needed to figure out what resistor values correlated to standard shutter speeds when added to the analog circuit inside my camera. I made a video and wrote about on 35mmc.

I built the shutter speed tester entirely out of parts that I had on hand, but if you had to buy them new, I think you could do it for well less than $10 (assuming you have enough patience to wait on 60-day shipping from China on Ali-express*).
Here’s the kit list – I am not sponsored by Ali-express or anything like that, and you can find these pieces from different sellers, and also on Amazon or Digikey, these are just examples of what pieces I am using:
You’ll also need my code: visit Github for my tester control code.
* I have adapted and adopted a new holiday, which I call Chinese Chanukah. Here’s how it works: order a bunch of electronics parts from Ali-express, all unbelievably cheap (lasers for 35 cents, sensors for 93¢, microcontrollers for a few bucks) with free shipping across the oceans. Then, you wait about 25 days and there will be well more than 8 days of presents that USPS Santa (in my case, my mailman, Don) drops in your mailbox. No frying in grease or cookie preparations needed. Available year round.
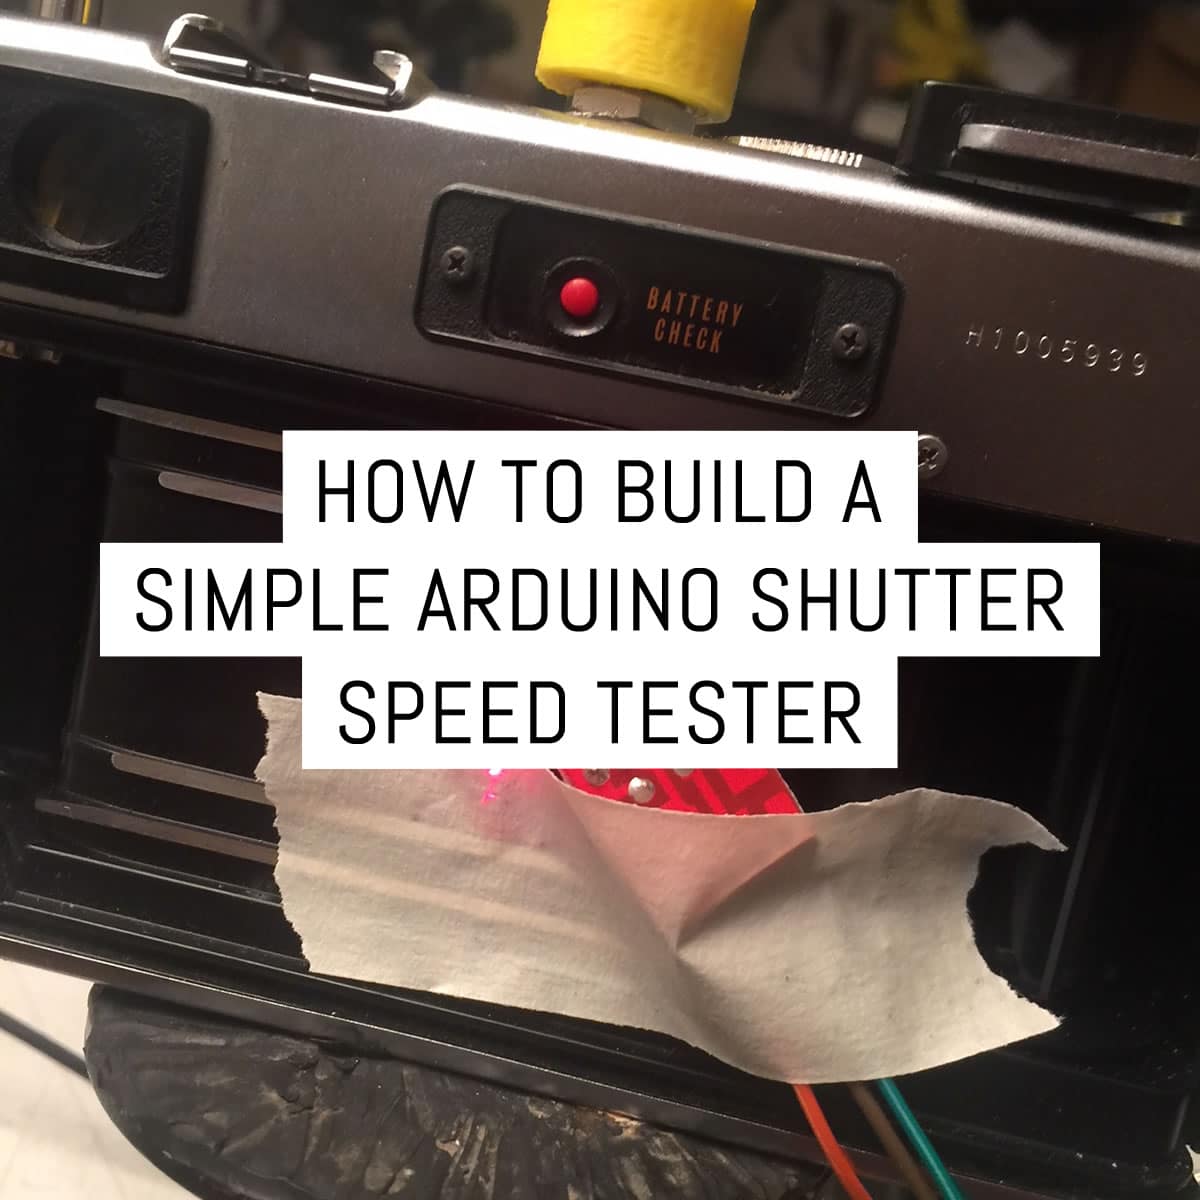
Here’s the finished article:


The shutter speed tester worked well for my purposes but is probably way more useful to all those people out there suffering from camerabedies – the need to collect old cameras. Those old cameras often with gummy shutters.
I found that my Yashicas (I’ve tested four by now), which were supposed to fire at 1/500 of a second at top speed, all max out at about 1/325th of a second. My Nikon F is much closer to its dial speeds, but is about half a stop too slow at the top end. Even if you don’t calibrate camera shutters as a result of using this tool, its useful to know which settings are off and by how much.
To help out with the build, I made an instructional video that assumes no prior knowledge of electronics or programming so that anyone could follow along. It makes the video a little long and boring, so if you have even a beginner level of experience programming Arduino, skip the video, download the code that I put on Github (which is annotated for extreme beginners, basically every line), plug your modules in and rock out.
In case you fall into the first group, here it is.
If this project generates a surprising amount of interest, maybe I’ll design a 3D printable file for some sort of jig, rather than simply taping the sensors to the camera or a beer can or the like. I’m not sure yet if the jig should be like a one-piece alignment base, like an optics bench, or a two-piece set of mounts for the front of a lens and the back of a film plane. Something to think about.
Eventually, I’d like to build a two-LASER setup for calibrating dual curtain focal plane shutters, so that you could make sure that the first curtain and the rear curtain are moving at the same speeds. The program I wrote takes advantage of some simplicity and shortness of code, which allowed me to do some things not by the book, and without external pulse clock components. Maybe in the future, I’ll build a more robust and precise timer. This one does the job for now but I’d appreciate your feedback.
Funny how even a successful project can lead to five more problems that need solving. I guess that’s what happens “If You Give A Mouse A Cookie”.
I’ve got camerabedies, and I’ve got it bad.
Once again, here’s a link to the article I wrote on 35mmc about adding manual shutter speeds to a Yashica Electro 35 GSN, the project that spawned this project.
Feel free to ask any question in the comments below or on the Youtube video.
Until next time,
~ Ethan
Share your knowledge, story or project
The transfer of knowledge across the film photography community is the heart of EMULSIVE. You can add your support by contributing your thoughts, work, experiences and ideas to inspire the hundreds of thousands of people who read these pages each month. Check out the submission guide here.
If you like what you’re reading you can also help this passion project by heading over to the EMULSIVE Patreon page and contributing as little as a dollar a month. There’s also print and apparel over at Society 6, currently showcasing over two dozen t-shirt designs and over a dozen unique photographs available for purchase.


23 responses to “How to build a simple Arduino shutter speed tester”
Wow! I am wondering how to integrate the actual exposure with a leaf shutter at high speeds. I have a 50s lightly used Copal that still really flies at 1/500. I used to view a TV screen through the lens at watching how much the screen shows to check speeds near the field rate Just for “close enough” tests. The other thought is when stopped down the exposure is slightly more than an exposure at full open.
I just thought, that it can be very nice to be able communicate receiver sensor via bluetooth or wifi to Arduino. That way you could test also this cameras that need to have back closed to function.
The same way it can be added photo rob sensor inside. (cover the lens then). and take photos to see if camera have some light leaks :))
tell me please if I’m thinking right?
Hi! This is HUGE–THANK YOU!. Do you have a link to buy you a beer? My friend built two for us and it’s a game changer.
I’m learning to CLA my Minoltas and some will require resetting the curtain speeds. Did you make any progress on a dual sensor version? I’ve done a little research and have some basic questions: do you think I could modify this to work with two photo sensors and a separate light source? I would likely add an in-line plug so I could tape/rubber band the sensors to the body and remove/reattach the cable easily for adjustment during testing.
Thanks again!
Thank you!
I got my components today and it seems to be working.
However, I tested two camera (Minolta XD-11 and X-700) and both show weird speeds when passing 1/60
How do I know if something is wrong with my cameras or the laser method is not accurate enough?
I tried both on Arduino UNO and ESP32.
Did you try the laser on both sides of the frame (for the X-700)? This will give you an idea whether the curtains are timed correctly. I suppose the same would be true for the XD-11, vertically.
The thing about shorter speeds for leaf shutters is that the time spent opening and closing the shutter is a significant proportion of the exposure.
At 1/50 second, the shutter is fully open for almost all of the exposure.At 1/500 the shutter will barely get to fully open before it starts closing again.
The laser device probably registers light early in the process of the shutter opening, and continues to register it until the shutter is almost closed. But in the intervening 1/320 second the shutter is not fully open, so the amount of light over the total exposure is probably about the same as if it were fully open for 1/500. This may well have been designed in, so the measurements you get are correct for the indicated speeds.
This will be different with a focal plane shutter: the laser is measuring the time that a specific point on the film gets light, so it will go high when the “front” shutter open the focal plane and low when the “back” shutter closes it.
I should probably do this.
Whenever someone hands me a camera to try, I just earlobe the shutter speeds! 😅
Thanks for sharing this
Many thanks for this, Ethan! My components arrived yesterday, and it was simple to follow your instructions to have the tester up- and running. I’d previously seen the android app needing a light sensor to be plugged in to the phone’s audio socket, but as my phone doesn’t have an analogue audio connector that isn’t an option! Also appears very clunky and unreliable to use a sound device to measure light – especially when all modern smart phones have a built-in light sensor (i.e. a camera!) that surely could be monitored to measure against a light-level threshold. Anyway, without an app available and not wanting to spend lots of money on something I rarely will need to use, your solution is perfect and very cheap. Awesome!
I did away with the breadboard this morning and simply connected both the laser emitter’s and receivers +ve wires to one wire connected to the Uno +5v -as I found that with the 20cm wires I purchased that makes for a physically more flexible, lighter, set of connections.
The final package rocked up today after ten weeks or so, and I’m going to nail it all together at the weekend. In the meantime, I bought a simple device from Romania that converts light into a sound wave that can be viewed in programs such as Audacity on a PC. It will be interesting to compare the both.
Using the Romanian tester on my Contax RX (a camera I know to expose accurately), it produced perfect results at 1/125 and 1/1000. going faster than 1/1000 introduces too much scope for error and it is not recommended past 1/1000.
Here is a link to the tester; https://www.ebay.co.uk/itm/Camera-shutter-tester-for-shutter-speed-up-to-1-1000th-for-PCs-and-laptops/153172456357?hash=item23a9ca33a5:g:Ys0AAOSwVL1WEWxR
This is awesome. Just built it and it’s a great help! 1/2000 is actually more like 1/4000 on my F2, which is nice to know!
Thanks! You might want to see the comment below re: fast shutter speeds, from Peter, and my reply. Readings past 1/1000th may be unreliable, I am guessing that this is an artifact of using a slow arduino UNO, rather than a faster processor like a MEGA or an ESP8266/nodemcu module. If anything, I would guess that the F2 would go slower rather than faster over time. I might not trust the tester at such high speeds for now.
I’ve found your video on youtube and ordered the parts right away, thank you very much for the tutorial. Now that I’ve put everything together I found the readings for 1/1000th of a second pretty inaccurate (tested multiple cameras, all indicate around 700μs), any ideas if that’s due to the laser sensor being to slow to respond?
Hey, really cool you built one of these. This is a quick and dirty tester, and relies on processor interrupts to flag open and shut times. The laser/sensor should be near instantaneous, but I assume that the processor is not. I might try loading the firmware onto a much faster processor (like an esp8266 on a nodemcu board) to measure really fast speeds. I didn’t use one of these in the tutorial, in order to keep it really simple, but maybe in the next version, I will build one with a faster processor along with dual sensors for focal plane shutters. If you try a processor swap, please let me know how it works out!
thanks!
Thanks for your reply. I’m a professional software developer but I never had the time to play around with Arduinos and stuff. I googled a bit and I had the impression that the PINs are somewhat sampled at the clock speed of the CPU (16 Mhz), so in theory this should be more than enough to measure 1ms or shorter. I also changed your code to use polling on the PIN using a direct pin port mapping without using the interrupt, but it was even slower, so the interrupt is probably the fastest way as the overhead of calling the ISR is just a few μs. On another thread I read that somebody was able to measure 1/2000th with the UNO using a photo transistor, so I was thinking that the problem is somewhere in the electronics.
Hmmm, I’ll give it another look soon. Polling is DEFINITELY not the way to go. I don’t think that the problem would be the laser receiver, I have seen other projects where the laser receiver is used to receive PWM data transmission over laser, I cant remember how many bps, but It was fast enough to play continuous music stream. Maybe a standard phototransistor would have a little less latency? I’ll fiddle around with swapping some things around (code and hardware) before I release the next version of the tester, and break out a faster shutter than the yashica electro to test it out.
It’s already a big help the way it is, I’m really happy about that. Playing around with the Arduino is also a lot of fun. So thanks again for the inspiration. And please report back when you find something out.
I’m watching this conversation with interest as I have now received all the parts except the Arduino. Once I’ve built mine, I’ll take it to my camera repair guy and test it against the device he uses.
Hello,
I’ve just had a look at your very interesting project. I’m searching for such a tool for my old cameras.
About the discussion on high speeds, maybe accuracy is related to clock speed of Arduino, and sampling frequency of ADC. I’ve found these information that can speed up your code execution: http://www.optiloading.be/willem/Arduino/speeding.pdf , https://forum.arduino.cc/index.php?topic=6549.0 .
It could be interested to record how many samples are present between the half rising and the half falling (found discussion on photrio forum discussing how to use shutter testers, and it seems the best way is to compute from the half opening of shutter), and knowing the sampling frequency you can compute the opening time.
I will dig further about the question.
Thanks for your project.
Parts ordered, thanks!
I did something similar with a photo transistor and a USB oscilloscope. Your solution is obviously more accessible to people who don’t have a ‘scope but the photo-transistor idea is a bit simpler than the laser and detector and could work with an arduino.
OK, I’ll build one: many thanks for sharing this
Very interesting. I was looking for such a set up. I ordered components and will try that next week ! 🙂 Thank you for sharing !