You might remember that we featured an interview with Robert Marsters some months ago. I asked Robert to provide some background to the wet plate collodion process as part of the piece but quite frankly, I wasn’t prepared for what he sent over.
After some deliberation, I asked Bob if he wouldn’t mind turning it into a fully fledged article covering an introduction to the process.
That, as they say was that. The rather comprehensive results are below. Thank you, Robert.
U~ EMULSIVE
An introduction to wet plate collodion
When working with wet plate collodion, I find that it’s very different from the way I’m used to using film; it requires you to prefocus your subject, and prepare your plate for each shot.
There are a number of factors that can cause great damage to your tintype while shooting; wet plate collodion is sensitive to:
- Heat and humidity
- The length of time it takes you to make your exposure
- The amount of available light you have to create your exposure on the sensitized wet plate.
- All of these greatly effect your image, so you need to plan in advance while using this method of shooting.
Now that we are aware of the factors, let’s set about creating and exposing our wet plates.
Getting ready
Certain steps need to be completed before creating an image using a wet plate process. Loosely these are:
- Prepare the collodion mixture
- Create your wet plate
- Make the plate light-sensitive
- Create the image
- Process your plate.
Step 1: Prepare your collodion mixture
I make my own, I’m not a fan of premixed versions available in some markets these days. The mixture is what will become your emulsion, of sorts, or collodion, as it’s referred to.
Once the mixture has been prepared, we need to make light sensitive.

Step 2: Let there be light (making plates)
You pour the prepared collodion mixture onto your substrate (plate). This can be aluminum, japanned steel, or any number of other surfaces.
The plate can be poured in daylight and the consistency of the collodion is similar to thinned down maple syrup. You start by pouring the collodion onto the center of the plate, which is tilted in such a way as to pour off any excess back into a storage bottle for use on future plates.


")
Step 3: Step away from the light (sensitize)
As I mentioned above, the plate can be poured in sunlight but the next step is to sensitize the plate to light by submerging it into a silver nitrate bath.
It goes without saying that at this point you need to work in a light tight space with a ruby-light like a Wratten 1A Safelight filter.
The first part of this step is to prepare your silver nitrate and place it into a tank with a cover that can be closed, to make the tank light tight. After you have prepared the tank to submerge the poured plate, move into a ruby-light darkroom to perform the following steps.
Insert the plate into a silver nitrate tank, cover to make it light tight, and leave it in for 3 minutes. Once 3 minutes has passed the plate is light sensitive. Remove the plate from the silver nitrate tank and insert the plate into a light tight holder for the camera being used to create the image.


Step 4&5: Time waits for no man (expose and develop)
You are under a time limit now to make your exposure.
The exposure must be made while the plate is still wet and light sensitive, hence the term ~ wet plate collodion. Typically you now have 5-10 minutes of working time to make your exposure and get back into the darkroom to process your plate, although this is largely dependant on prevailing environmental conditions such as the previously mentioned heat and humidity.

Once the exposure has been made, you head back into your darkroom-(illuminated with a ruby-light like a Wratten 1A Safelight filter, or similar), it’s time to develop your plate.
The process consists of five primary steps:
- First, develop your plate using a mixture that removes the excess unexposed silver, leaving only the exposed silver behind.
- Now you may move from the darkroom, into daylight, to perform the following steps.

- Next the plate must be fixed.
- The plate is then placed in a water bath to rinse.

- Once rinsed, the plate is then placed into a drying rack and once dried…

- Can be coated with Gum Sandarac Varnish, to protect the silver from tarnishing.
…and you’re done!
A collaborative experience

There is a certain amount of work both you, and the participant, have to do together to achieve the desired image you are looking to create. This can be wonderful; a bond is created between both of you, and more likely than not, it’s the thrill of the experience that makes the session fun.
I wouldn’t say there’s a “decisive moment”, for knowing when to take your shot, it’s closer to working with your subject and together, you make the moment happen. The exposure times can be long and the participant has to work with you to stay very still for these extended exposures.

More often than not, I have found the first shot I take turns out to be the best shot. Often times this is the shot you are taking as a “test” shot for exposure. As collodion is very sensitive to available sunlight changing with time, it will also react very differently if a lens is changed.
Exposure times for tintypes can range from 3 seconds to a minute or more, but you must remember that the longer your exposure, the less light sensitive your collodion is becoming because it is drying during your exposure.

Wet plate resources
There are a number of resources available to learn the wet plate collodion process. Taking a workshop is a great place to learn the process first hand. There are many do’s and don’ts when using wet plate collodion and proper mixing of the chemicals and their storage is key. This is a very dangerous process if you do not use it properly.
Workshops offer the best environment to see how the process is used properly, there are workshops that provide the working collodion for you and you just jump right into shooting and processing the plates. There are other workshops that go into great detail on how to create all elements of the wet plate collodion tintype process, these can also include the instruction of creating Ambrotypes. Taking a workshop like this provides the best working tools you can have to completely understand the process from start to finish.
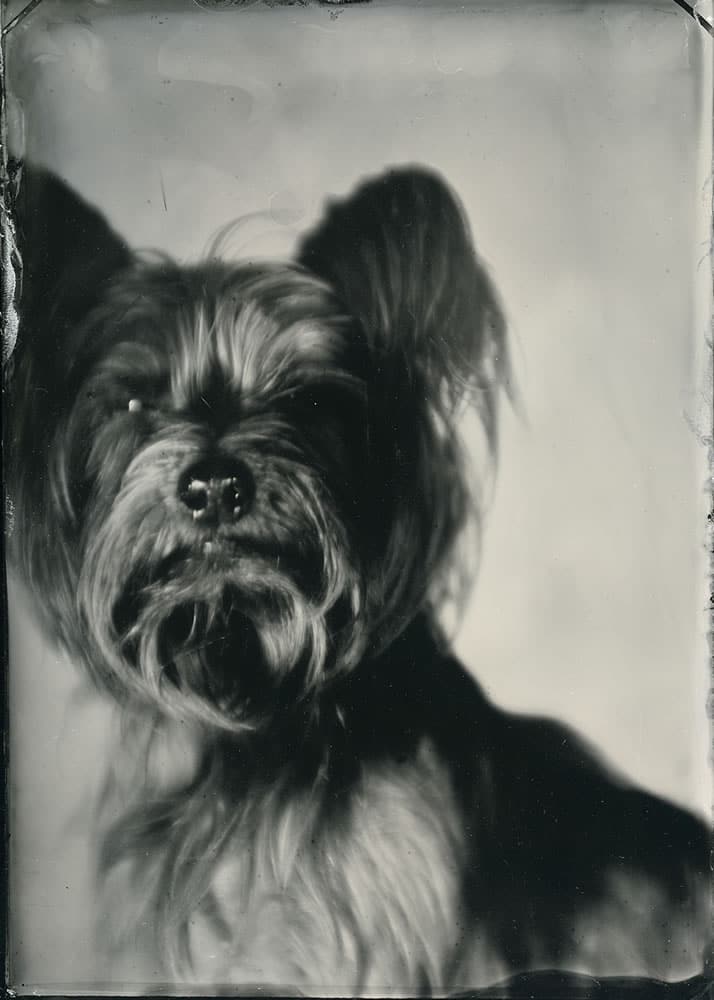
Creating tintypes can be a very different style of working with photography, one that engage your interests in a very different way than shooting with film or digital means. It’s one of the oldest forms of photography, and to me, one of the most exciting to see and learn.
~ Robert Marsters
[EMULSIVE: Hang on a second. Before we let Robert go, one more thing. Robert offers workshops – by appointment – on wet plate collodion tintype. Here’s a bit more detail for you.]
My wet plate workshops involve both shooting and processing the plate. All participants need do is show up, and I walk them through the entire process, from coating the plate, setting up the subject, developing the image and varnishing the finished image on the plate.
In my experience this type of workshop gets you working with wet plate collodion and gives you a broad working knowledge of the process, without spending a lot of money up front on the chemistry and expensive equipment that you would need to acquire to work in this medium.
A clear understanding of the process helps open the door to further learning of how the chemistry is mixed and can be tweaked to provide different results on the tintype plate.
To schedule a workshop with me, or make an appointment to have a tintype created, please contact me through my website: robertmarsters.com.
Additional places I would recommend taking workshops are John Coffer (www.johncoffer.com) and the Penumbra Foundation (www.penumbrafoundation.org)
It’s wonderful to support local artists; check online to see if you have someone near you that offers a workshop.
Share your knowledge, story or project
The transfer of knowledge across the film photography community is the heart of EMULSIVE. You can add your support by contributing your thoughts, work, experiences and ideas to inspire the hundreds of thousands of people who read these pages each month. Check out the submission guide here.
If you like what you’re reading you can also help this passion project by heading over to the EMULSIVE Patreon page and contributing as little as a dollar a month. There’s also print and apparel over at Society 6, currently showcasing over two dozen t-shirt designs and over a dozen unique photographs available for purchase.


8 responses to “How to: An introduction to wet plate collodion”
@dizd @analogcameras @tobyvphoto @conceptexposure Thank you for the RTs
Glad you enjoyed the piece…
@dizd
@analogcameras
@tobyvphoto
@conceptexposure
Thank you for the RTs
Glad you enjoyed the piece…
Thanks for the RT EM
@zen_bones @mosskov @jaysargo @junwin @nathanbrammer @miguelangelo_me @alveoliphoto @burlapandlight
Thanks to all for the RT…
Very cool, would love to try that sometime.
PS: That darkroom “shed” is fabulous.
This is one style of photography I cant wait to learn and master one day…