127 format film is reasonably rare these days, and fairly expensive. In this article, I outline my process (and examples) of respooling normal 35mm film onto 127 and 120 format backing paper.
I am still reusing backing paper from three rolls of Efke 100 I bought back in 2008 (although I have picked up a few more rolls of 127 films over the intervening years, both colour and black and white). Here’s what I cover:
Note: I am using 127 backing paper for the purpose of this article, but the technique described can be easily used for respooling film onto 120 backing paper as well.
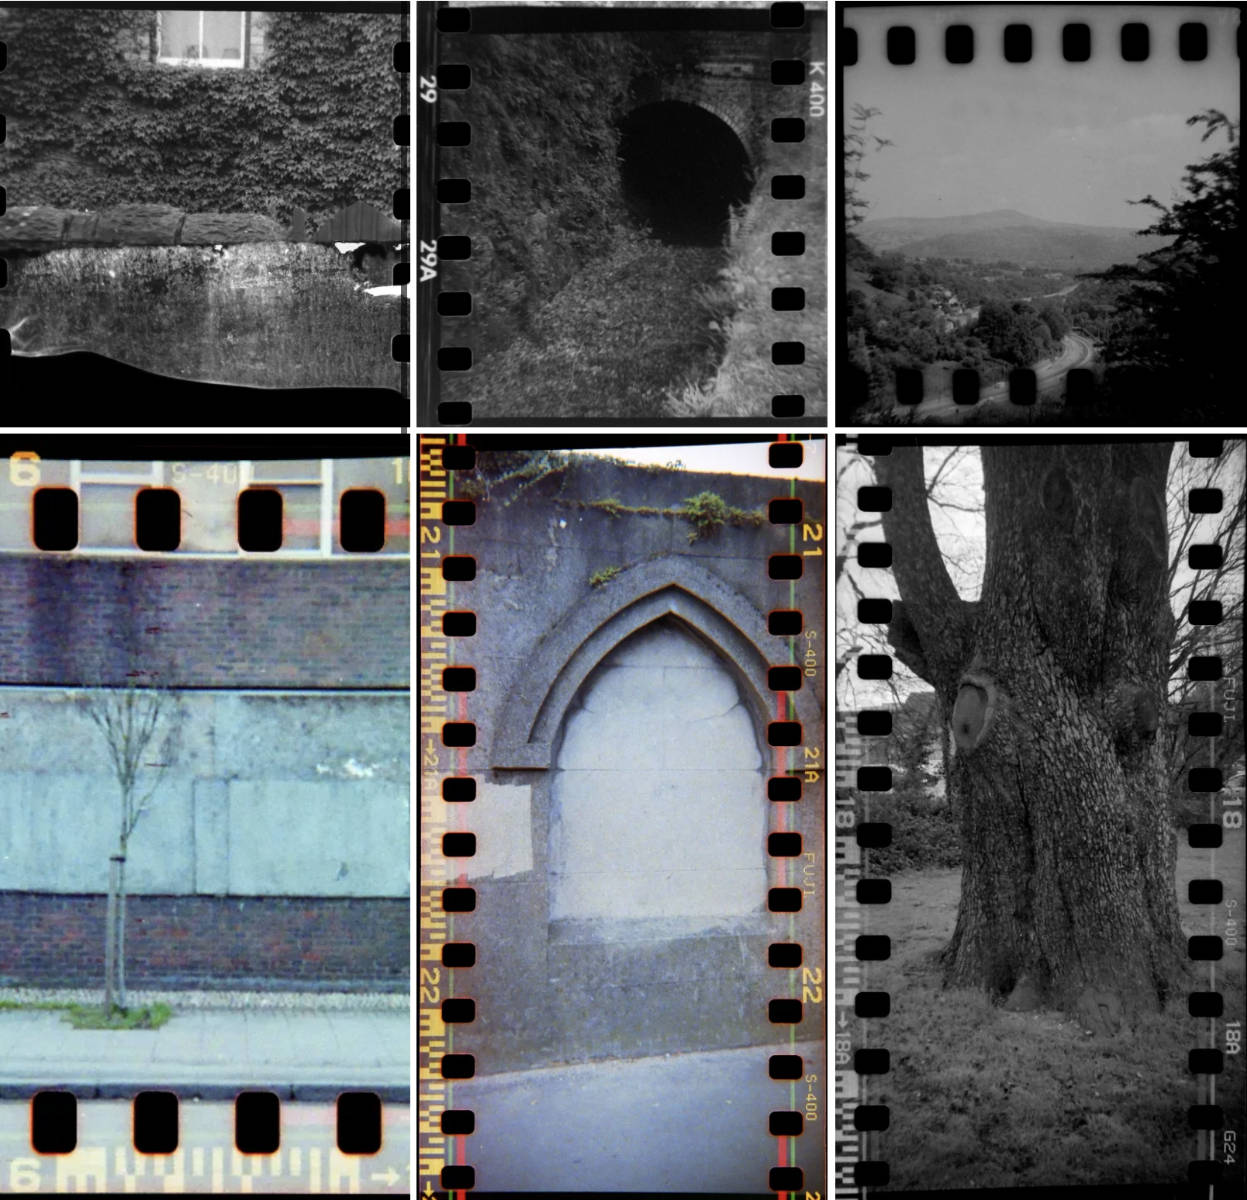
Let’s start with some examples
I go through this process of respooling films do so that I can use my 127 cameras with any 35mm film stock I have on hand (the examples below are from a 100ft roll of Kentmere 400). I don’t know what it is about the 127 format, but I just love it. I have a Kodak Vestpocket Autographic (1914) and a Bencini Comet (1955).


I also have a Billora Bella 44 (1955) that is big enough to hold a 35mm cassette so I just pop it in and shoot.


With my “bulk loaded” film, for me, it’s not just about the sprocket holes, although they are a part of it, I just love these little 20th Century cameras and the way they work.


Notes and prerequisites
A couple of notes before I begin:
- Some 127 format spools only fit into a camera one way around, check the ends to see if both of them are notched, or only one end is notched. Orientate them before you start.
- Metal spools are nicer than plastic.
- The respooling process needs to be done in total, pitch black. I have sacrificed a length of film for the purpose of illustration.
- You may observe that there are ‘perforations’ on the paper in the pictures. They’re teethmarks thanks to one of my hounds, a certain Mr Planks. He is a git and ruined two of my precious 127 backing papers. I caught him running around the house with them hanging out of his mouth like he was the cleverest boy in the world!
- I have a plan to cut 120 paper down to 127 at some point.
Respooling instructions: Start at the STOP
So, as the title of this piece states, start at the STOP: this is where your last exposure will take place on the roll. This is also the end that gets wound onto the spool first.
Step 1: Preparing the paper
Lay the backing paper out flat and note where the frame numbers are. On the inside of the paper, note the location of the STOP mark and where the Lead in Arrows are:

You can allow slight shortness at the Lead in Arrow end because once you start to wind around the spool the film will shift along slightly — but only a slight shortness.
Step 2: Cutting and taping down the film
As already mentioned, you need a dark space to do this step and enough surface to lay a length of backing paper out flat. Observe that personally, I am using a plank of wood for this.
To begin, tape the ends of the paper down onto your surface with the inside facing up.


Go dark and measure out your length of film between the two masking tape points.
Tape down the film ends where STOP is written, then tape down the Lead in Arrow end.


Step 3: Respooling the film
Insert the cut end of the paper into the slot in the spool at the STOP end. Next, start to wind the film up around the spool. Keep tension in the roll as you wind.


Images showing how to respool 35mm film into 127 format backing paper. For emulsive.org by TobyVPhoto
If, at this point the lead in arrow end of the backing paper comes unstuck from your surface, the film and the paper will curl around each other. It gets a bit frustrating trying to separate them out in the dark.

In short: try to keep the Lead in Arrow end taped down until you are at that end of the respool.
Step 4: Finishing the respooling
As mentioned, whilst you wind the film up, it will creep along the backing paper and you will get a little ‘hump’ occurring.

Once you have 90% of the respool done you can unstick the film end, continue spooling on, and restick it down.
That’s it.
Just wind the leader end around the spool — keep in tensioned — and stick the leader end down with more masking tape.


Don’t forget to make a note of what emulsion you have in there…
Good luck with your own respooling, be it 127 or 120, and I look forward to seeing more sprocket holes on the internet.


Share your knowledge, story or project
The transfer of knowledge across the film photography community is the heart of EMULSIVE. You can add your support by contributing your thoughts, work, experiences and ideas to inspire the hundreds of thousands of people who read these pages each month. Check out the submission guide here.
If you like what you’re reading you can also help this passion project by heading over to the EMULSIVE Patreon page and contributing as little as a dollar a month. There’s also print and apparel over at Society 6, currently showcasing over two dozen t-shirt designs and over a dozen unique photographs available for purchase.


One response to “Start at the Stop: How to respool 35mm film into 127 (and 120) backing paper”
Thank you so much for a really intriguing project to try. Excellent instructions. Will definitely give it a try with my Coronet Rapide 🙂