MAYA is a brand new, modular, from scratch digital darkroom timer that can be used (right now) for both making prints and timing film/paper development. It all began last year when I realized that my already-one-foot-in-the-dirt enlarger timer was more of a hindrance than a help. And well, when the most basic of tools begins to fail at its only job, it’s definitely time to take action.
I wanted to work in f-stops. I wanted easily timed test strips. I wanted to create recipes with dodge and burn times and be able to repeat them consistently. There are such devices on the market, right?
Nothing like what I wanted exists on the market today – not unless I was willing to memorize multiple button press combinations to access a particular mode or endless tables of 4-digit numeric codes. I did not like what I saw, not one bit. I could do better than this. That’s what I believed.
So I built one…

MAYA: Legend
…and decided that if it turned out to be good, I would offer it to other people as well. There are, after all, people with similar needs, right?
The road to realisation

MAYA: Black and white
I began designing the darkroom timer of my dreams.
The hardware choice was easy: Arduino is a perfect platform for this job. It is easily obtainable, very reasonably priced, entirely capable of what is essentially turning a light on and off and most importantly, very easy to develop on.
I wanted to create recipes with dodge and burn times and be able to repeat them consistently.
Started with a 16×02 LCD screen (16 characters and 2 lines, that is) but that was quickly replaced with a 20×04 LCD, which gave me much more real estate to display information. As I couldn’t find one with a red backlight, I thought of placing a thick slab of red acrylic on top of it to act as a safety filter.
Design language and a tactile interface
I wanted the physical interface to be as flexible as possible, so instead of adding labelled buttons which are destined to do only one job, I went for rotary encoders – DIALS. Multi-purpose with a very nice, tactile feel, and quite easy to navigate with as long as they act consistently within the menus (which they do).
I still wanted the two most essential buttons – Countdown and Focus – to remain single-purpose. That way, no matter which settings you edit, you’ll always know those buttons will trigger their only job.

One of the early sketches of the interface
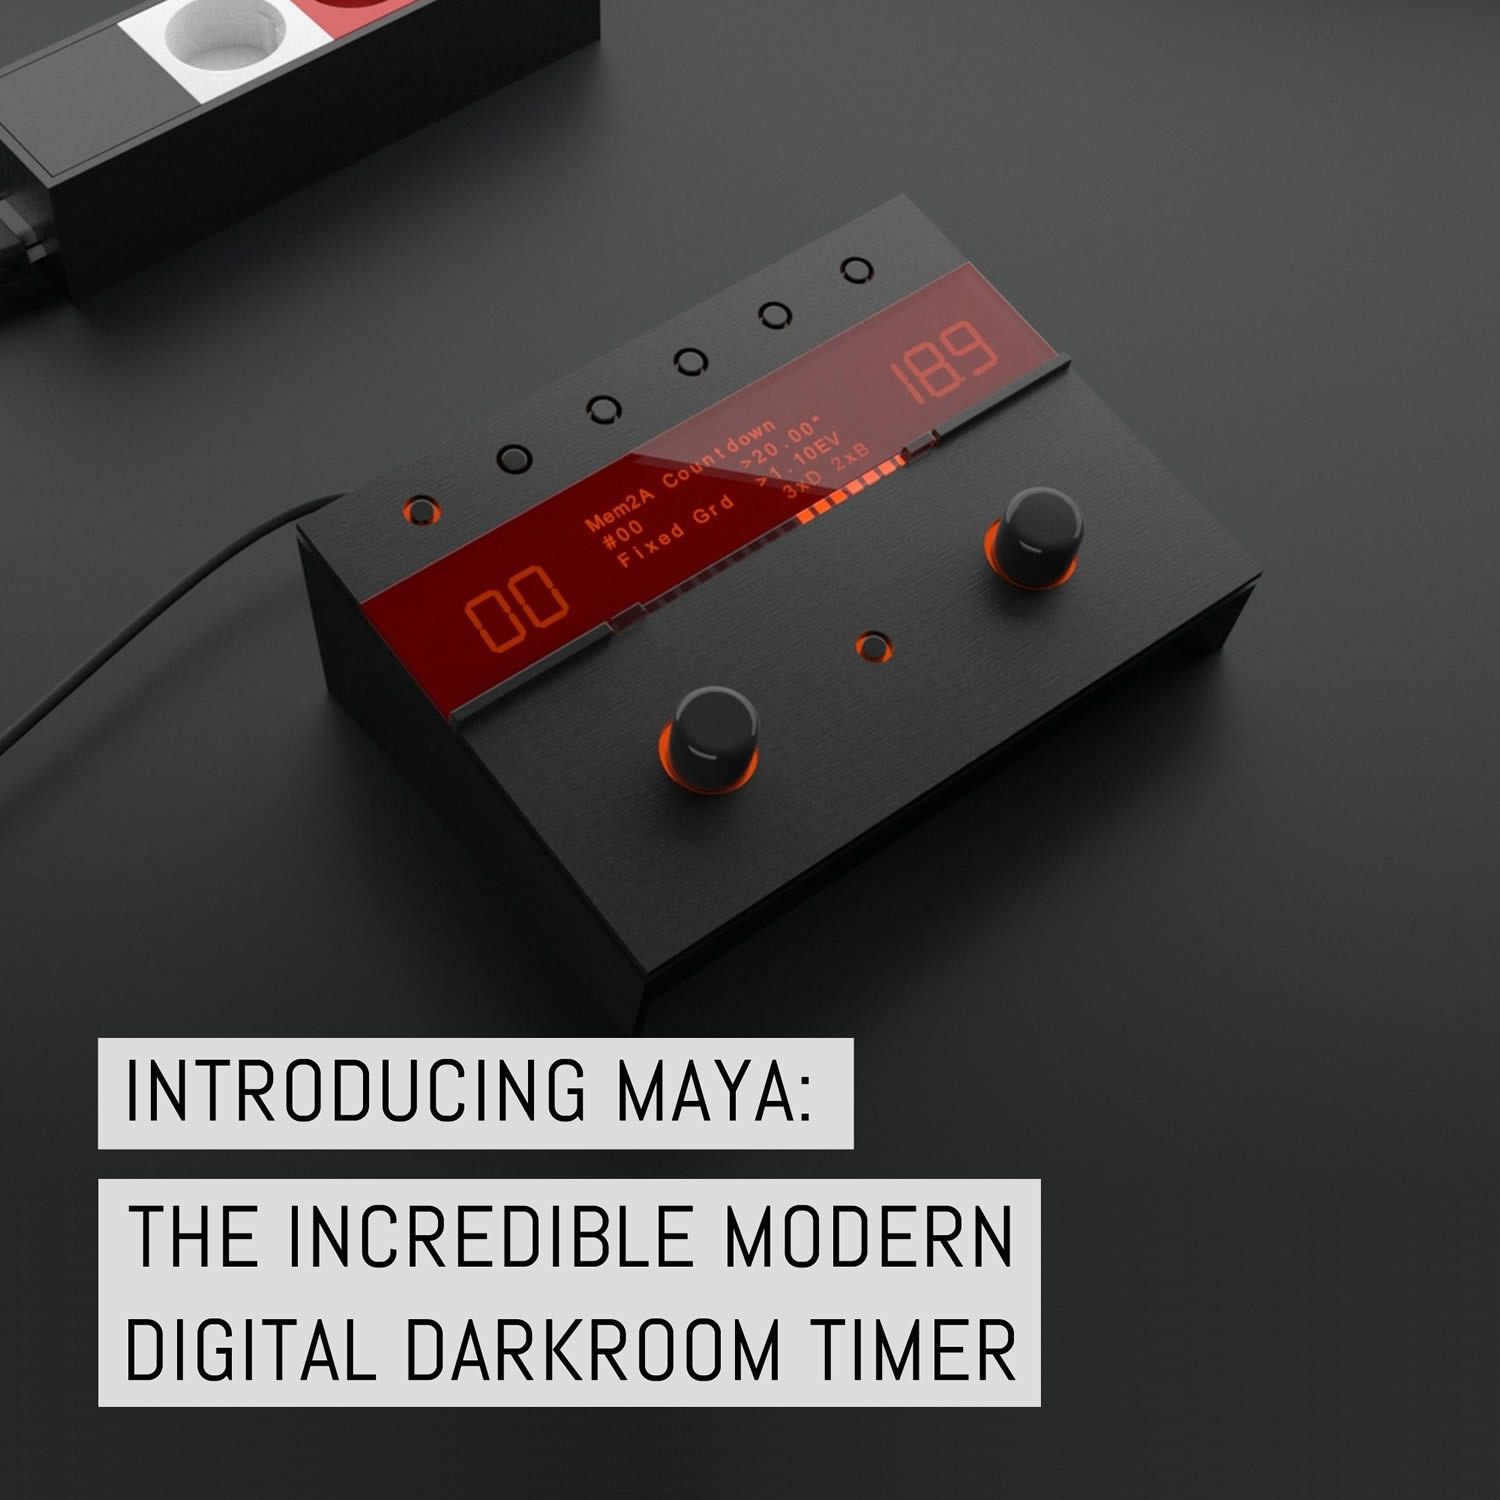
Duplicate information can be distracting and is generally found to be bad design but although the countdown time is clearly displayed on the main LCD, I still wanted to have a large, dedicated countdown display to the side that is easier to read at a glance from a distance.
I then decided to add a duplicate display to the other side of the main LCD to remind the user of the selected contrast grade, which reduces confusion greatly when doing split grade prints.
The display also became useful while dodging and burning, where it points to the pre-programmed area of the paper that I have to work on.
I found the best place to have the start countdown button would be directly underneath the countdown timer and in order to avoid confusion, mirrored the position of the focus button as far away from it as I could.
These decisions determined the basic design of the interface.
Prototyping and iteration

Early 3D mockup, still with the 16×02 LCD
After coming up with the basic design language, I started working on two fronts at once: sketching alternative hardware, trying to determine the overall size and what components would be used, and software design.
A dedicated countdown display makes it easier to read at a glance from a distance
There were many ideas and iterations I discarded because they did not just feel right in use. For example, my first idea was to have the test strip mode expose the paper in a single run, beeping along to let me know when it was time to move the mask on to the next strip.
This turned out to be very confusing with all the beeps and mostly useless in the end because I wasn’t quick and consistent enough with the short exposure times that are sometimes needed.


Sadly, I don’t have many pictures from the prototyping phase, or any videos showing the previous versions of the software. I didn’t think they would’ve been of use to anyone, apart from generating a few laughs. I mostly worked with hideous prototyping boards, which involved a lot of soldering. Every time I had a new idea for the hardware, I’d add another module, most of the time with some jumper cables. I did not have the time to order and wait for a custom made PCB, so I had to put up with all the ugliness.
Right now I’m at my Mark III version of the physical hardware, Mark IV will happen after the Indiegogo campaign. The software is at version 0.4.6c, which roughly translates to a ton of versions, bug fixes and experimenting.

MAYA family 
Power units
To extend the flexibility and adaptability further on, I had decided to keep the relay box with the power sockets away from the actual control unit, which is also quite helpful with the cable management as I can simply tuck everything under my workspace or on a wall. That way, I could also increase the number of relays and sockets as I needed without affecting the control unit.
For example, I only had a safelight plug and an enlarger plug on the initial prototype but then I added a third socket to control the video light as I was about to shoot some demo videos. I liked the idea of toggling between the red safelight and the white room light so much, I’ve decided to keep it.
Not just a print timer
On a side note, while working on the project, a friend of mine who runs a lab had his Jobo ATL 800 die on him and I suggested getting rid of all the electronic guts and replacing them all with Arduino based electronics.
That went quite well and now he has a revived unit and happily processes C-41 and E-6 (Yes, we made a machine with three chemical tanks work with six-step E-6 but that’s a story for another day).
Why is this related? Well, we did not have enough space inside the ATL 800 to shoehorn the Arduino and the control interface so we kept them in an auxiliary control unit and used a similar cable to hook them up together. That gave me the idea of using MAYA (the project has a name now) as more than an enlarger timer.
Since the processor is quite capable, why use it as the main control interface for a still-work-in-progress film processor as well? Just disconnect the power brick that is hooked up to the enlarger and connect the film processor.
…or build a new enlarger head with LED lighting and skip the power brick altogether by having the connection port on the head itself.
As long as the data protocols are flexible and well designed, a lot could be done in the future.

Concept render – Film processor 
Concept render – Enlarger
While working on those ideas, I’ve realized that it’d require no additional hardware in order to use MAYA as a manual film processor. So, I wrote a basic interface to handle all the film, developer, temperature and process time and let it remind me the agitation times and when to pour out.
I’ve even added a basic thermistor to check the temperature of the developer beforehand and compensate for the development time as needed.

I can even save up to 12 of my most often used recipes and recall them with the memory buttons on top.
MAYA in use
You may have noticed that I spent most of my time discussing the design process and some ideas that I had. That’s because I’ve shot 4 videos of me using MAYA: making prints with various techniques and another video going through most of the menus and the settings.
MAYA Overview
Making a print with MAYA
Open source
Speaking of software versions above, I’ve had the idea of going open source from day one.
With clear documentation of all the hardware, it should be possible for anyone to write and share their custom firmware. That way, if someone has a better idea for the menus and the interface or they just want to adapt it to some DIY LED multigrade enlarger or something like that, the options should be open.
I can’t guarantee it’ll happen from day one after the crowdfunding but I really think open source should be the way to go for the future of film photography and I’m hoping to develop a stable and flexible platform for others to work on.
What I need
I’m finally at a point where I’m happy and confident in sharing the outcome of what took most of the second half of 2018. The whole project is still a way off from being finalized, I want to keep working on both the hardware and the software and I even have to start working on the future projects that I’ve mentioned, as they’ll be closely related to MAYA The Darkroom Timer.
This is where the crowdfunding campaign comes in.
I need more time and money to keep the project running. In return, I’ll be offering what I’ve started to build for myself, the darkroom timer of my dreams. The exact final outcome of the project will depend on how many people are interested in participating. A handful of us is enough to turn this into a boutique, handbuilt timer with mostly off-the-shelf parts but as that number of buyers grows into triple digits, we’ll end up with a much more sophisticated build with an open-source platform for everyone to work on.
I’m hoping to provide a useful tool for the still-growing film community we have.
Thanks for your time.
~ Can
Share your knowledge, story or project
The transfer of knowledge across the film photography community is the heart of EMULSIVE. You can add your support by contributing your thoughts, work, experiences and ideas to inspire the hundreds of thousands of people who read these pages each month. Check out the submission guide here.
If you like what you’re reading you can also help this passion project by heading over to the EMULSIVE Patreon page and contributing as little as a dollar a month. There’s also print and apparel over at Society 6, currently showcasing over two dozen t-shirt designs and over a dozen unique photographs available for purchase.


12 responses to “Introducing MAYA: the incredible modern digital darkroom timer”
Remarkable! Could you have a countdown, say 5/10 seconds before turning on the print light, this to have your hands free and not have to use a pedal?
Quite amazing what you have achieved, I think the triple digit display is a good idea to avoid confusion when reading the values. Great work
Hey, thanks :). I had thought that double digits would’ve been enough while building the prototype but three digits are definitely the way to go. Might also use 16-segment displays instead of 7-seg so I can properly display alphabetic characters alongside the numbers but that might drive the costs a bit. Will definitely look into that during the development.
Wow! I’m very impressed withis product. I’ve been using RH Designs (UK) F stop timer LH version, for over 10 years. It makes life in the darkroom so much easier and reduces paper waste. My congratulations, I’ll keep an eye on you! Stephen C.
Beautiful!
@SandyPhimester That looks a bit smick.
Will the power bar be available with Type A/B sockets (American)?
Yes, you can select the socket type and voltage at the checkout, US Type is available.
ох, вот это вещица! интересно когда она появится в продаже?
Doesn’t this look fantastic and well thought through?! Do you know the best way of getting in touch w… https://t.co/ndo3iB1kG5
OK, this one will be a bit more difficult to dodge, but by virtue of not having my own darkroom, I ma… https://t.co/uIvm7UDyZW
That is perfect! I love everything about it including the spirit of the inventor.